


En Seçkin Ürünler
En güncel ve viral olan ürün çeşitlerimizden bazıları için koleksiyonumuzu inceleyin.

CM 3738 FAME 10gr PRALINE CHOCOLATE MOULD
Choose your option

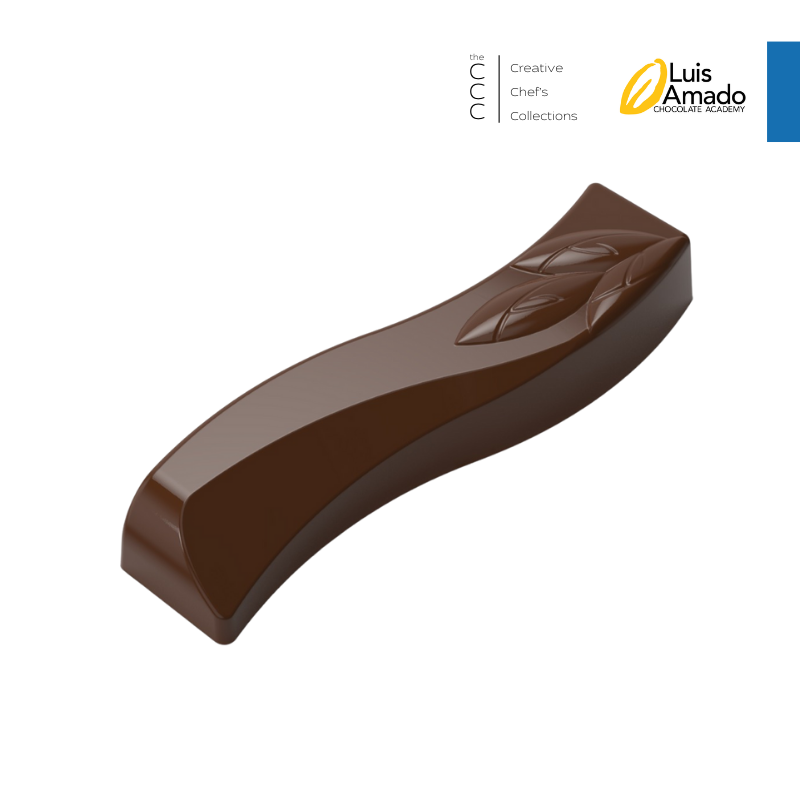
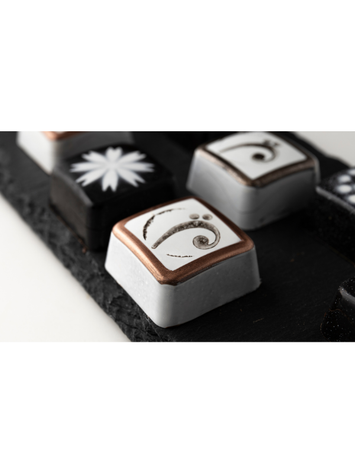
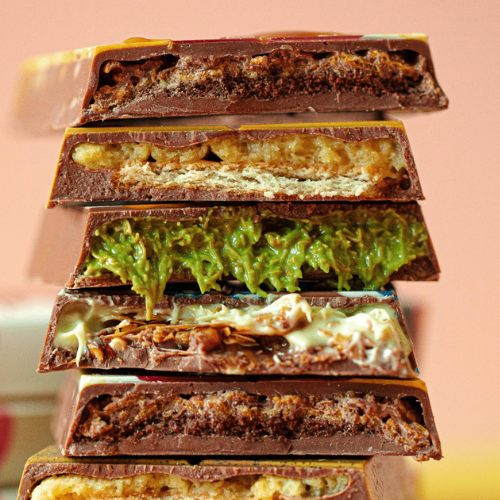
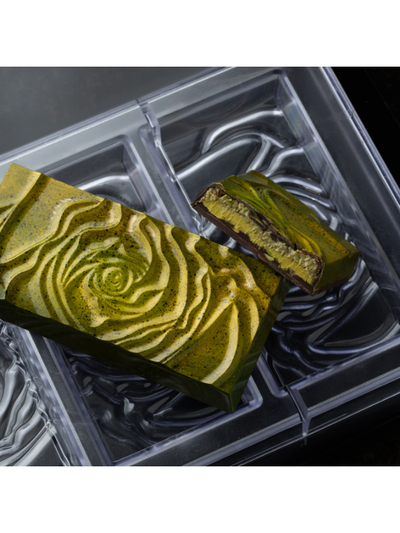
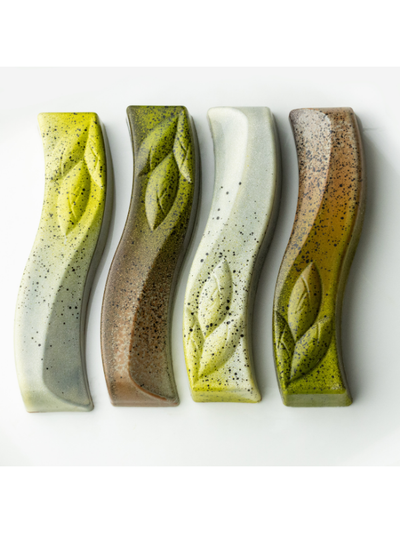
CM 3436 LUIS AMADO SIGNATURE CURVY BAR CHOCOLATE MOULD
Choose your option
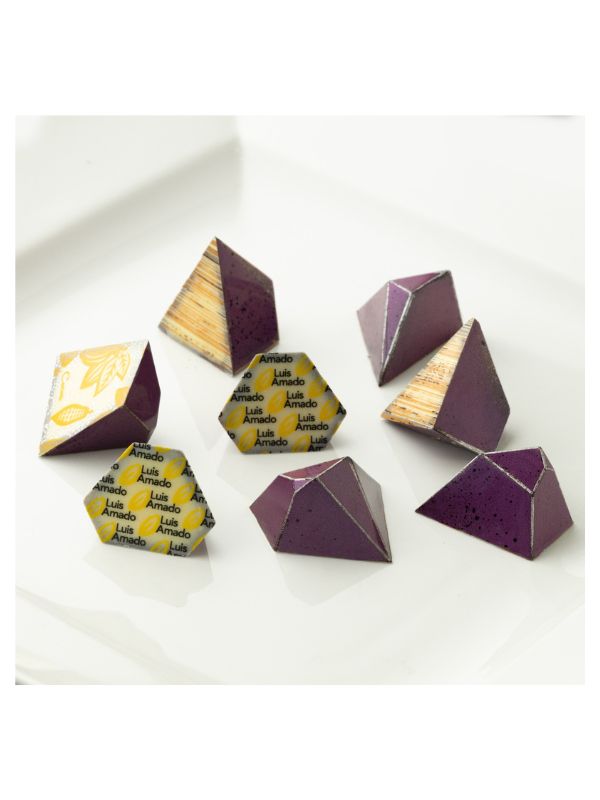
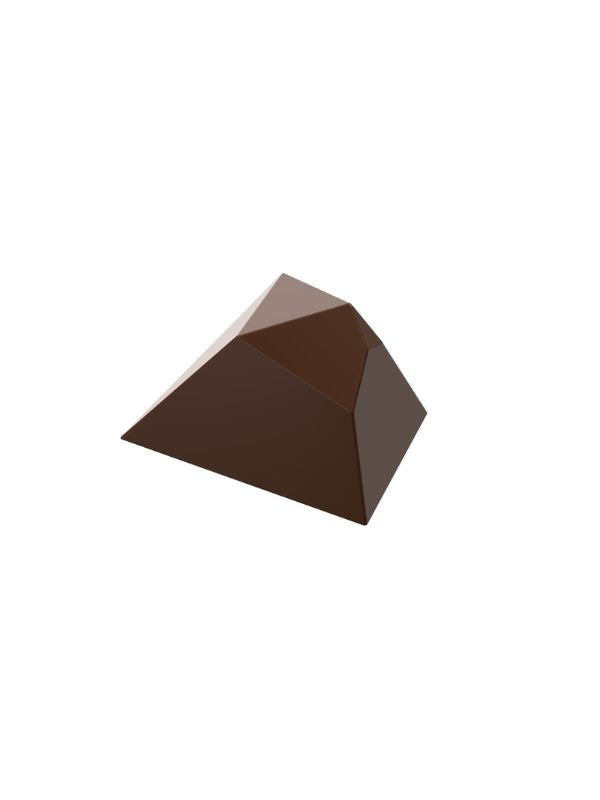
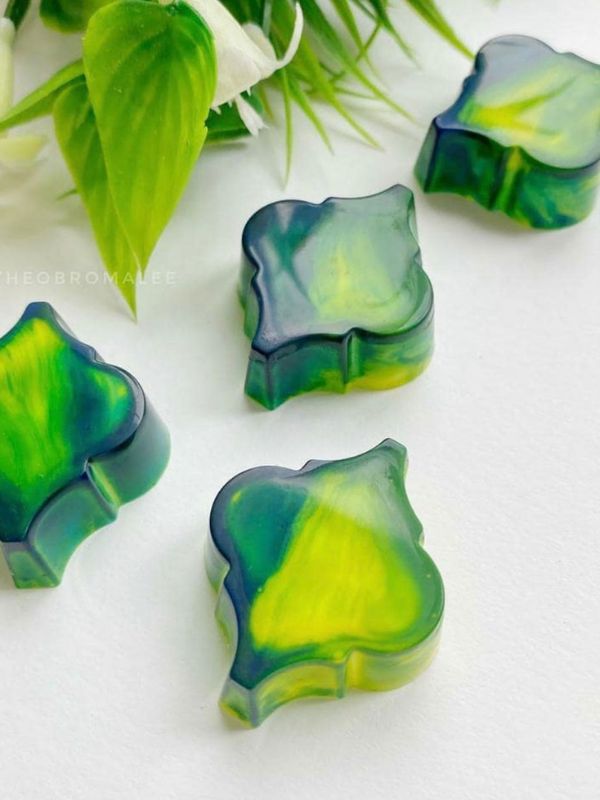
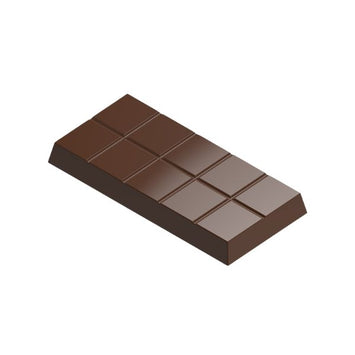
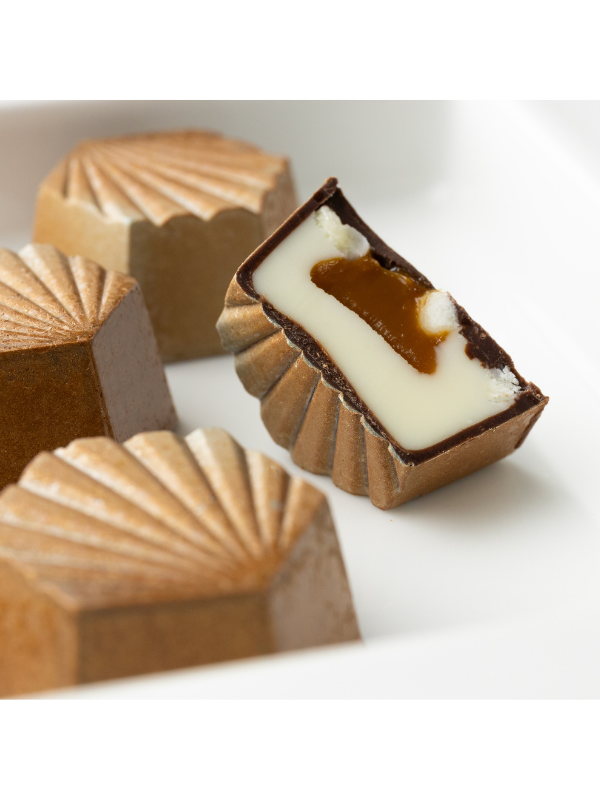
CM 4324 LUIS AMADO SIGNATURE PYRAMIDE CHOCOLATE MOULD
Choose your option
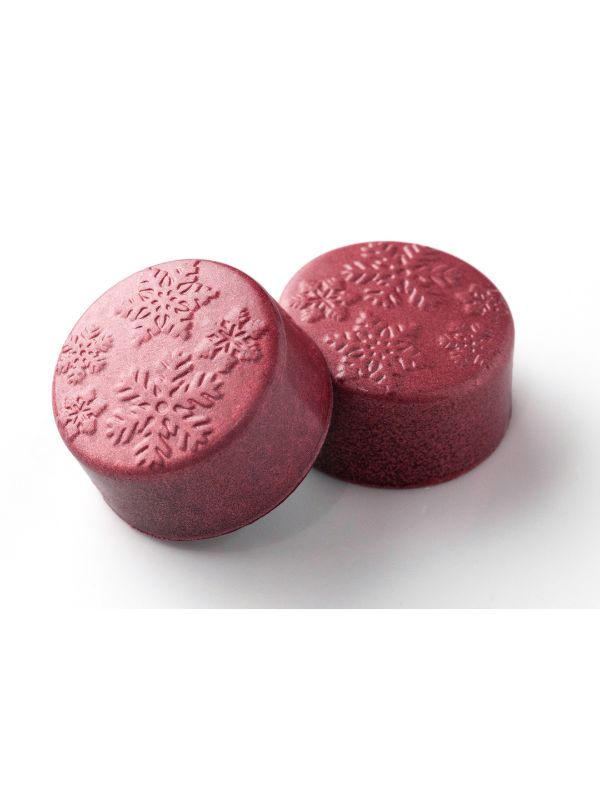
CM 3912 SNOWFLAKE 14gr PRALINE CHOCOLATE MOULD
Choose your option
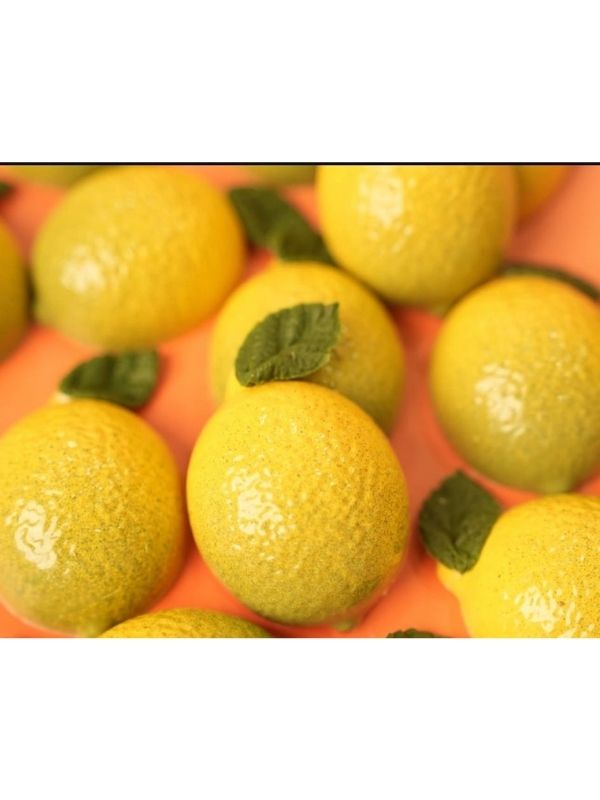

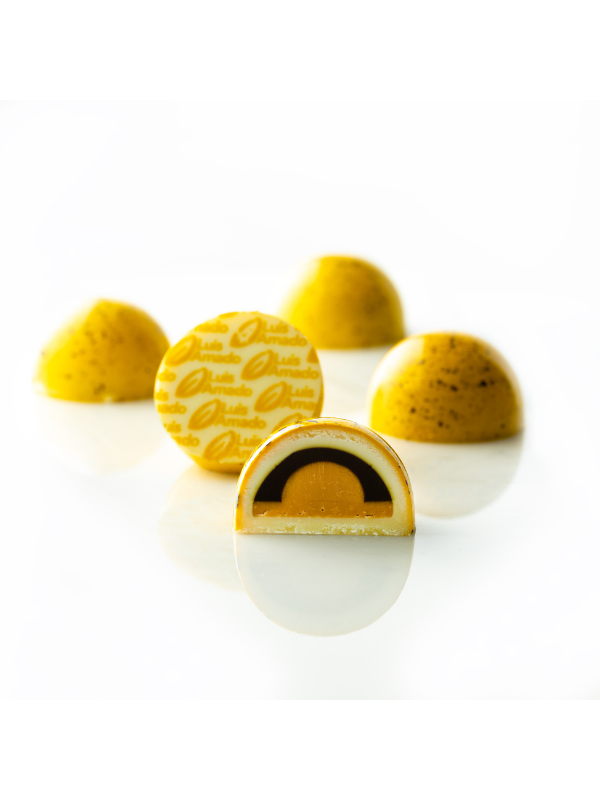
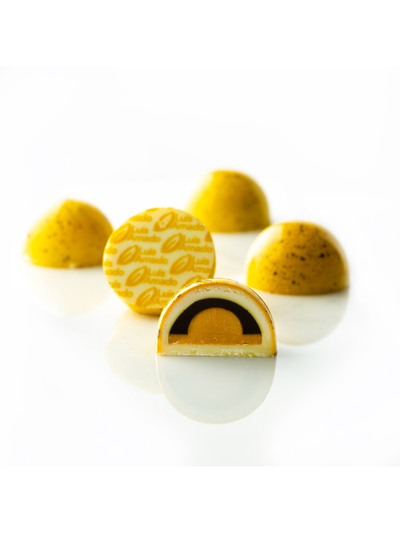
CM 4054 LEMON PRALINE CHOCOLATE MOULD
Choose your option
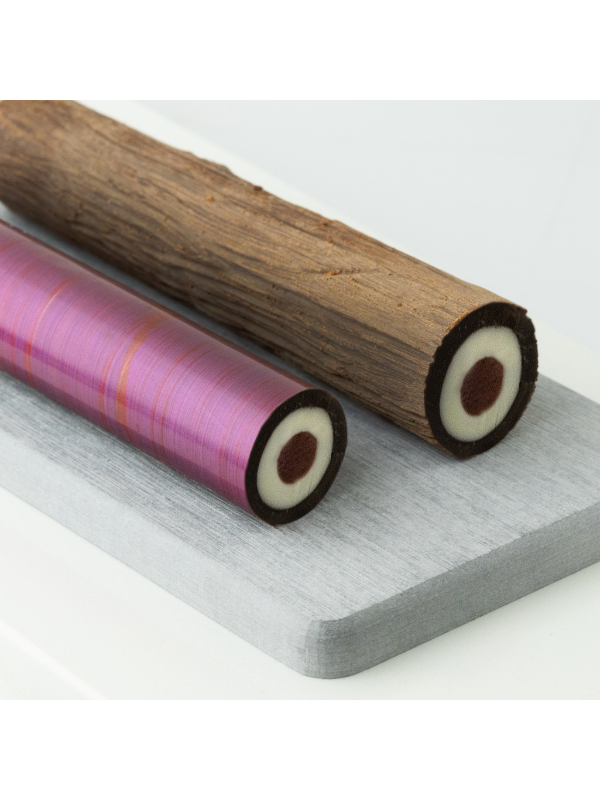
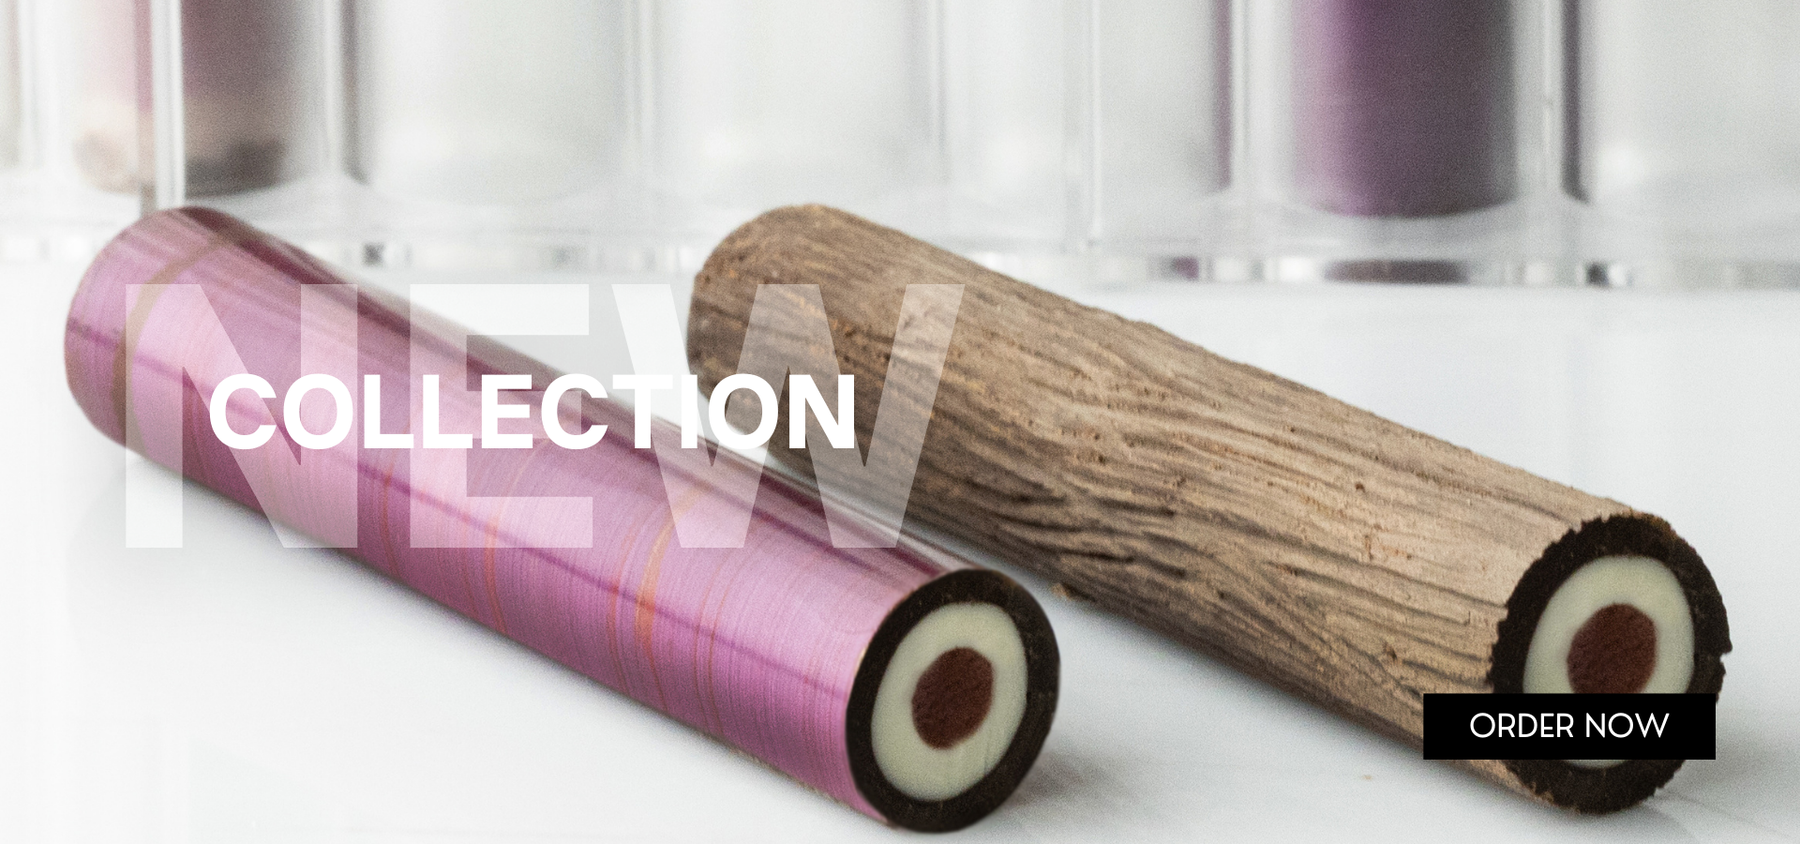
CM 4315 VIRAL TUBE DOUBLE CHOCOLATE MOULD
Choose your option
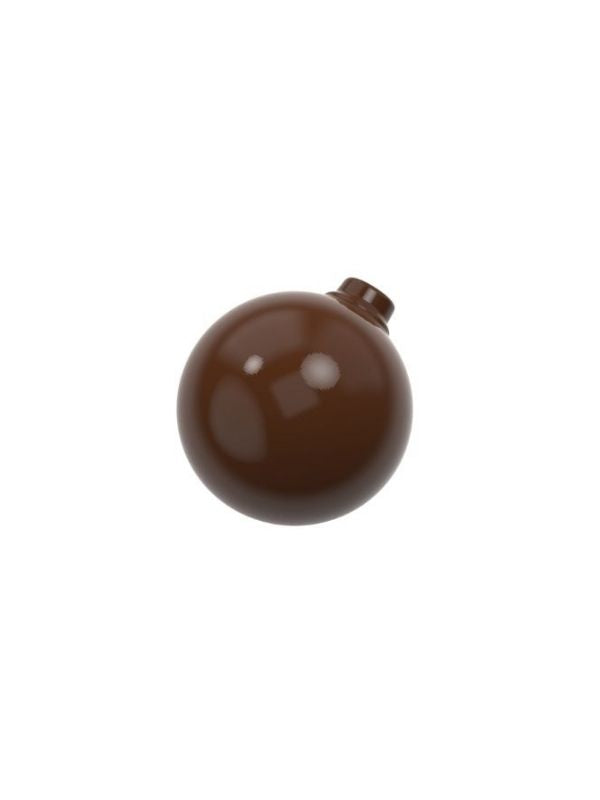
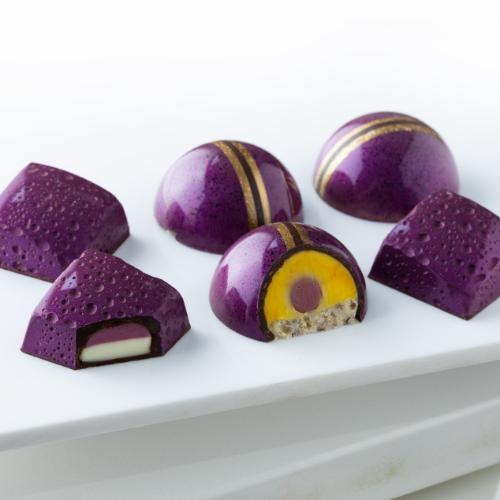
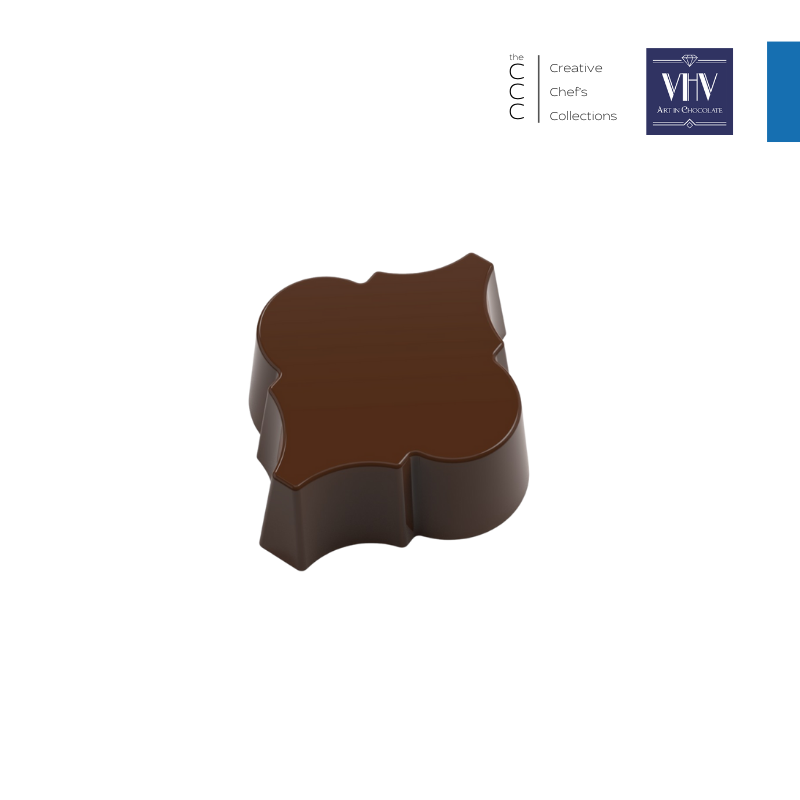
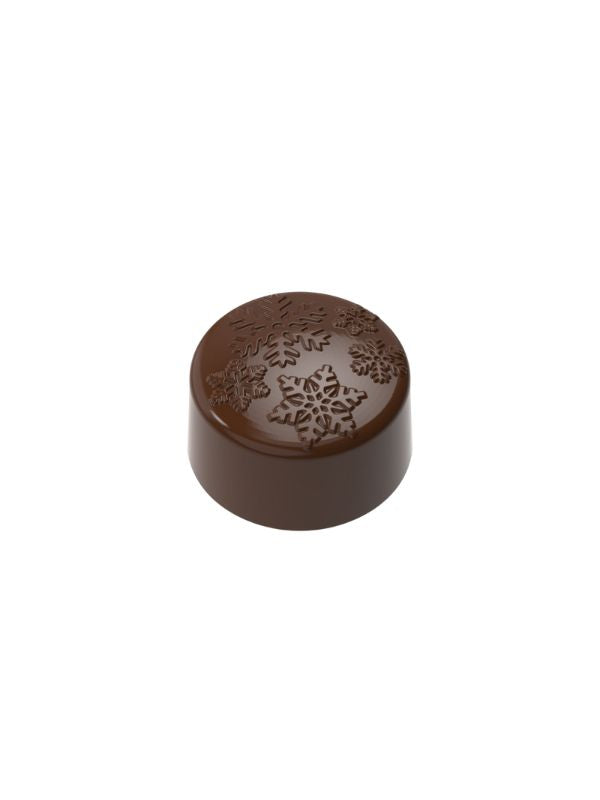
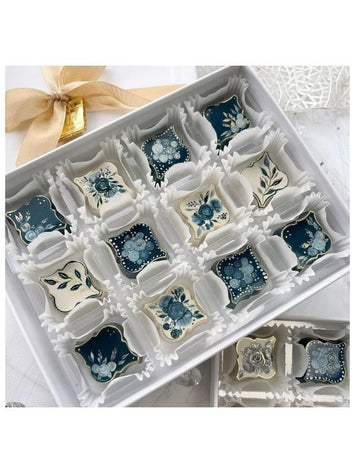
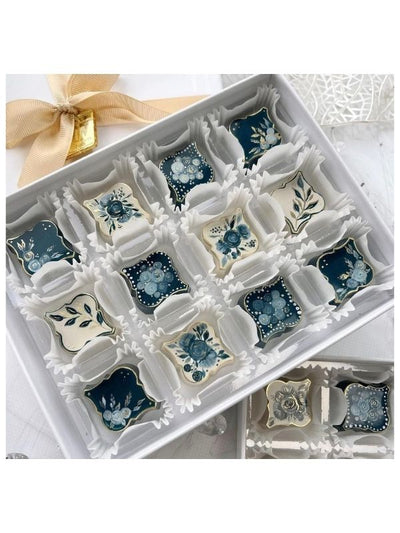
CM 3915 PRALINE 10.5gr ORNAMENT BONBON CHOCOLATE MOULD
Choose your option

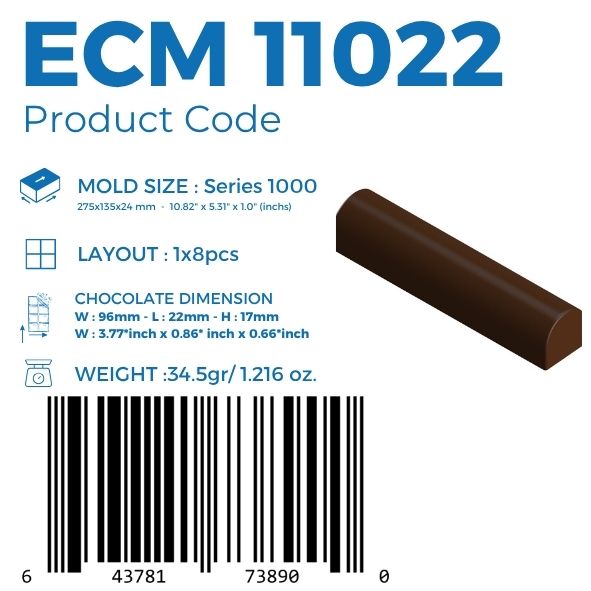
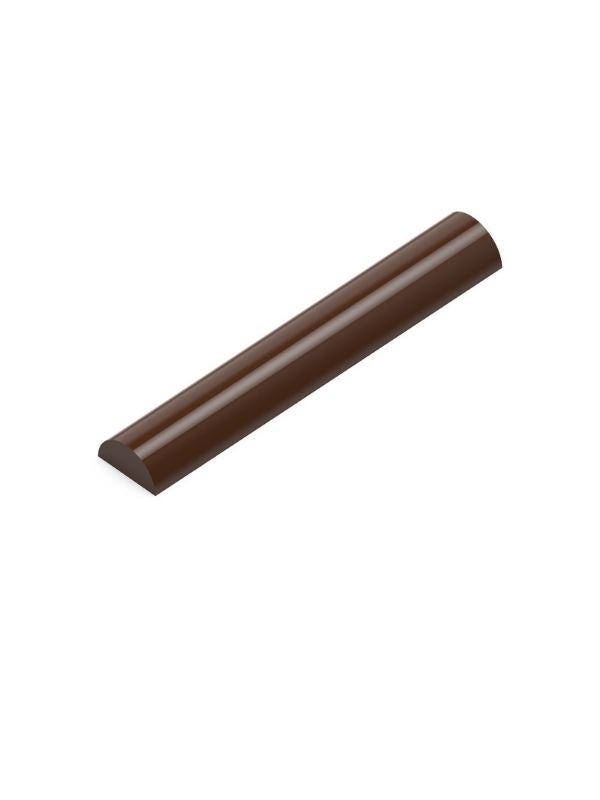
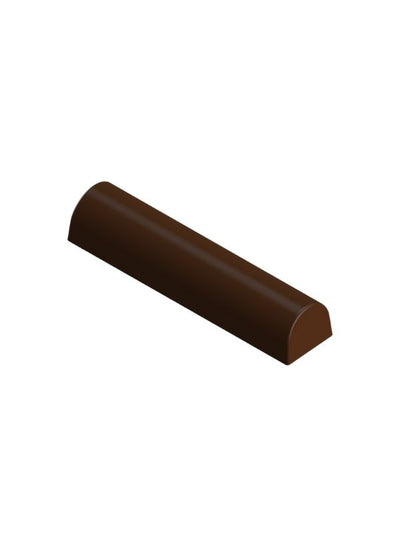
ECM 11022 BATON SHAPE BAR CHOCOLATE MOULD
Choose your option
ECM 11047 RECTANGULAR 100gr. TABLET CHOCOLATE MOULD
Choose your option


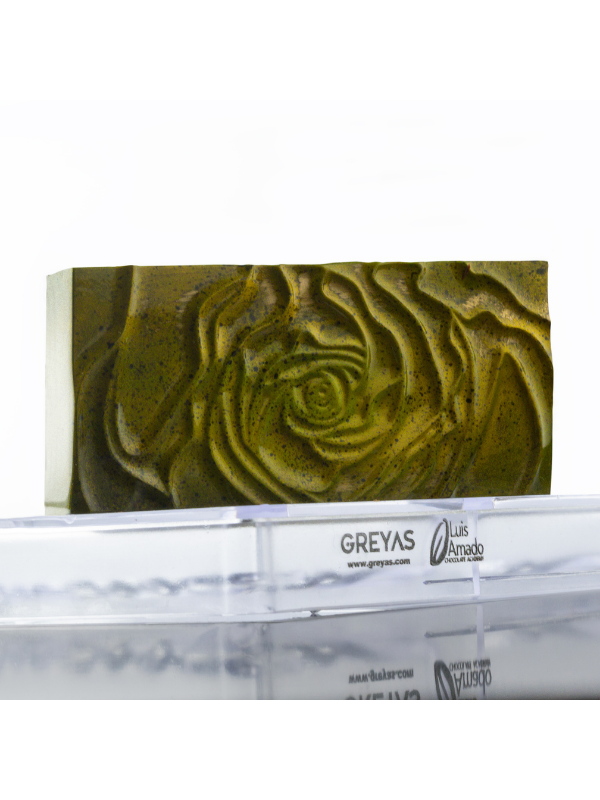
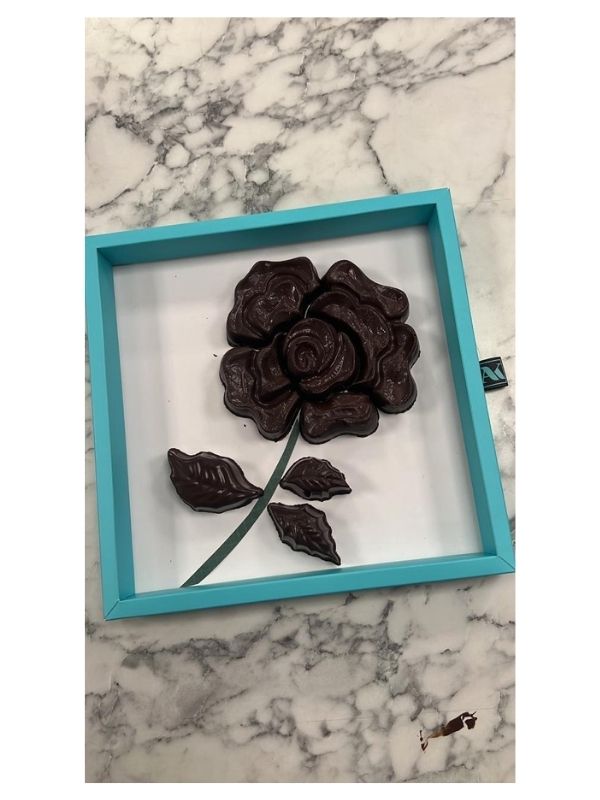
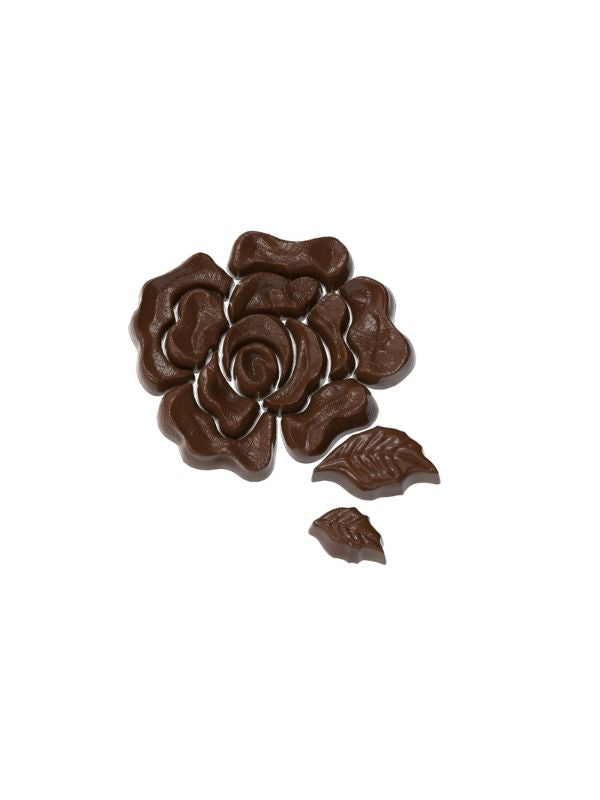
ECM 11045 ROSE 172,5gr. TABLET CHOCOLATE MOULD
Choose your option

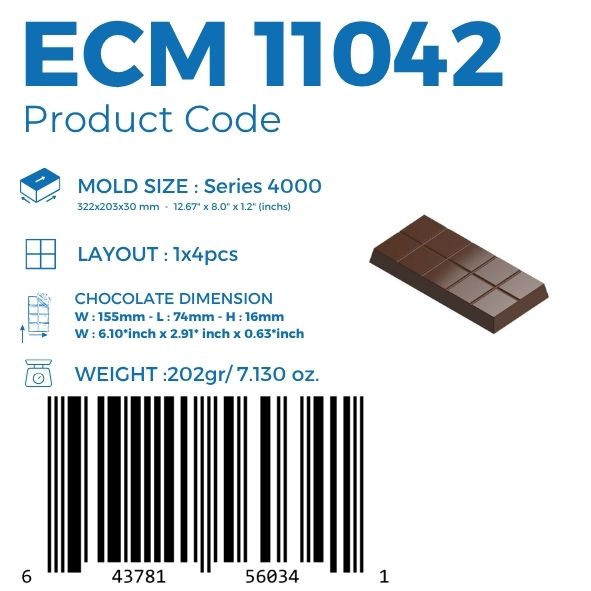
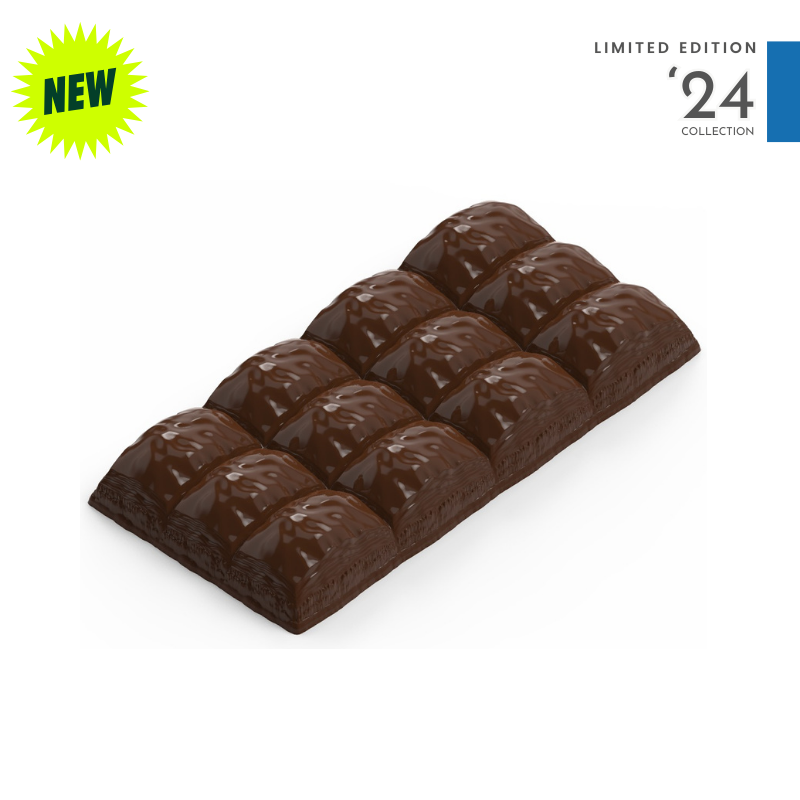
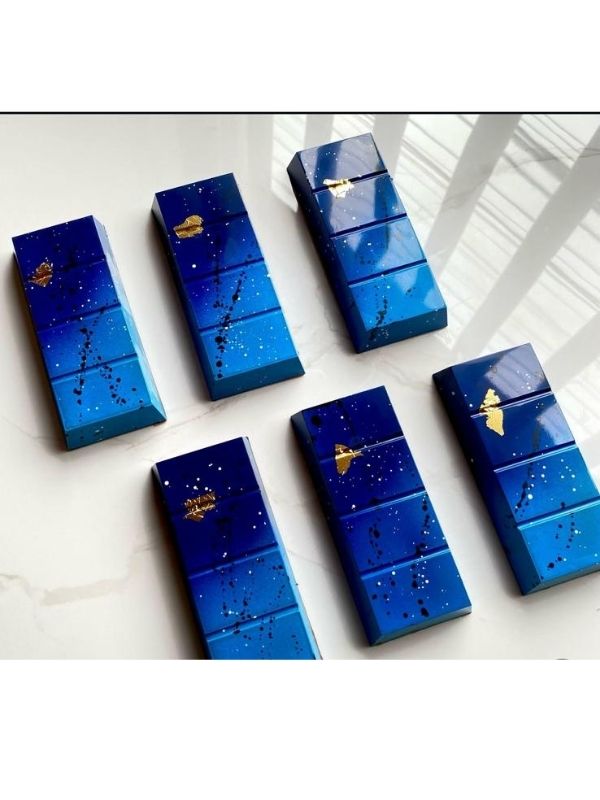
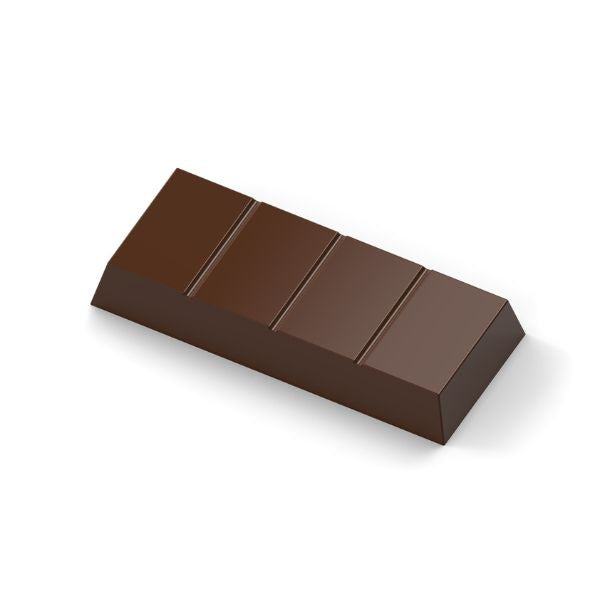
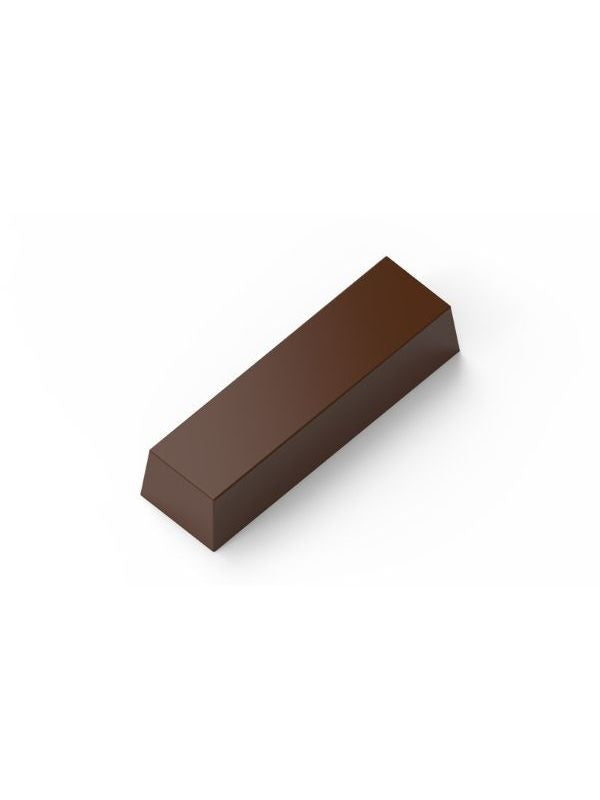
ECM 11042 ORIGINAL 202gr. TABLET CHOCOLATE MOULD
Choose your option
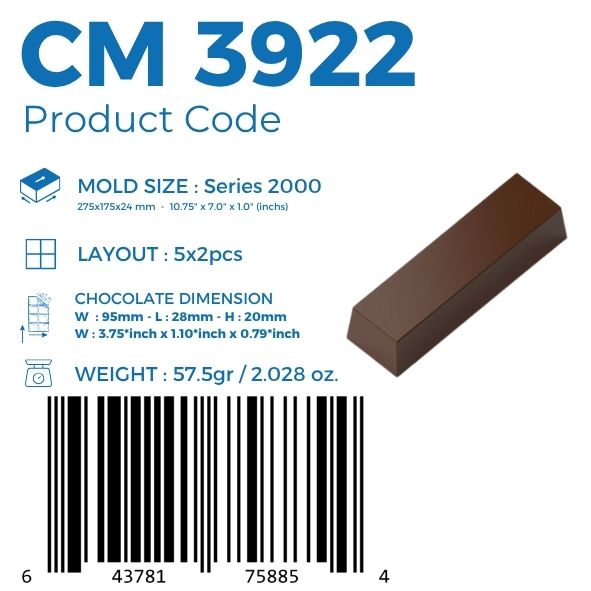
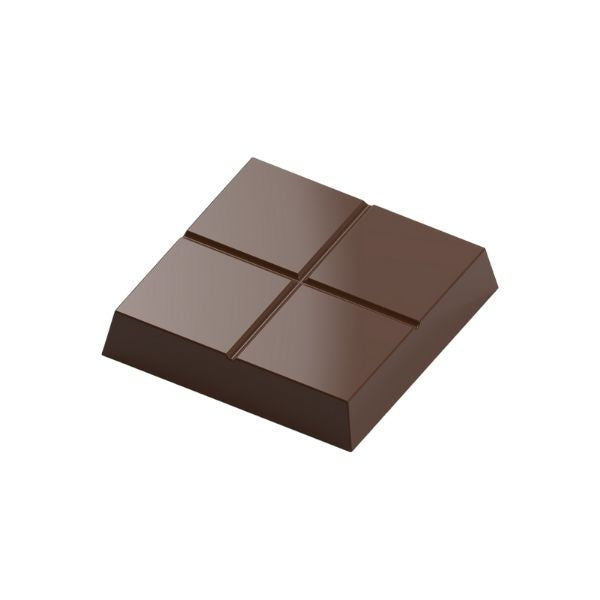
CM 3922 RECTANGULAR 57,5gr. BAR CHOCOLATE MOULD
Choose your option
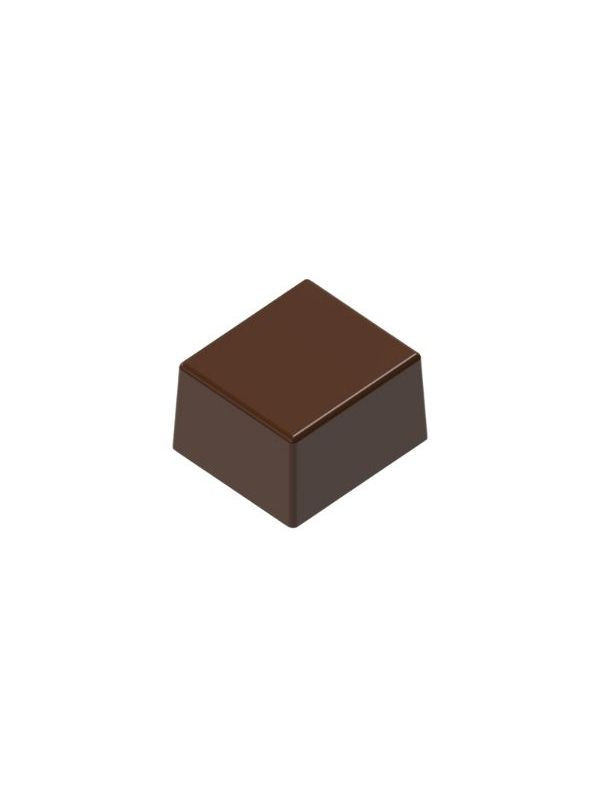
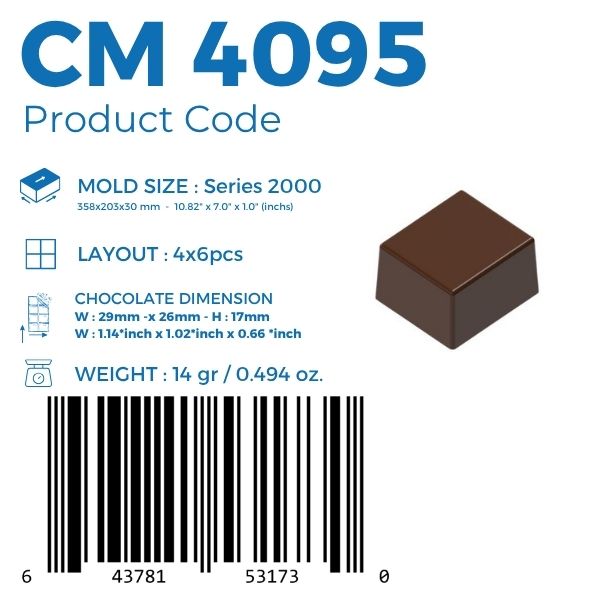
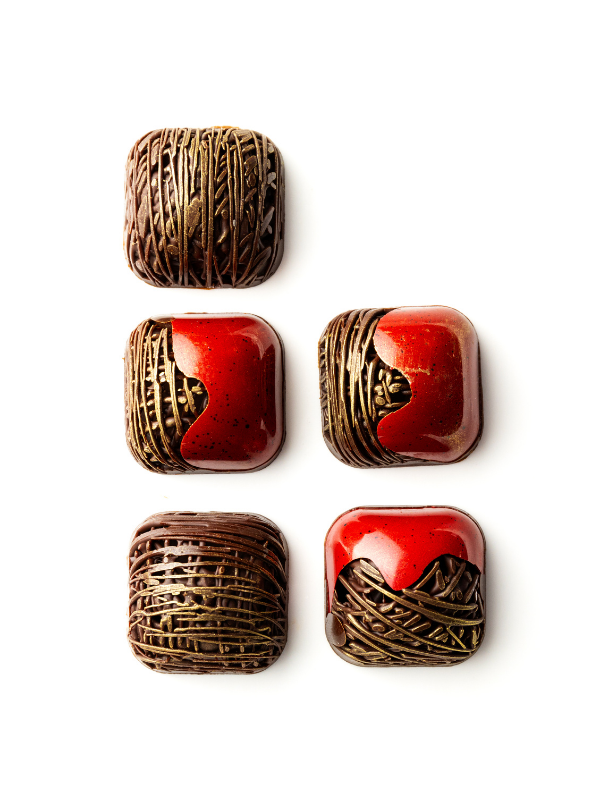
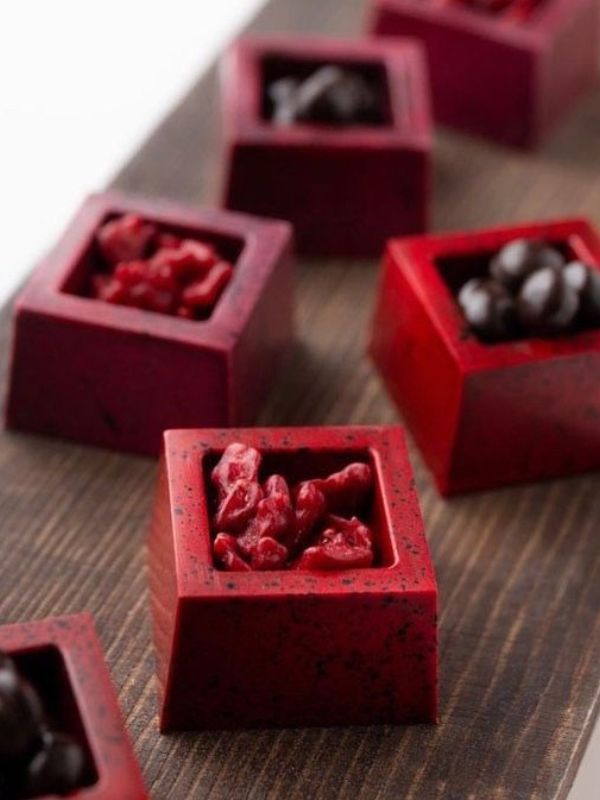
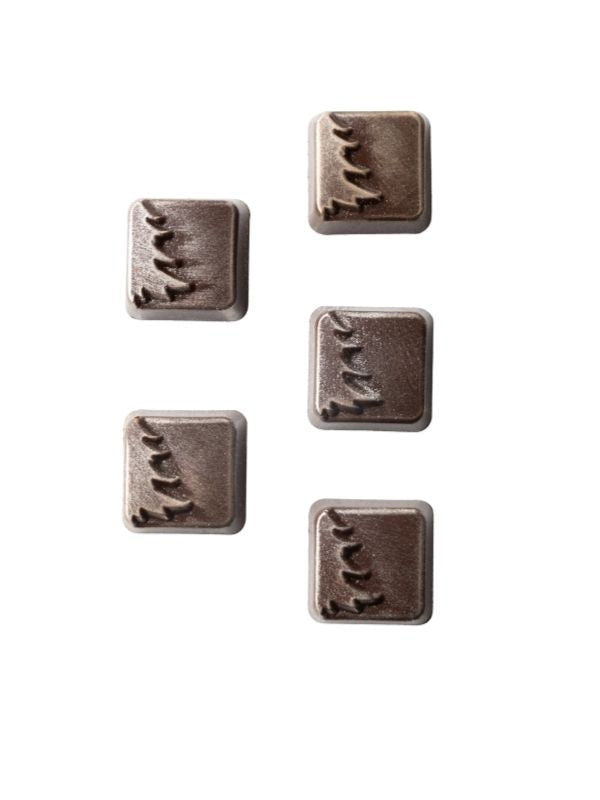
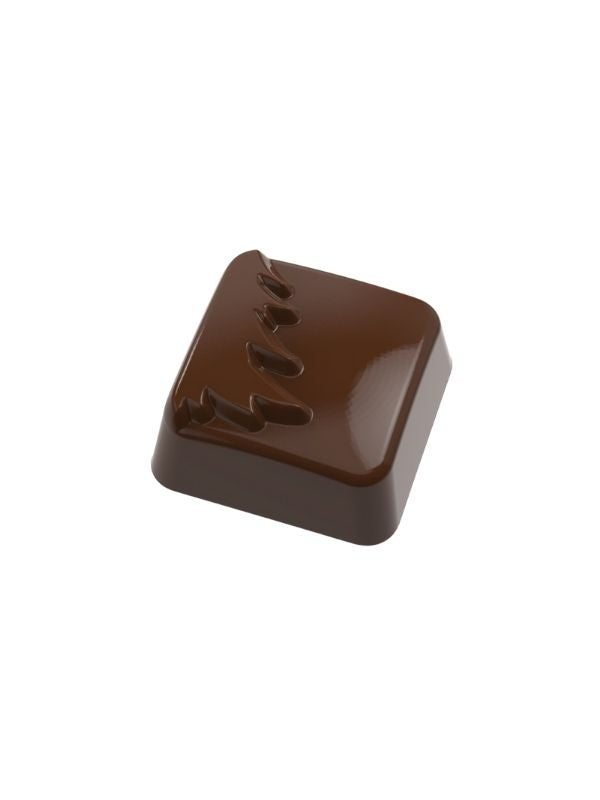
CM 4095 PLAIN SQUARE 14gr. CHOCOLATE MOULD
Choose your option
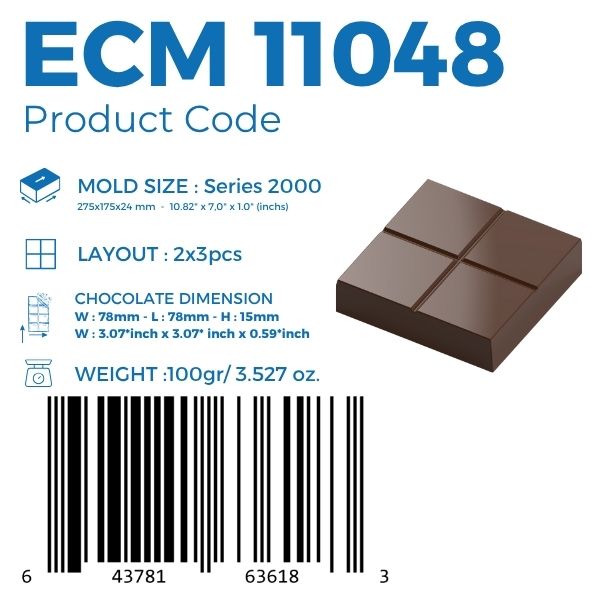
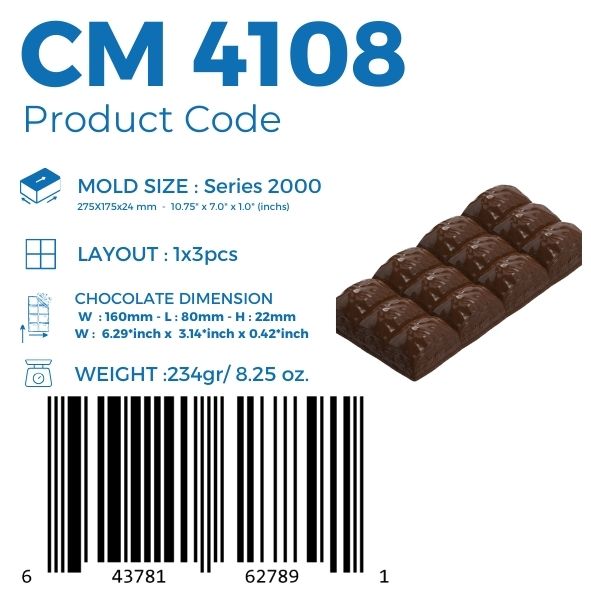
ECM 11048 SQUARE 100gr. TABLET CHOCOLATE MOULD
Choose your option
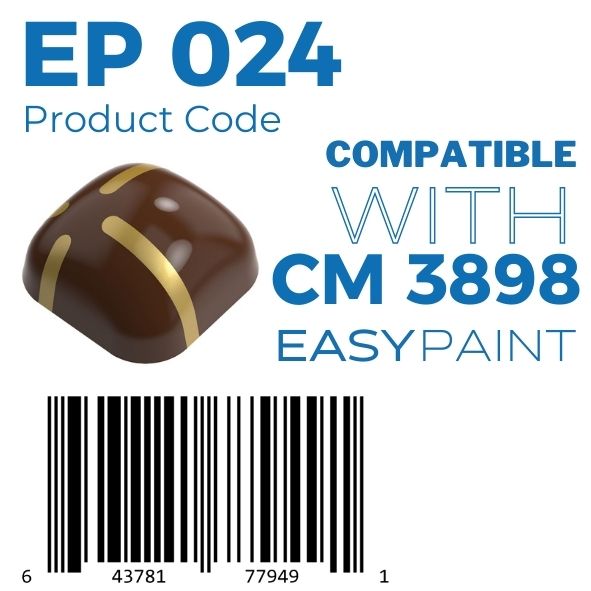
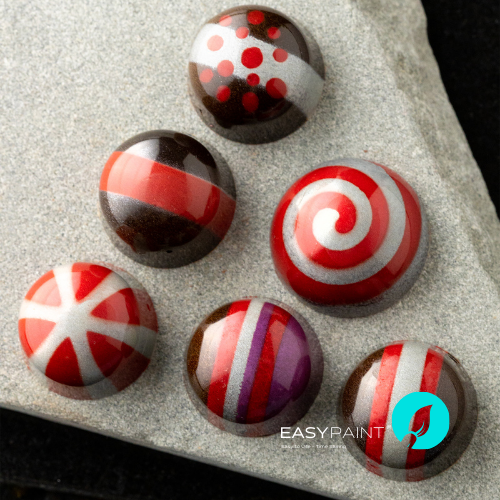
EP 001 EASYPAINT TEMPLATE COMPATIBLE WITH CM 3262
Choose your option
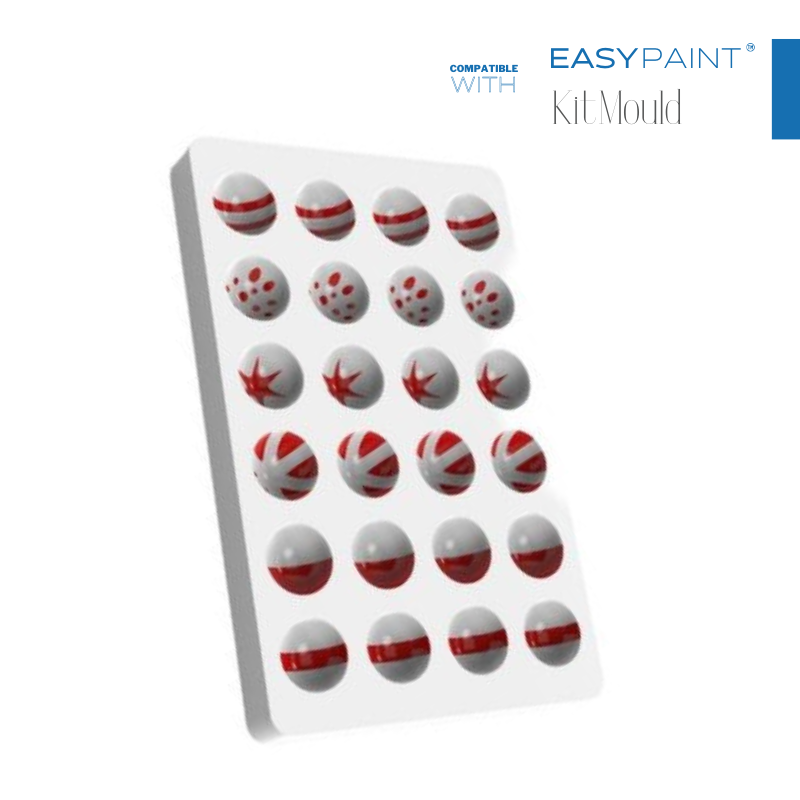
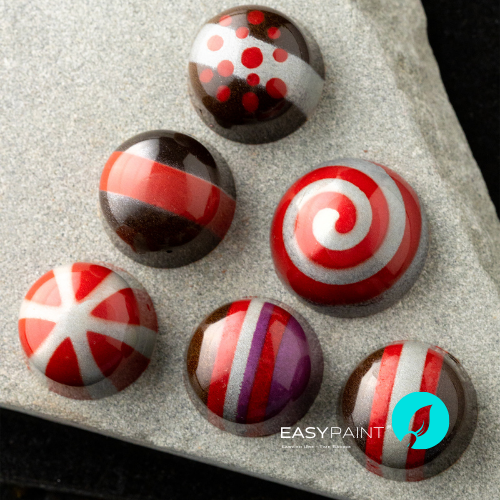
EP 011 EASYPAINT PAINTING TEMPLATE
Choose your option

EP 004 EASYPAINT TEMPLATE COMPATIBLE WITH CM 3262
Choose your option
EP 002 EASYPAINT TEMPLATE COMPATIBLE WITH CM 3262
Choose your option

EP 003 EASYPAINT TEMPLATE COMPATIBLE WITH CM 3262
Choose your option
EP 023 MOLD PAINTING TOOL
Choose your option
EP 020 MOLD PAINTING TOOL
Choose your option
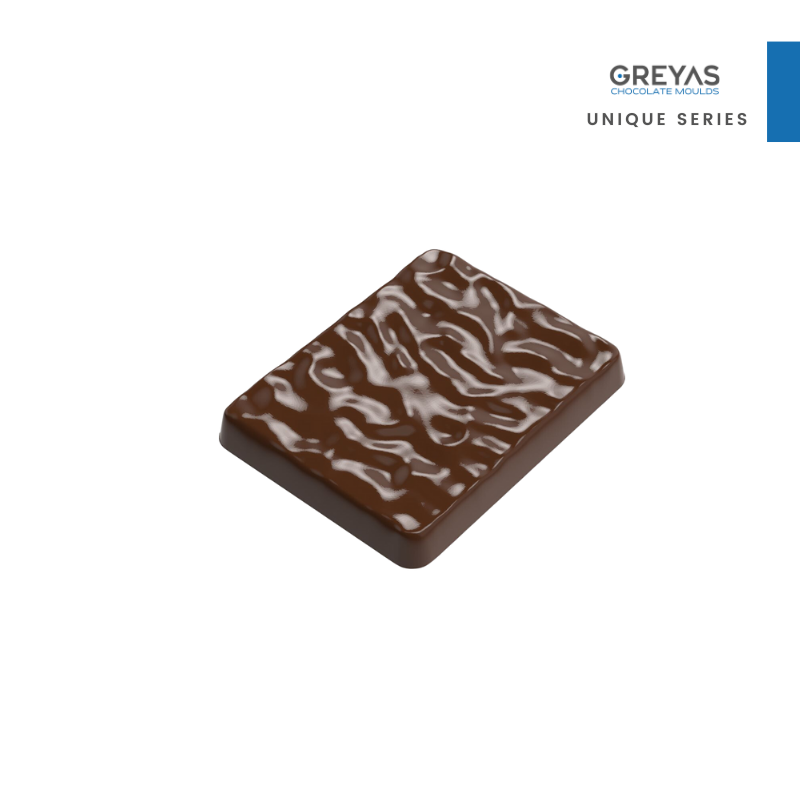
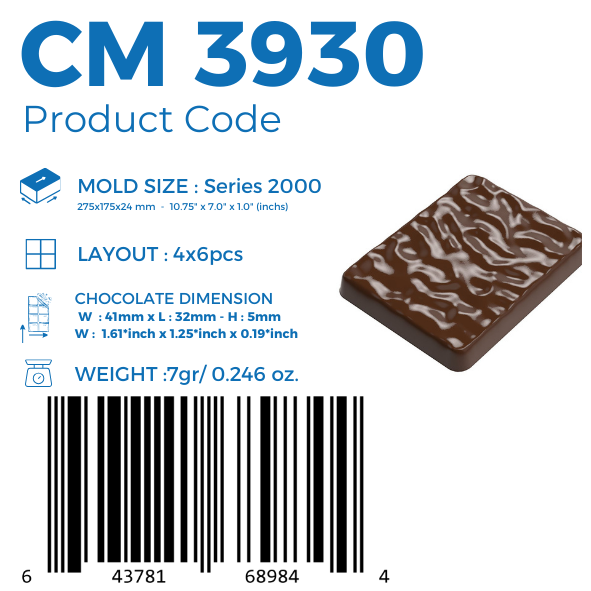
CM 3930 MINT CHOCOLATE MOULD
Choose your option
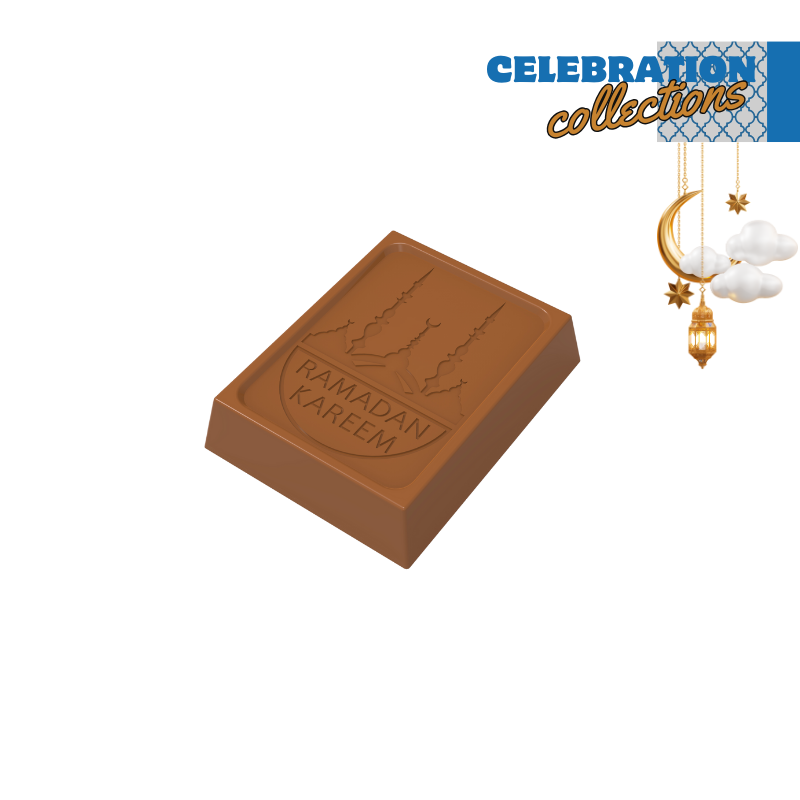

CM 1449 RAMADAN KAREEM CHOCOLATE MOULD
Choose your option
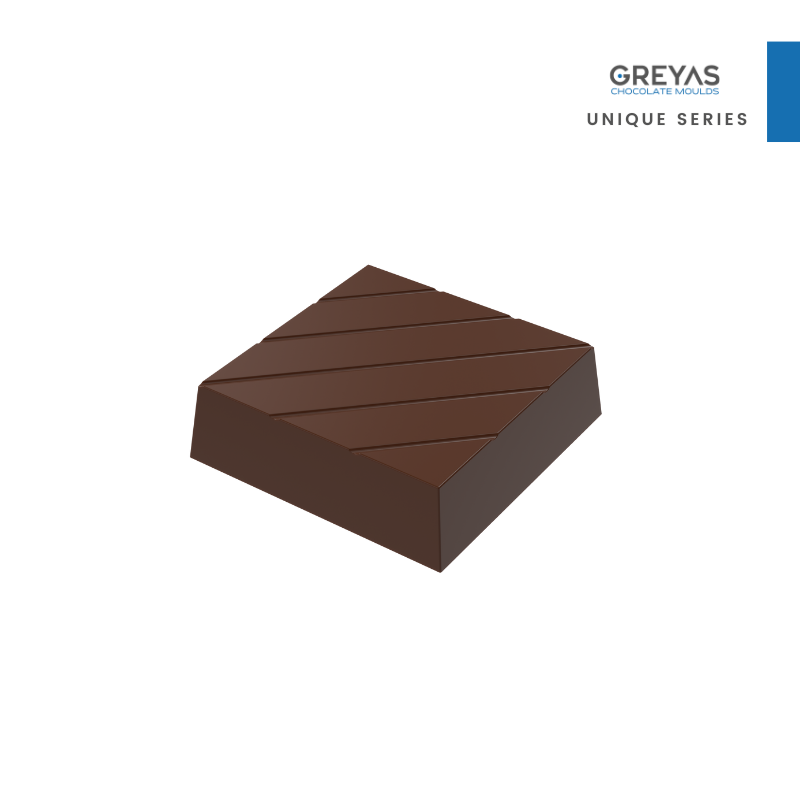

CM 1402 SQUARE LINE 16gr CHOCOLATE MOULD
Choose your option
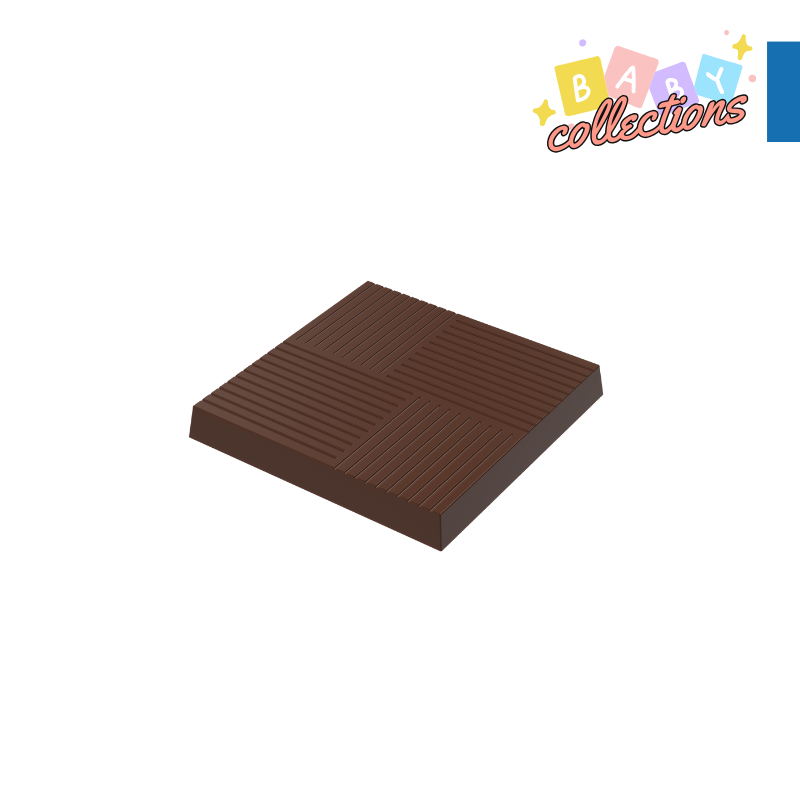
CM 1384 SQUARE LINE 9,5gr CHOCOLATE MOULD
Choose your option

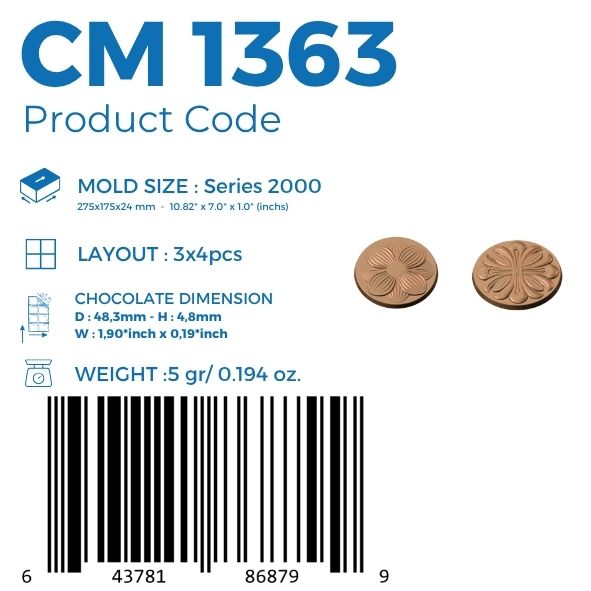
CM 1363 CIRCLE CARAQUE 5,5gr CHOCOLATE MOULD
Choose your option
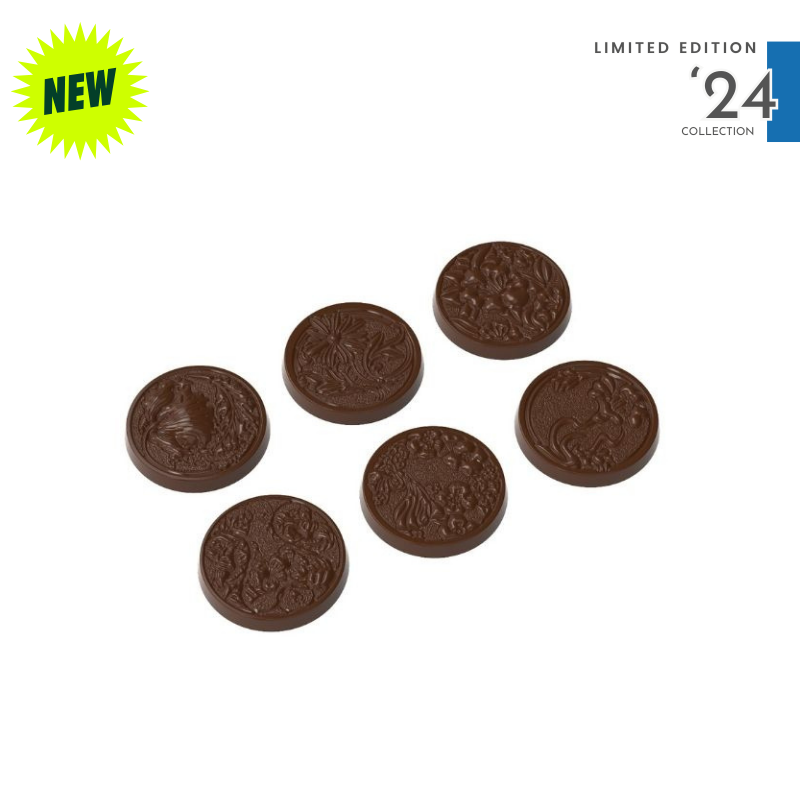
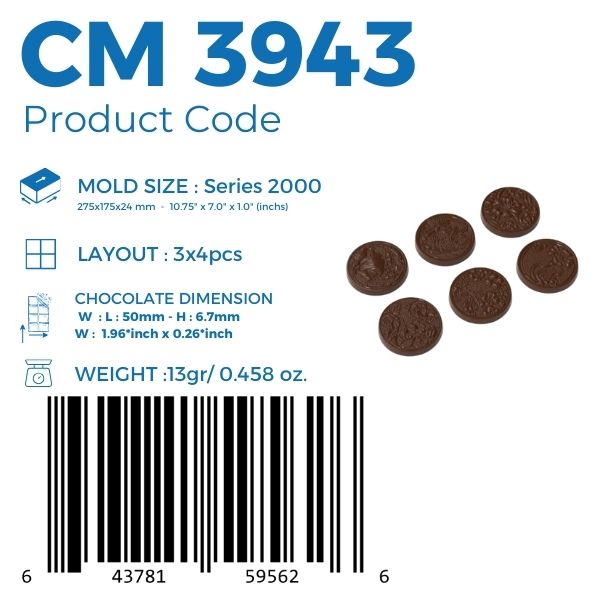
CM 3943 FLOWER CARAQUE CHOCOLATE MOULD
Choose your option
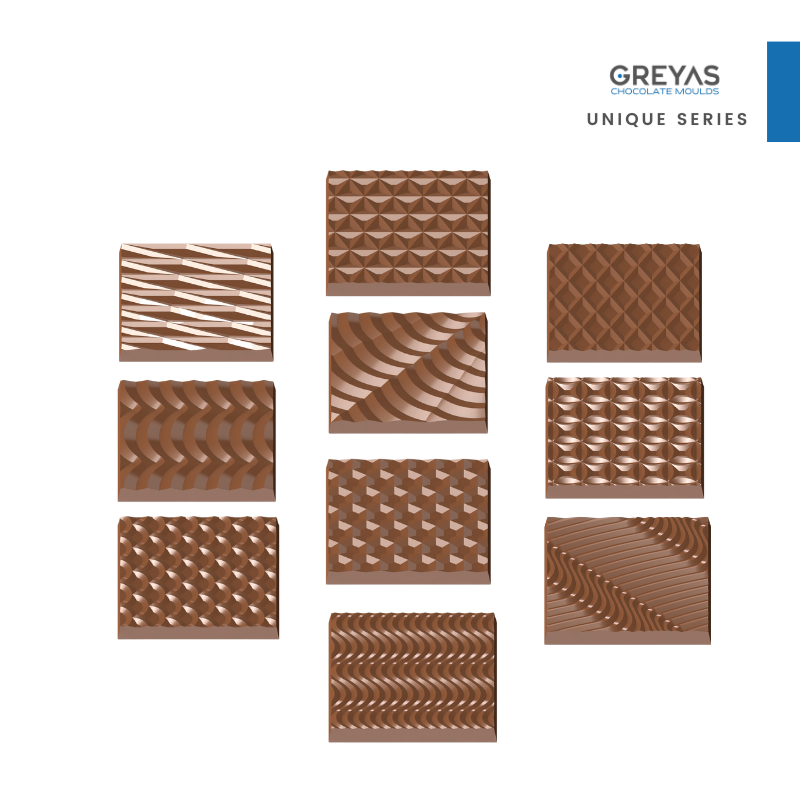
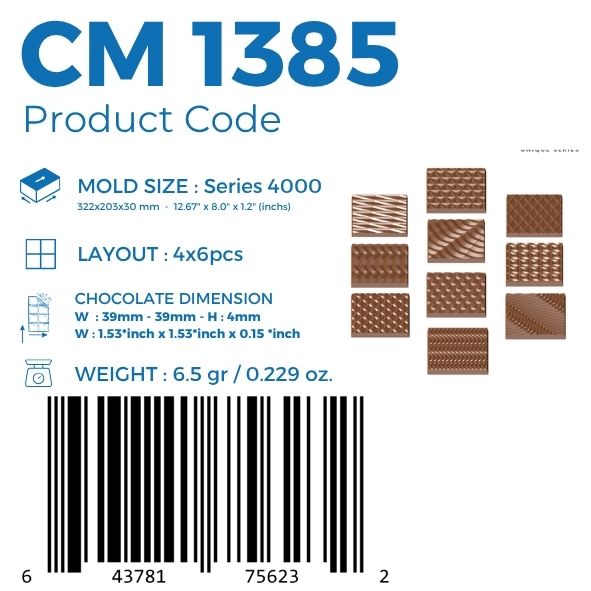
CM 1385 SQUARE MIX CARAQUE CHOCOLATE MOULD
Choose your option
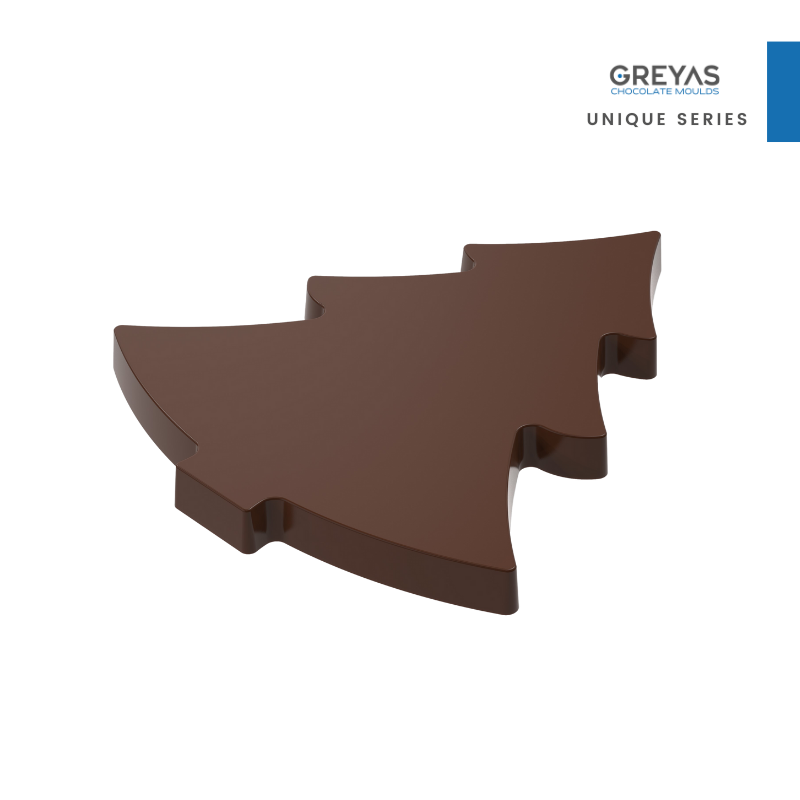
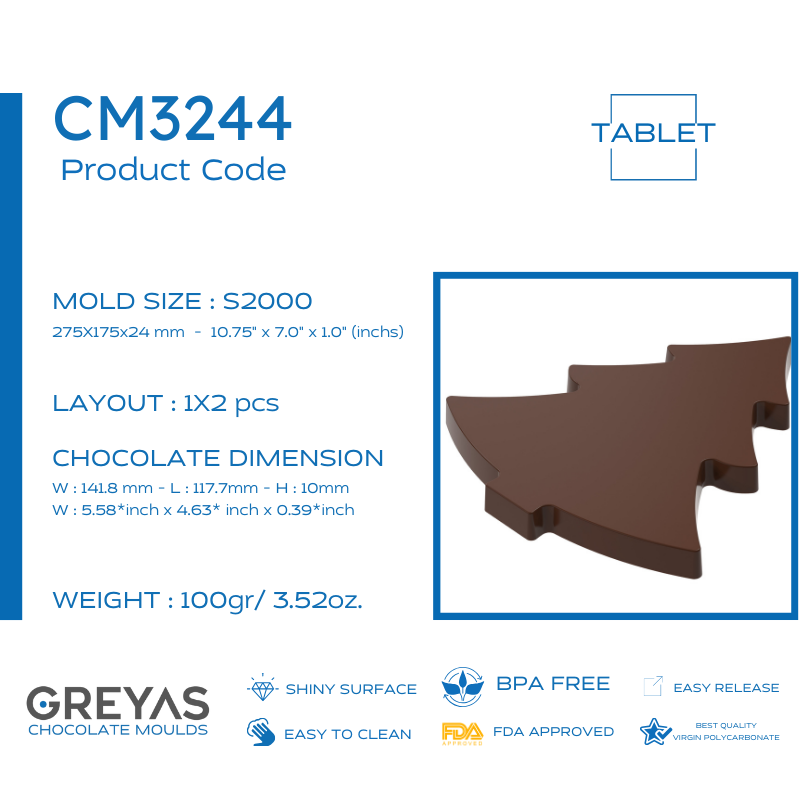
CM 3244 TREE TABLET 100gr CHOCOLATE MOULD
Choose your option
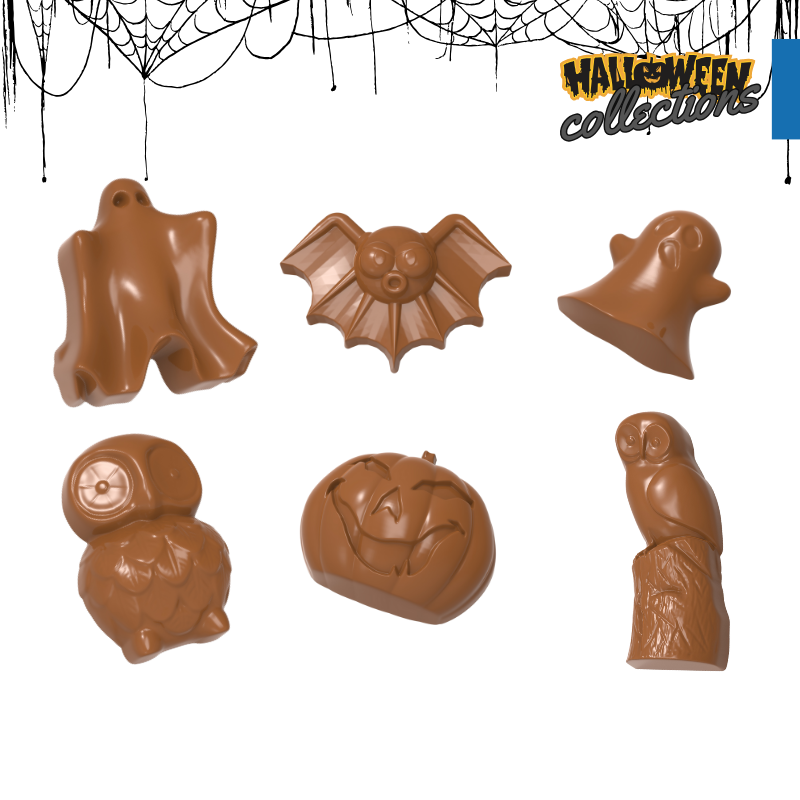
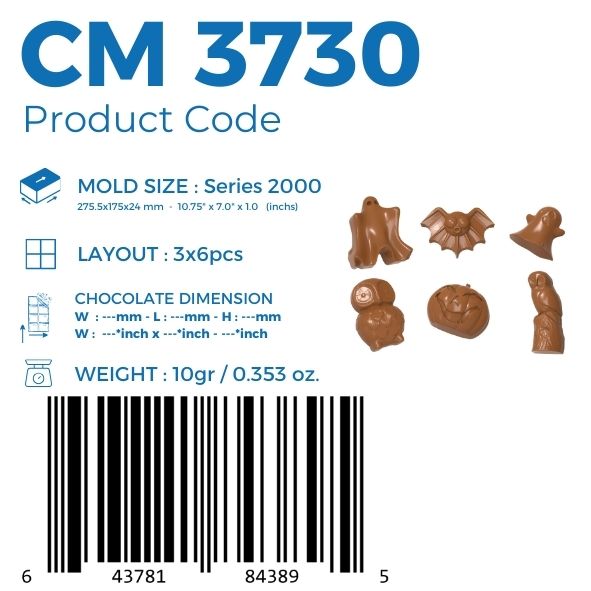
CM 3730 HALLOWEEN MIX PRALINE CHOCOLATE MOULD
Choose your option
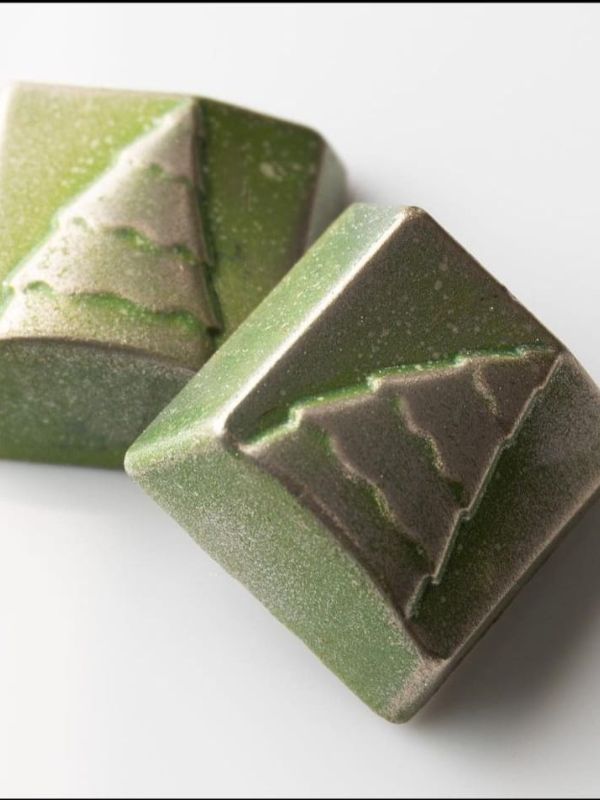
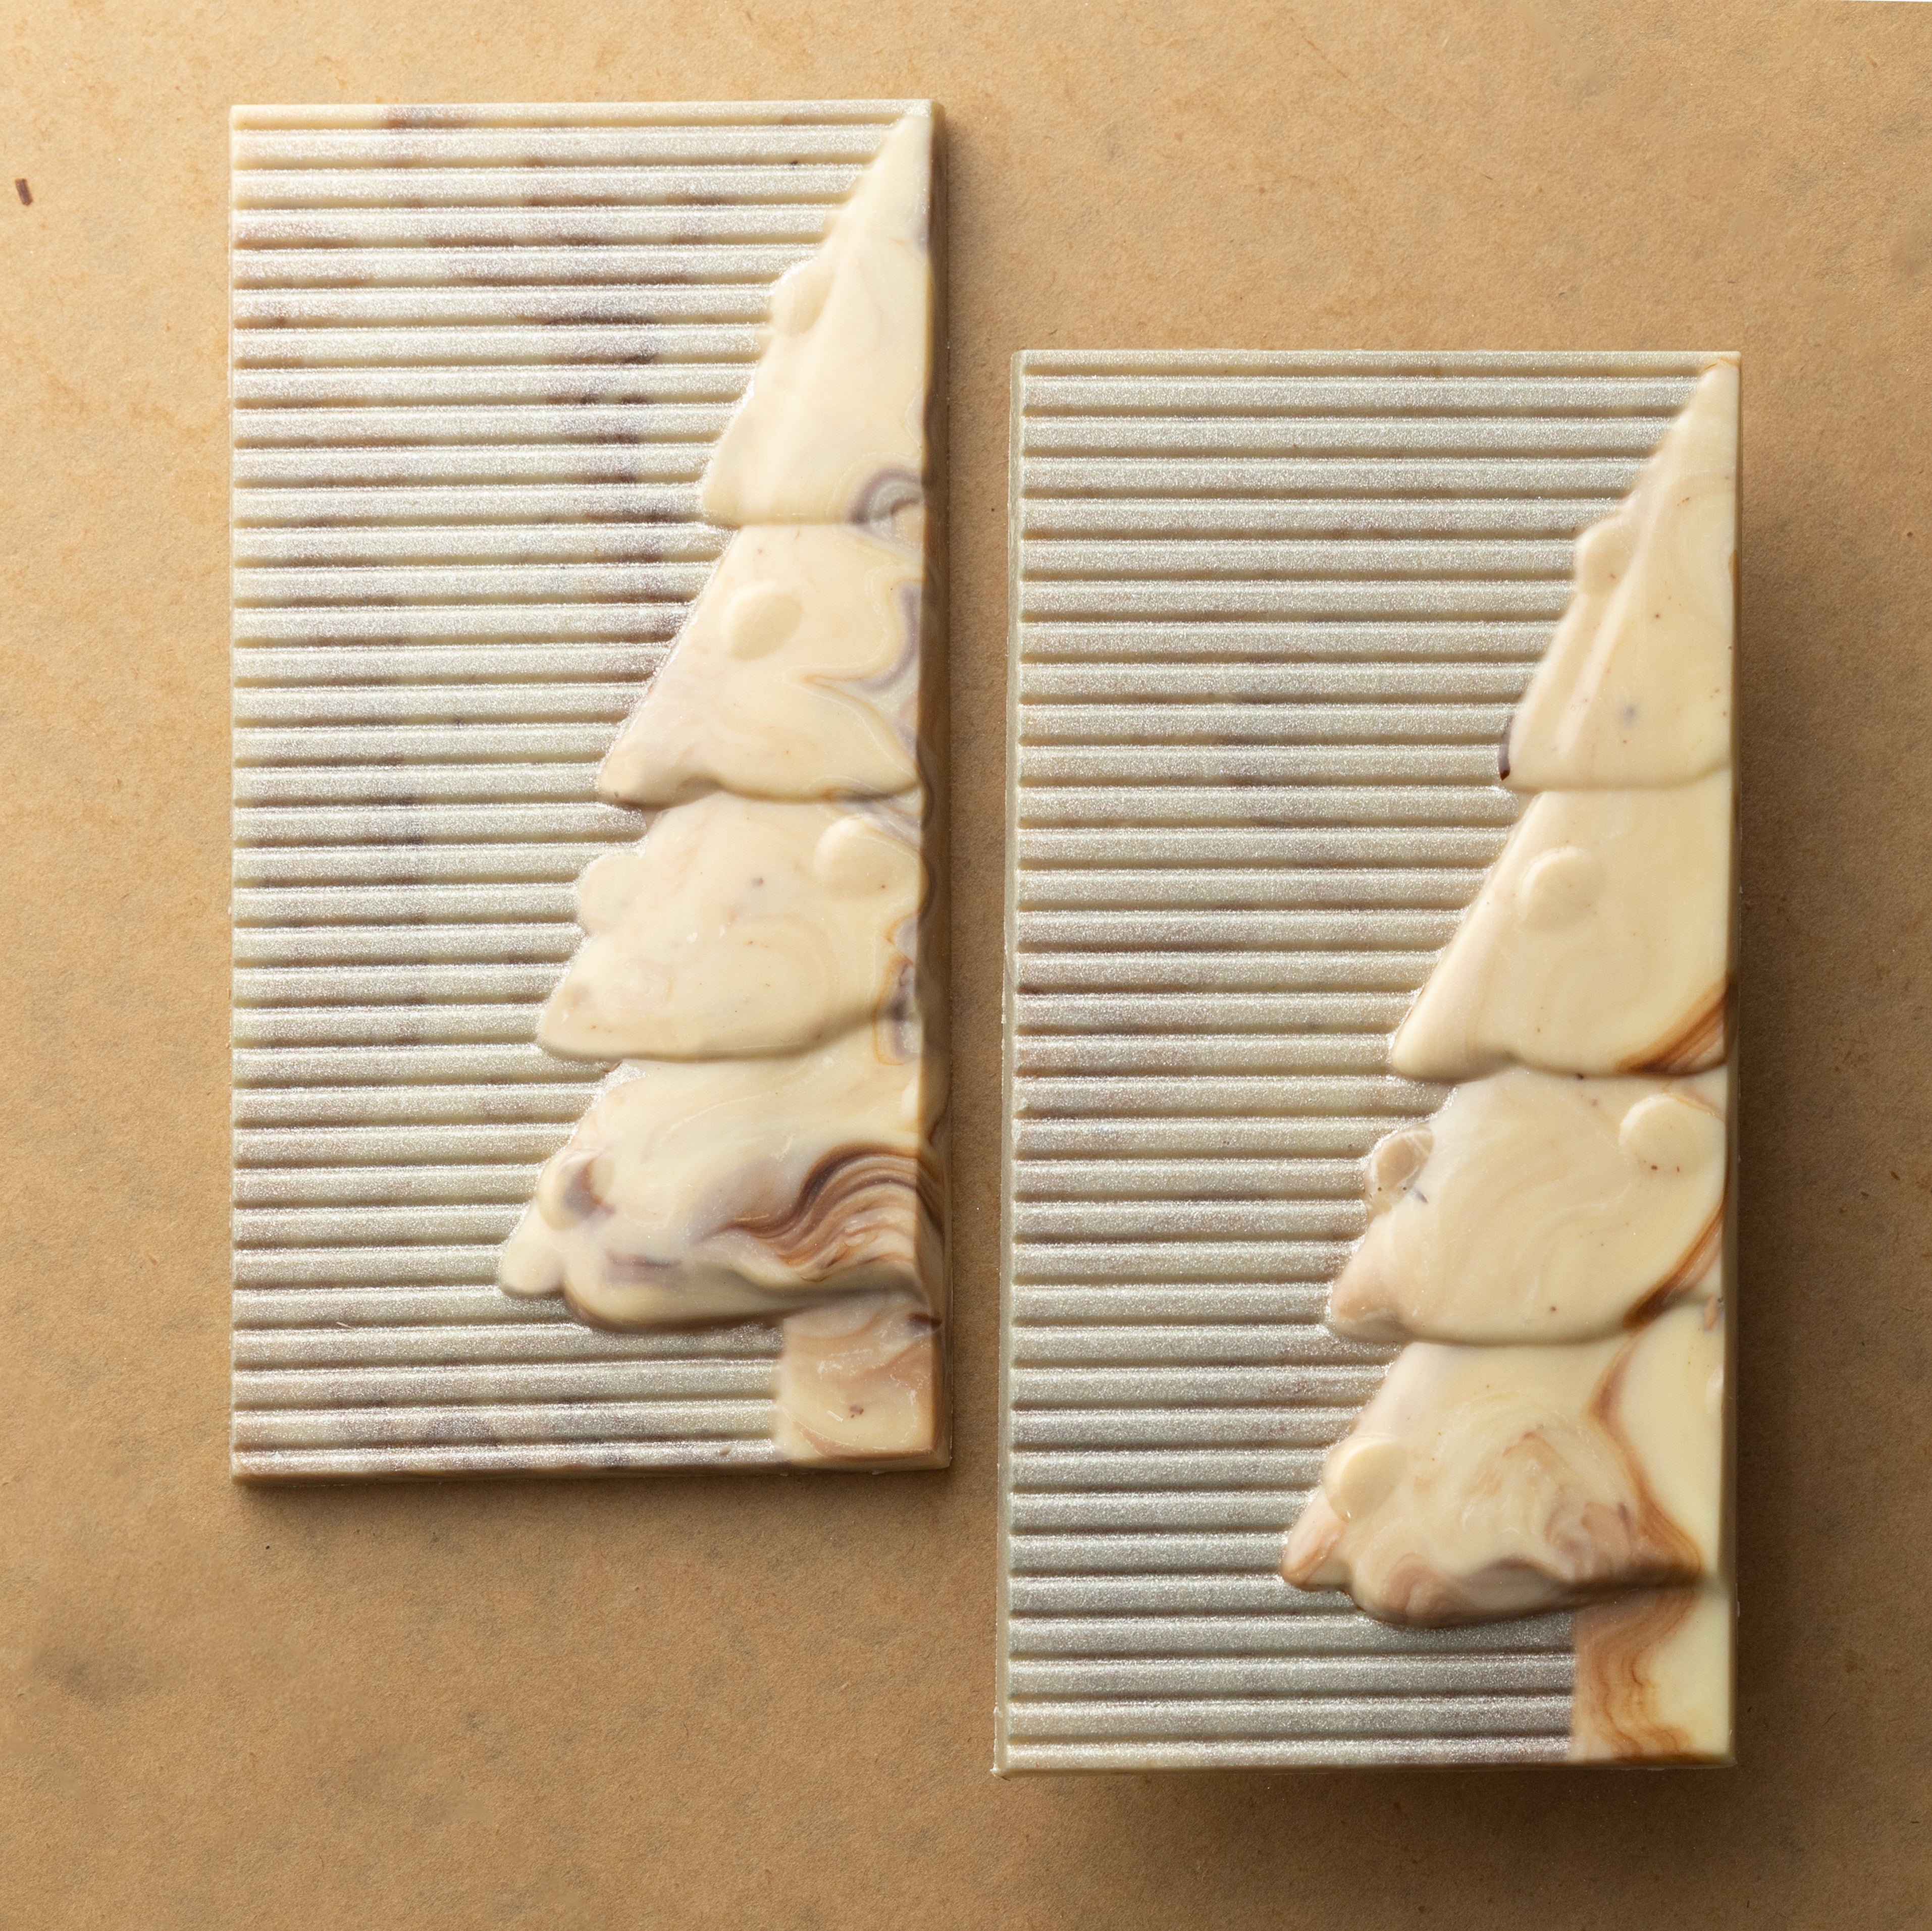
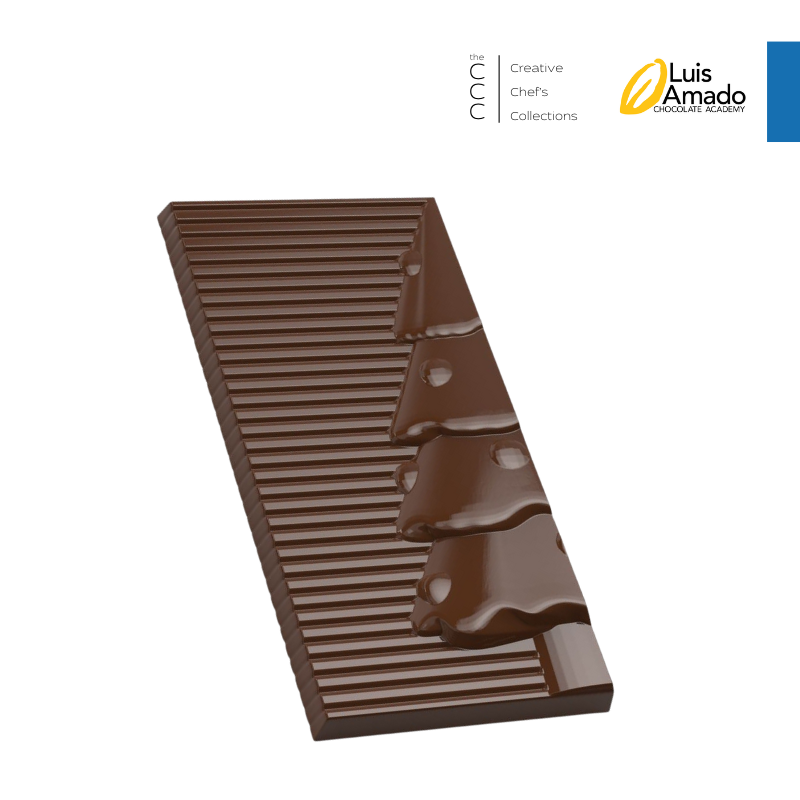
CM 3582 ORNAMENT CHRISTMAS TREE TABLET CHOCOLATE MOULD
Choose your option
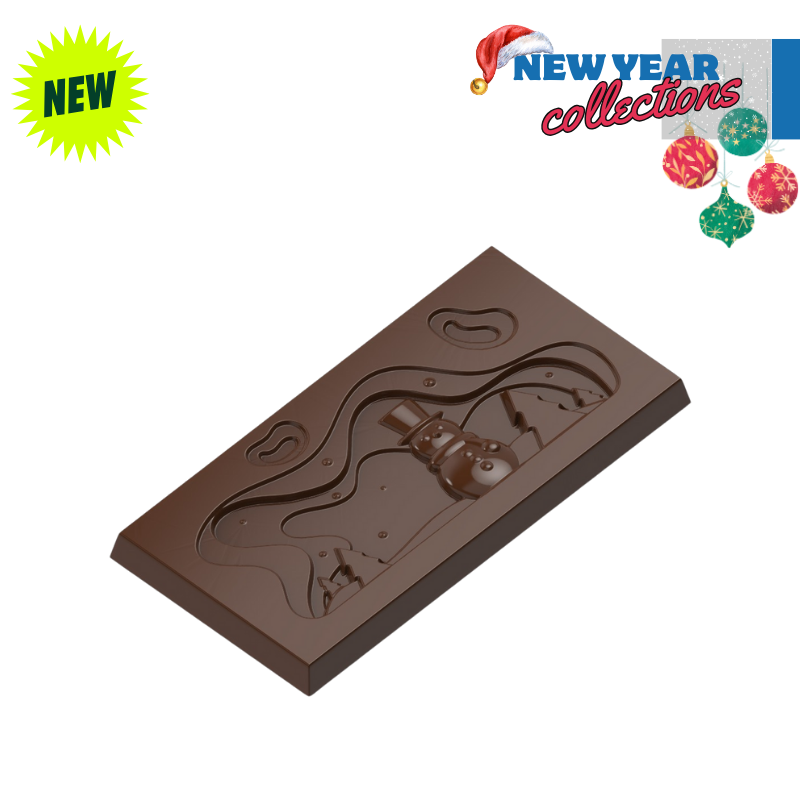
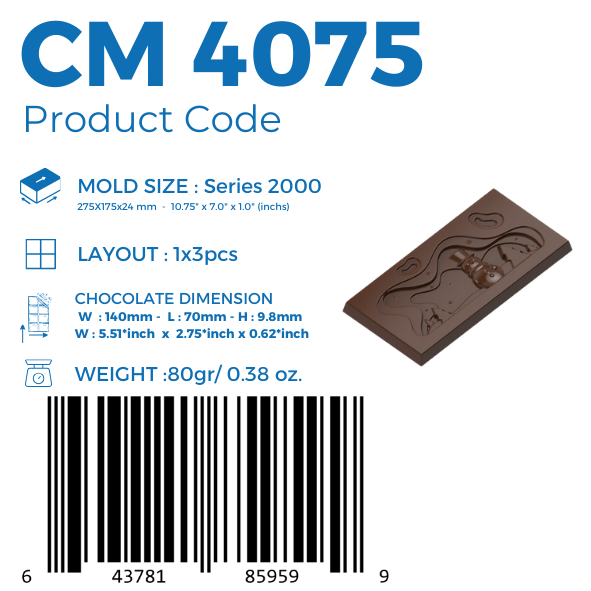
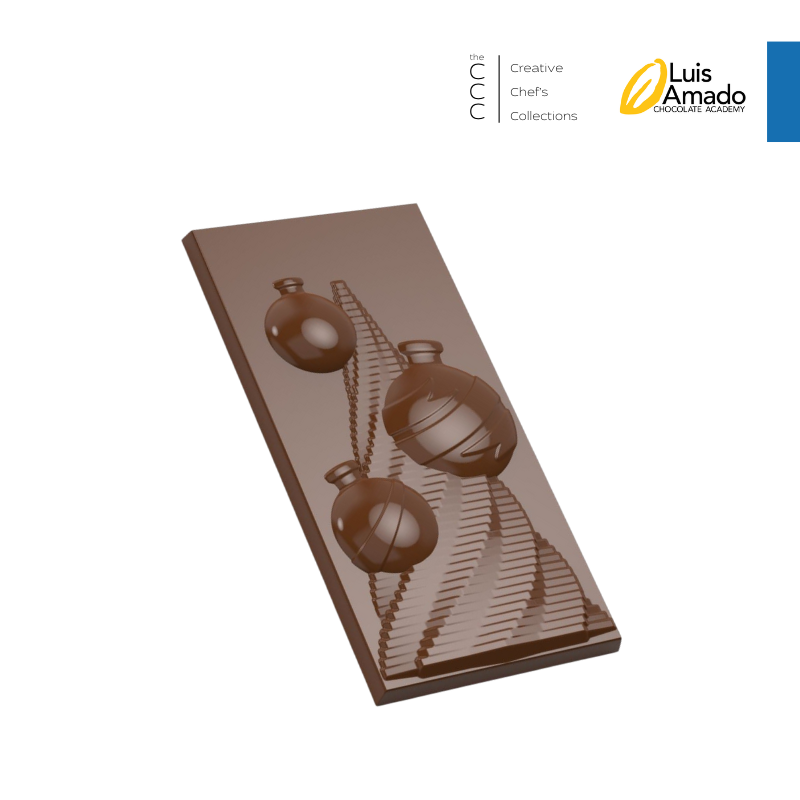
CM 4075 CHRISTMAS TABLET CHOCOLATE MOULD
Choose your option
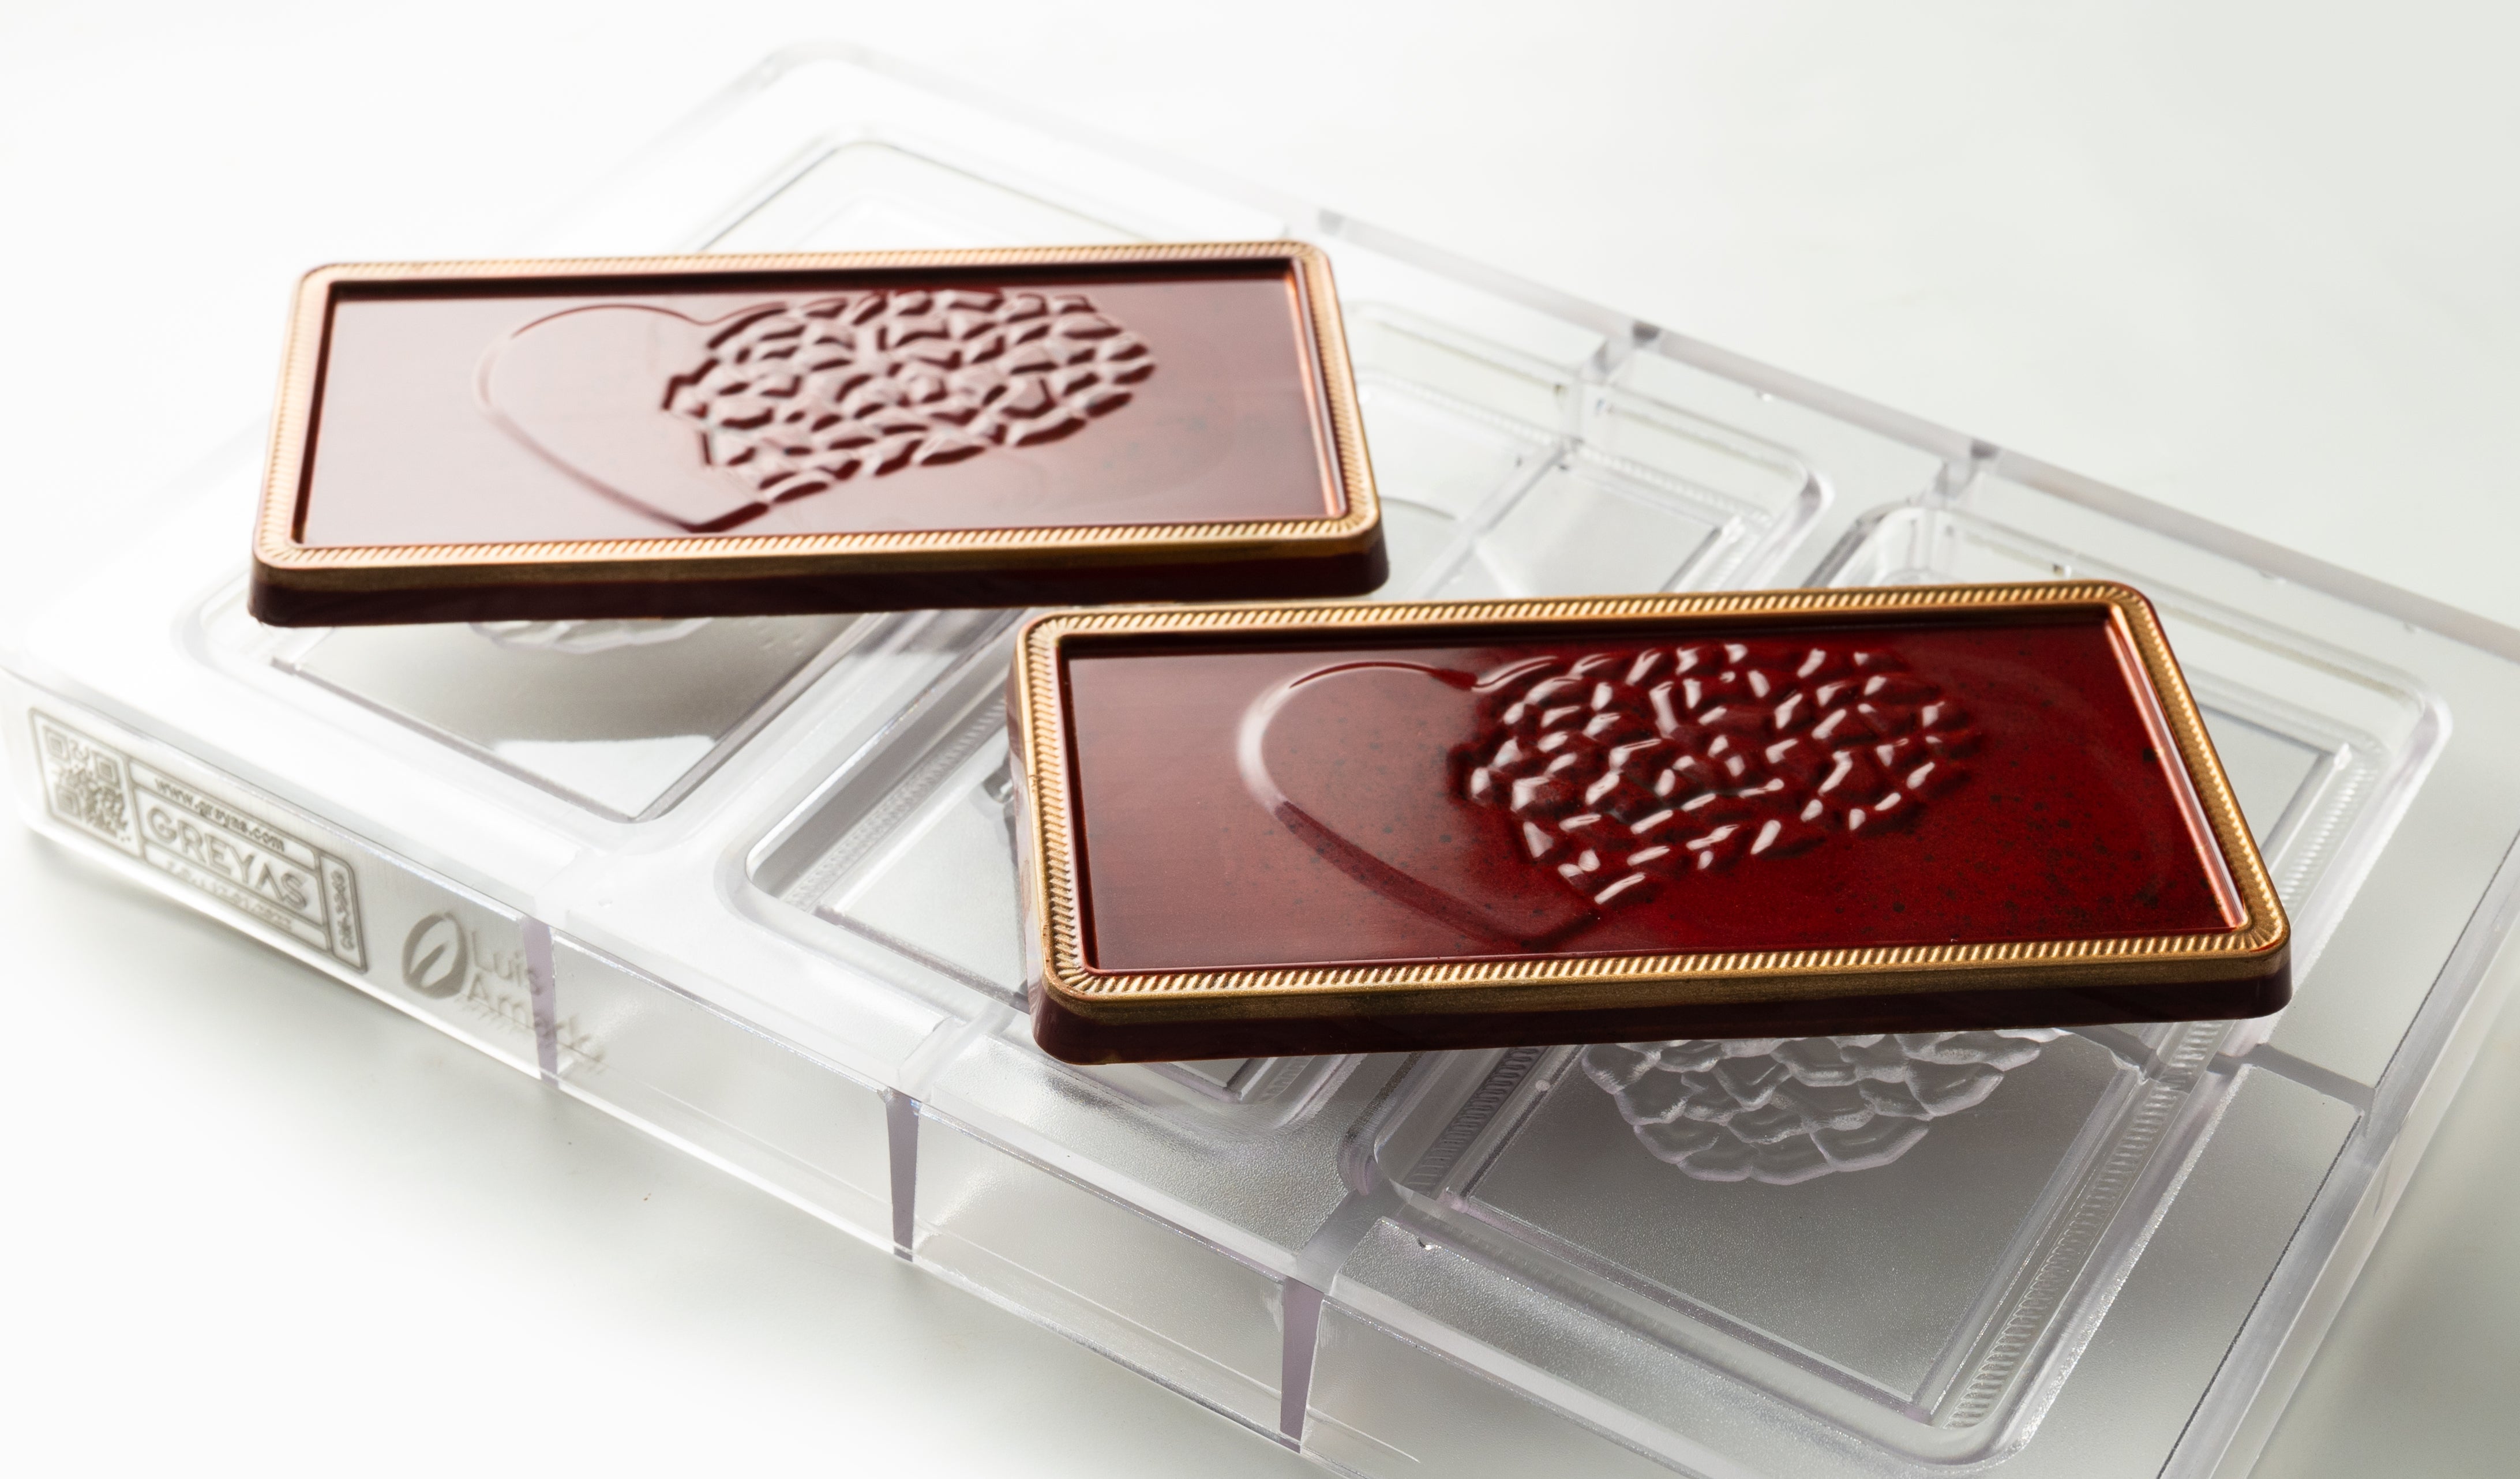
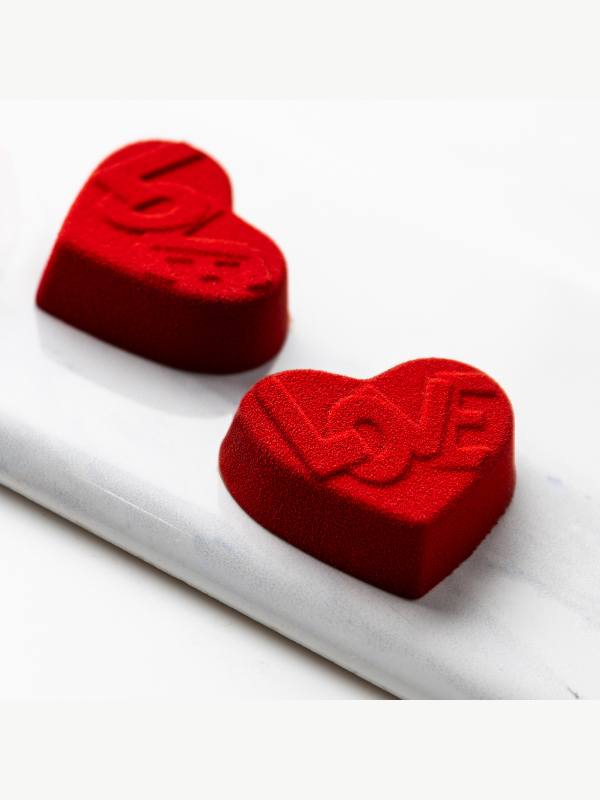
Besties🍫
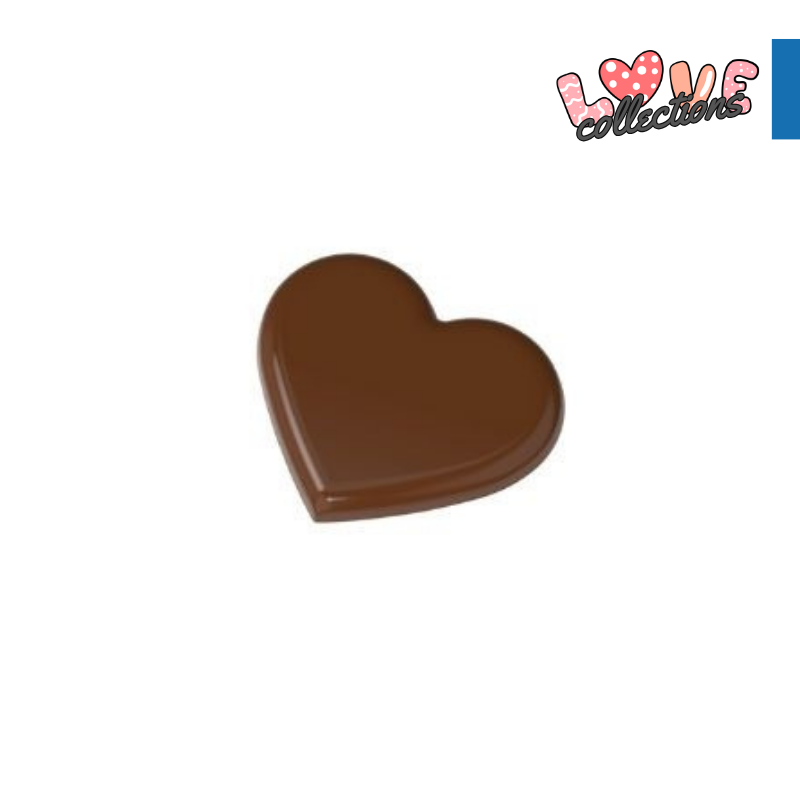
CM 3838 BIG HEART TABLET CHOCOLATE MOULD
Choose your option
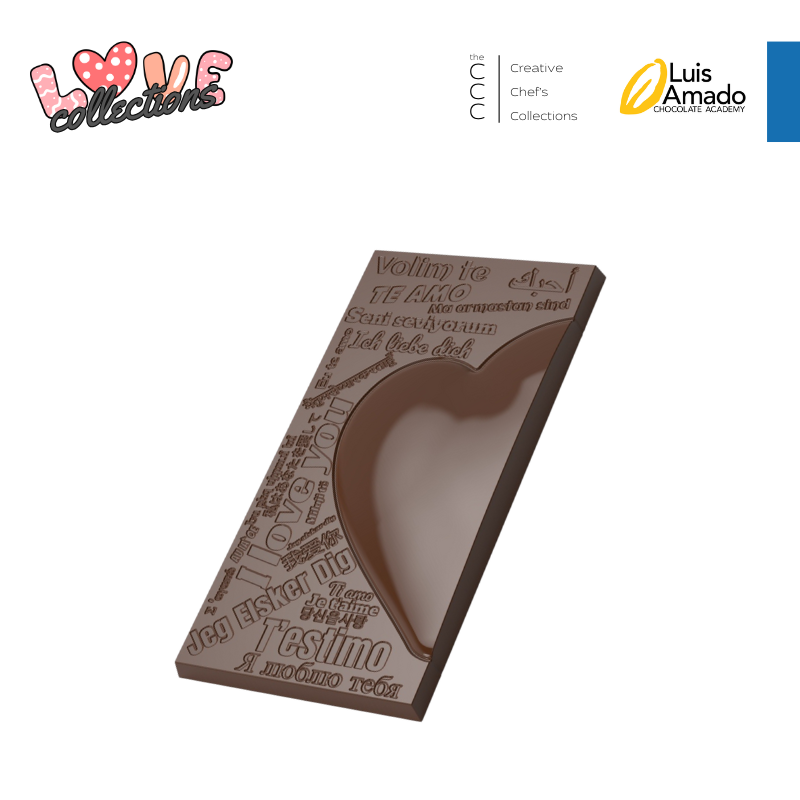
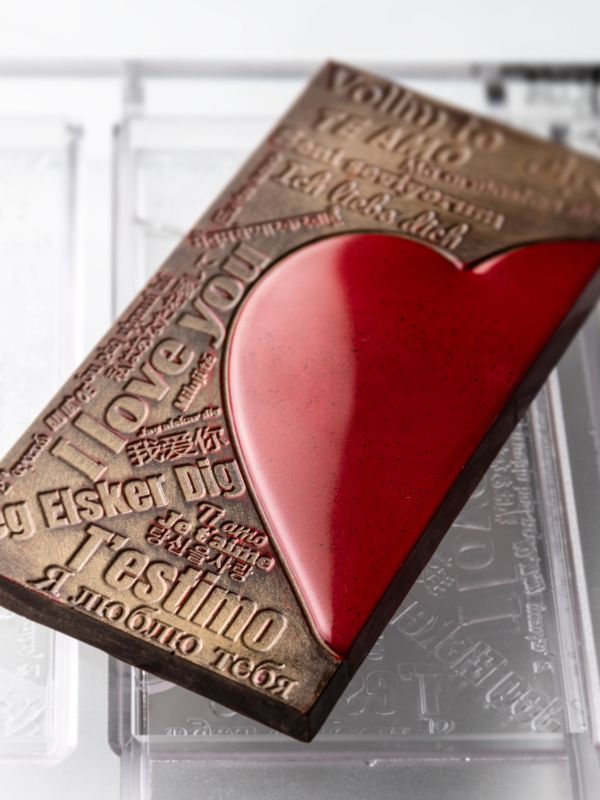
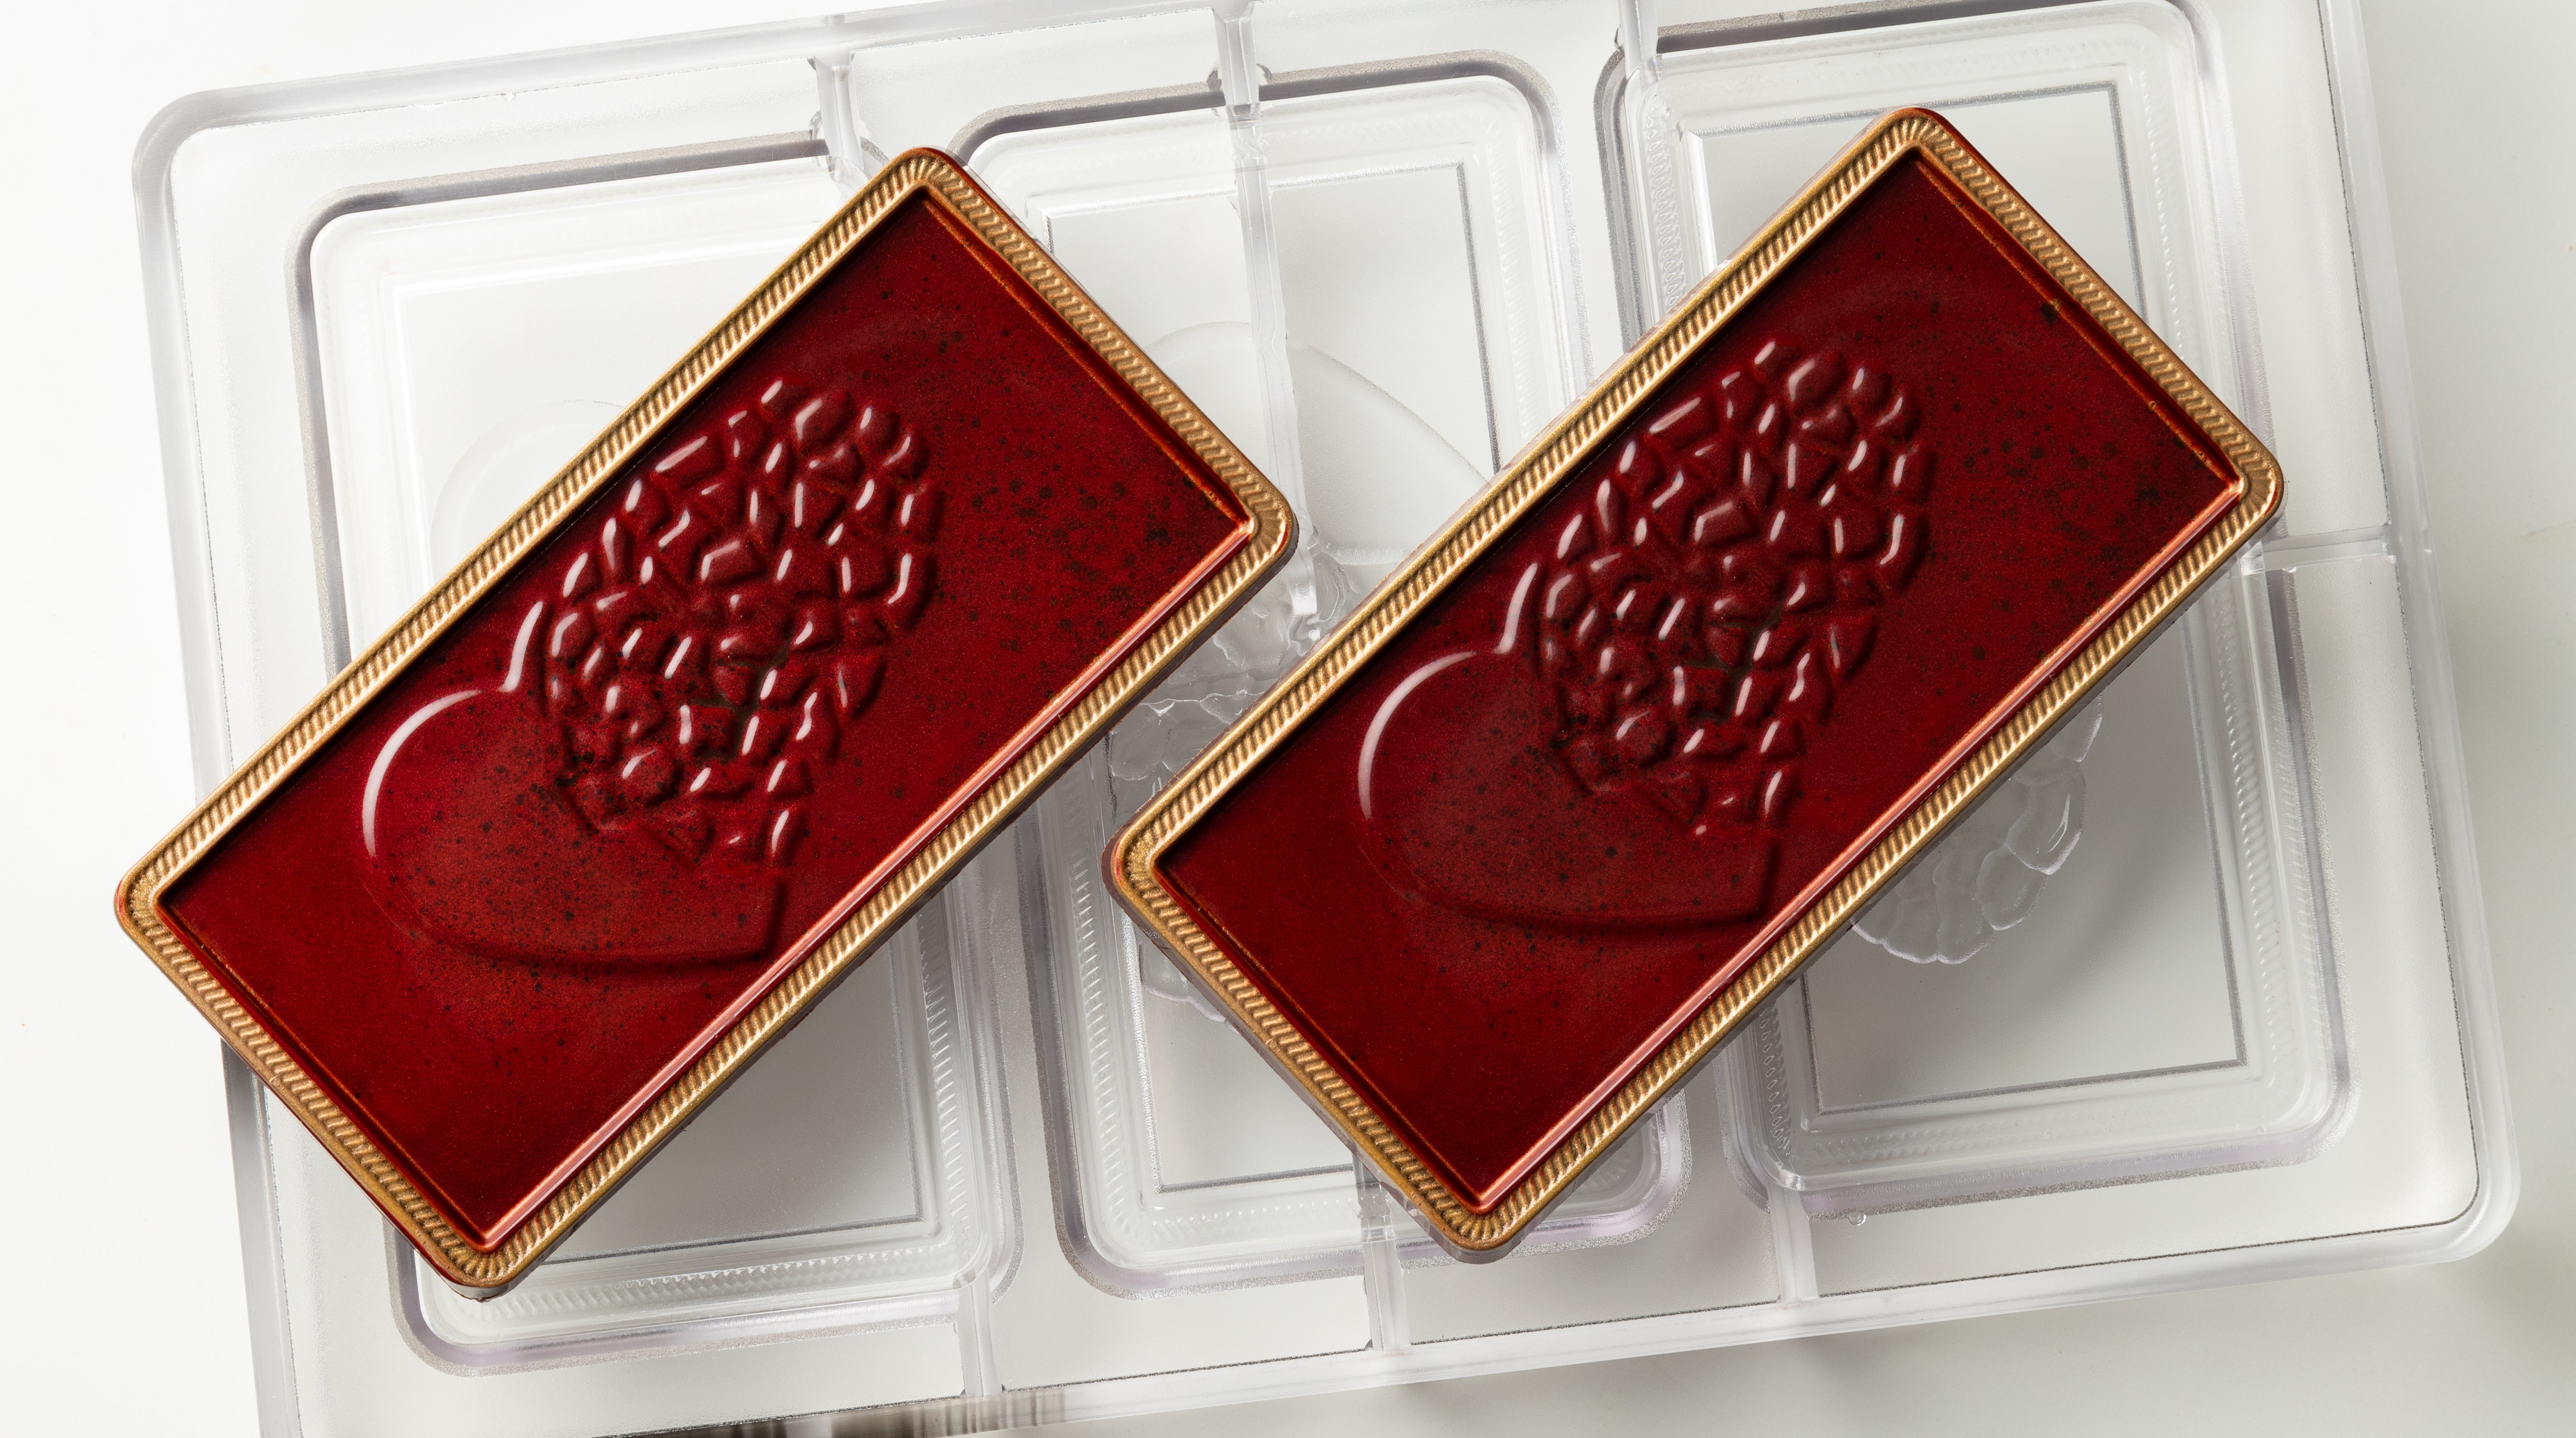
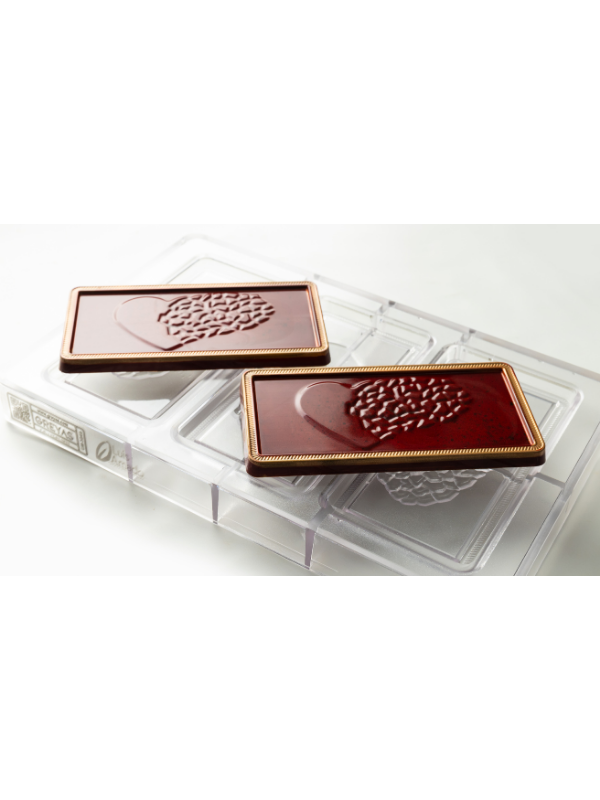
CM 3844 LUIS AMADO SIGNATURE HEART TABLET CHOCOLATE MOULD
Choose your option
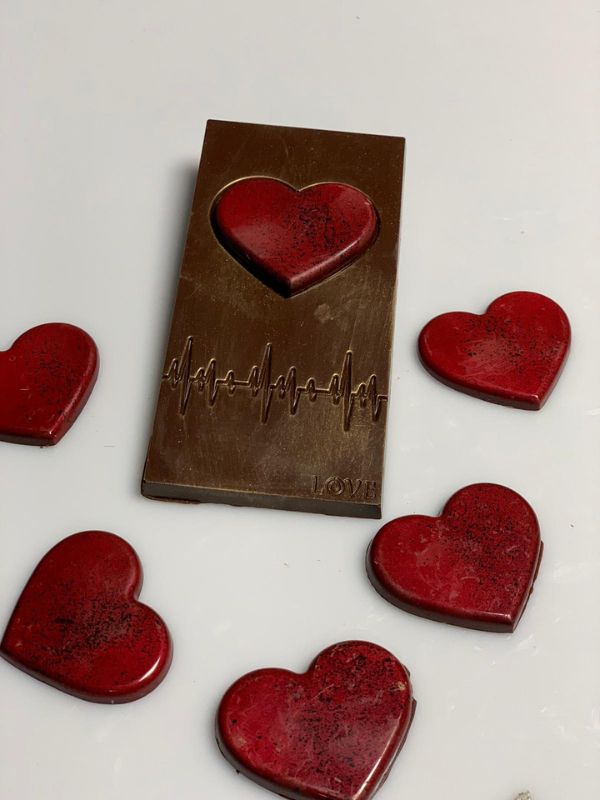
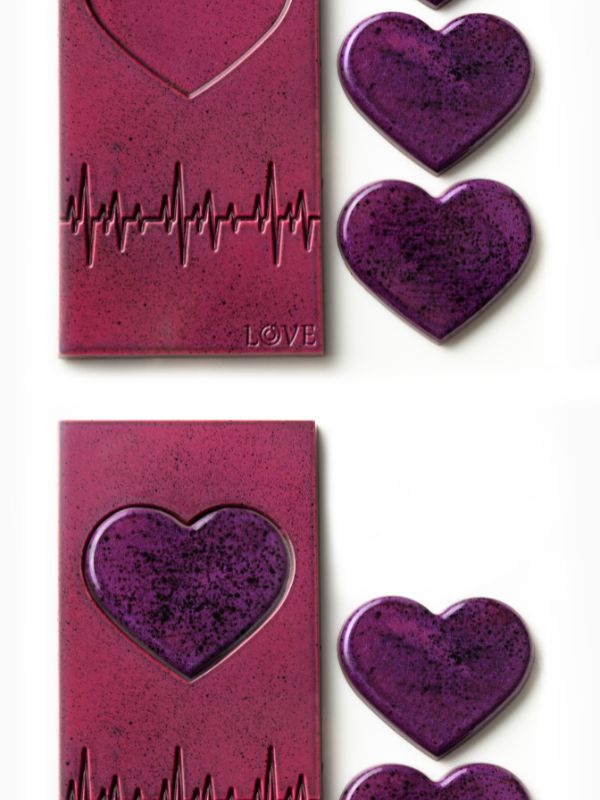
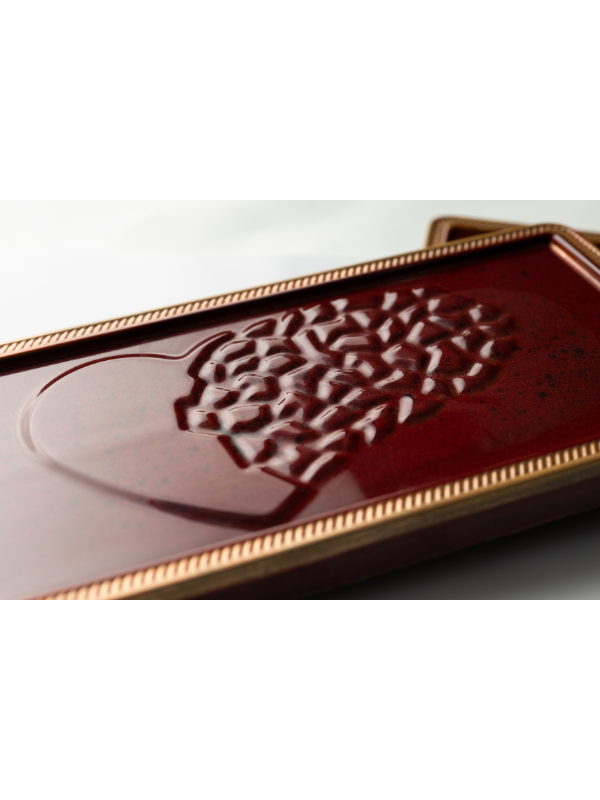
CM 3842 LUIS AMADO SIGNATURE RYTHM TABLET CHOCOLATE MOULD
Choose your option
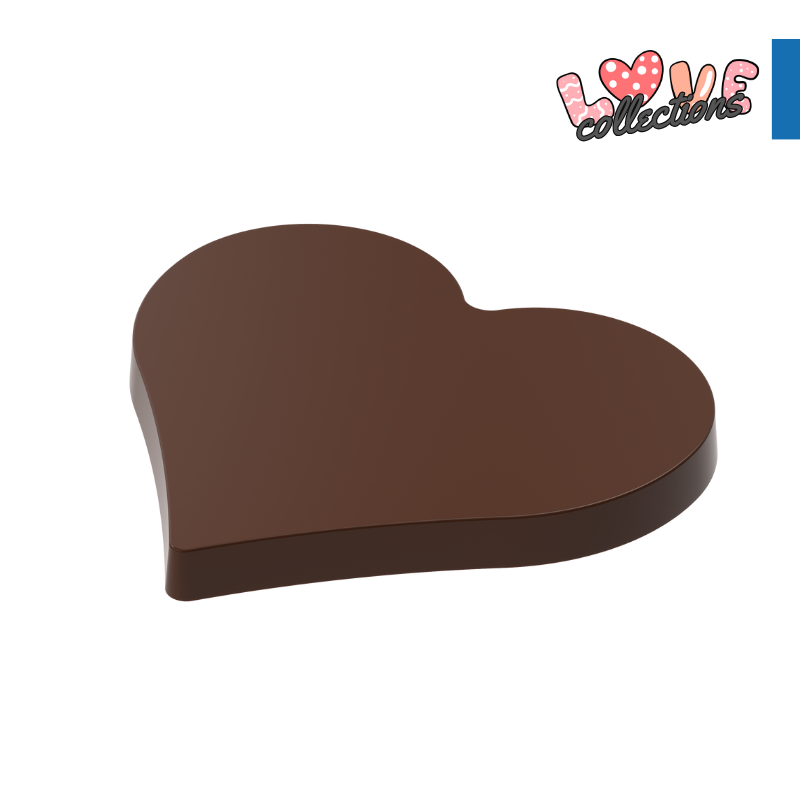
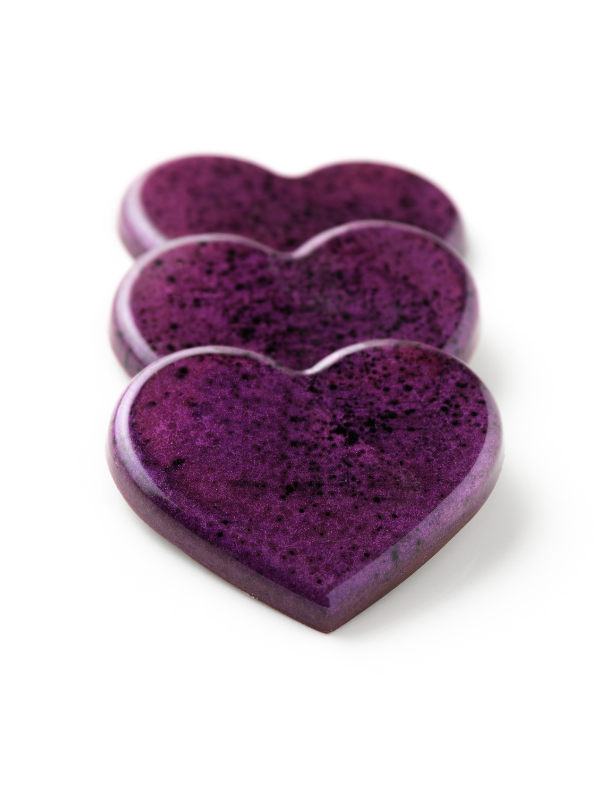
CM 3246 HEART TABLET 100gr CHOCOLATE MOULD
Choose your option
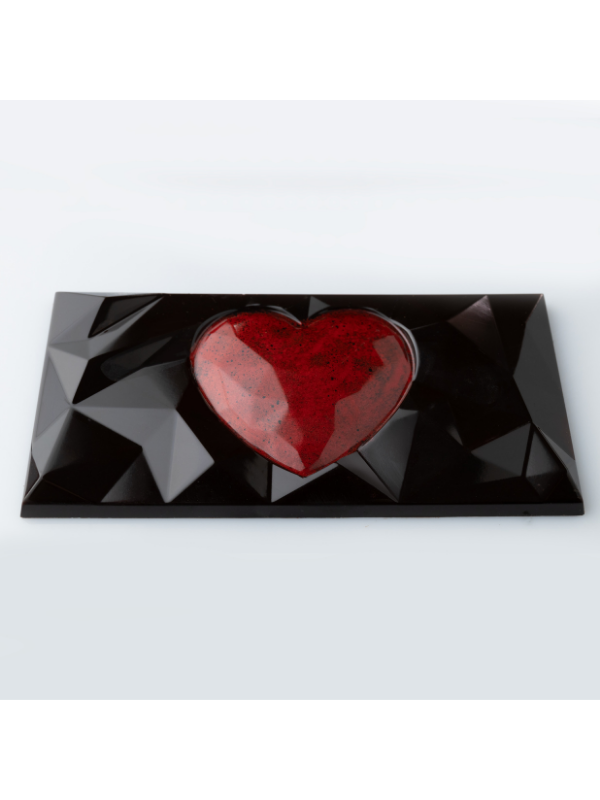
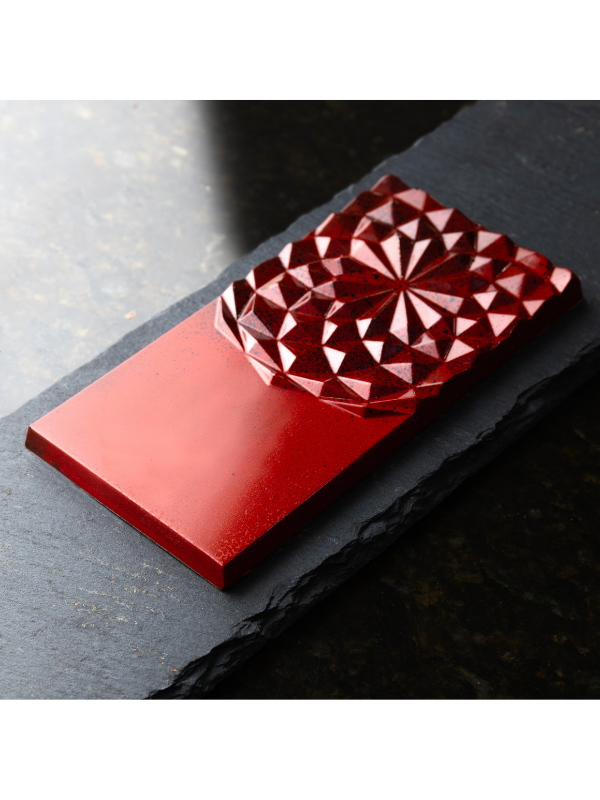
CM 4076 DIAMOND HEART TABLET CHOCOLATE MOULD
Choose your option
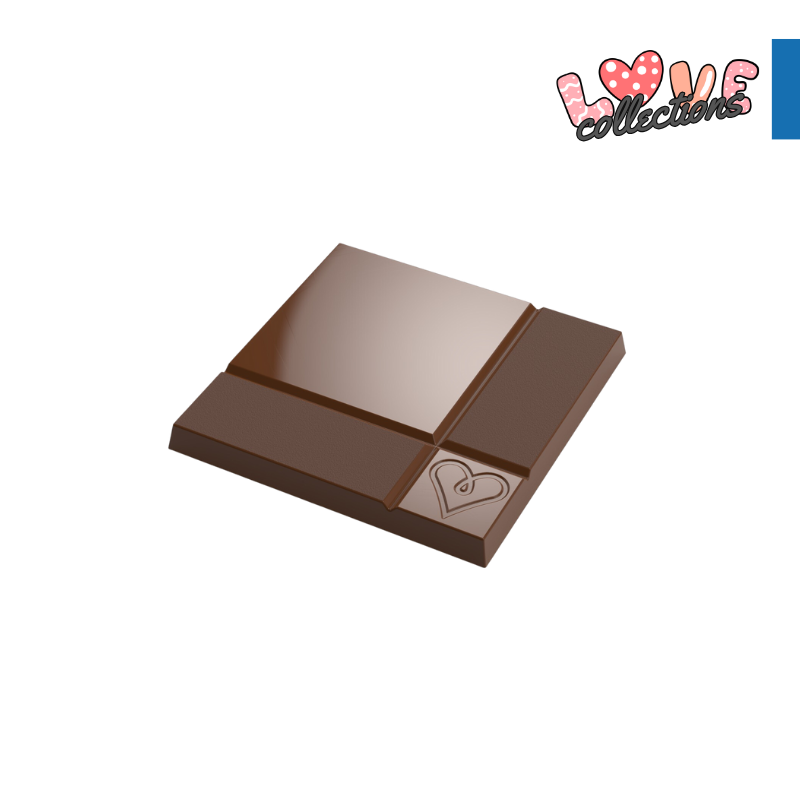
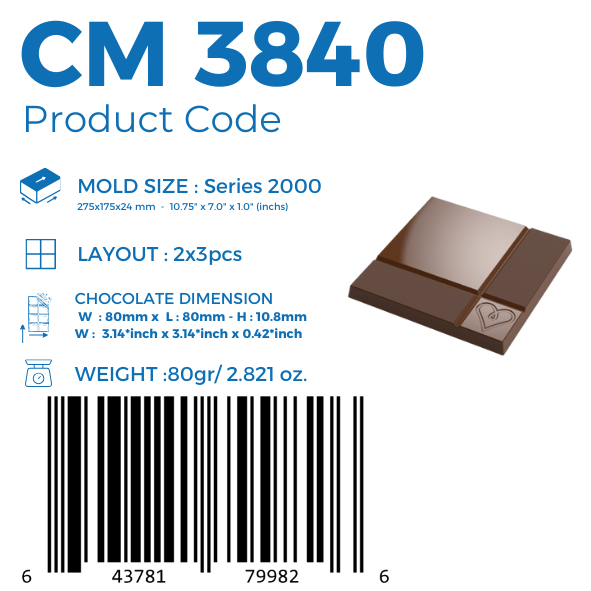
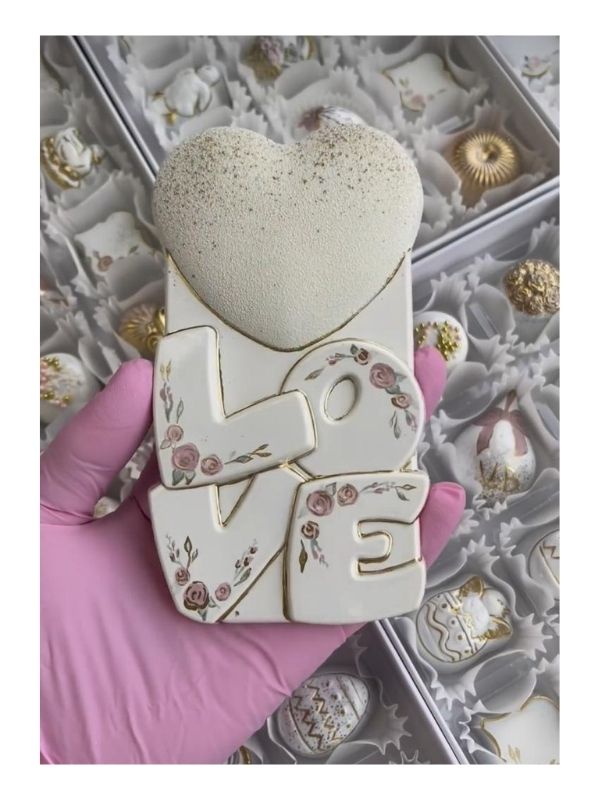
CM 3840 LUIS AMADO SIGNATURE SQUARE LOVE TABLET CHOCOLATE MOULD
Choose your option

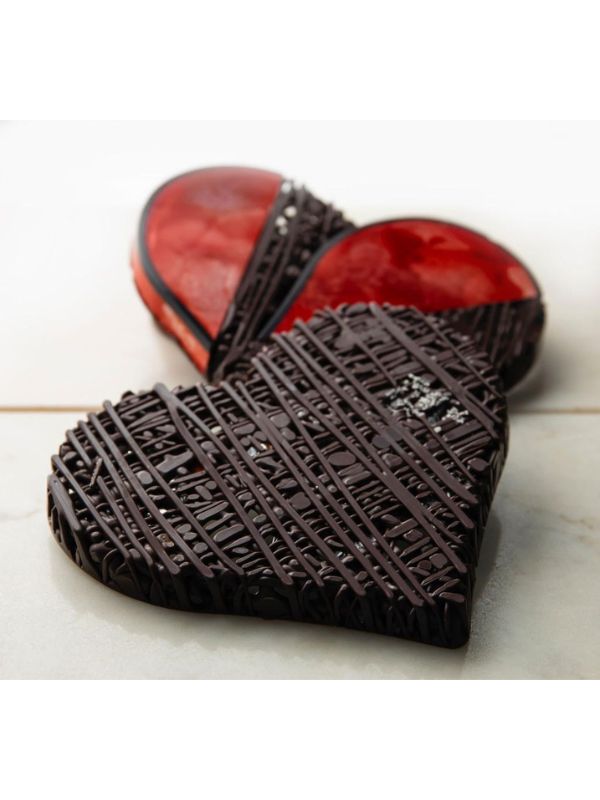
CM 3849 FRAME HEART TABLET CHOCOLATE MOULD
Choose your option
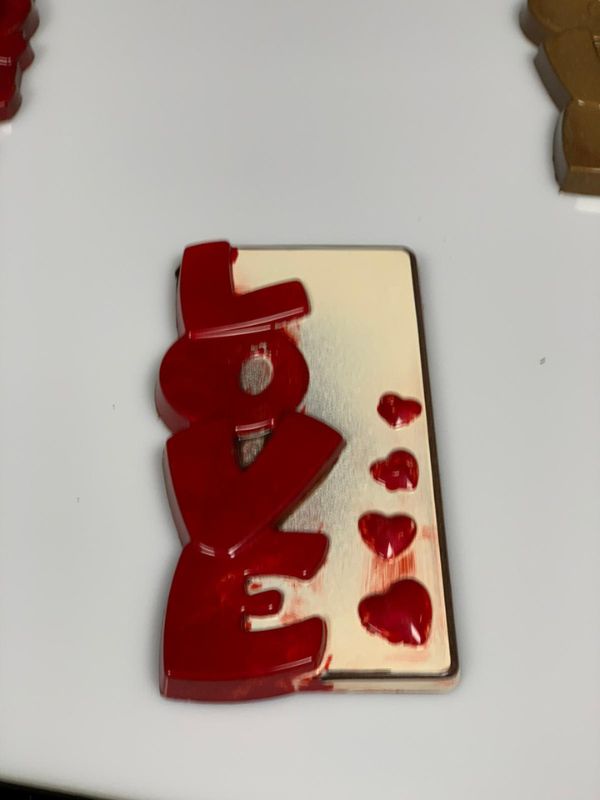
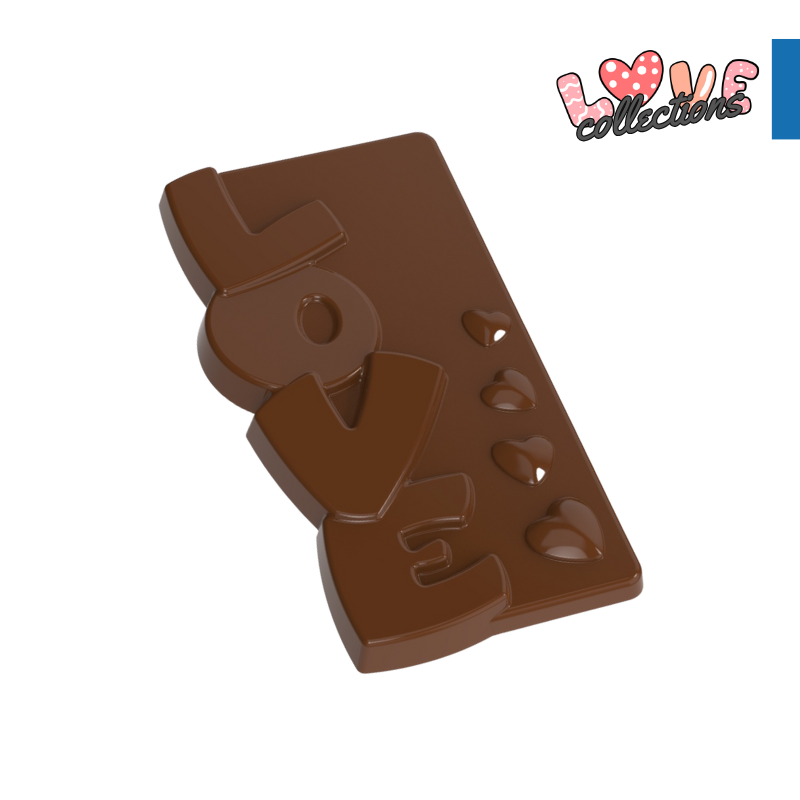
CM 3837 LOVE TABLET CHOCOLATE MOULD
Choose your option
CM 3844 LUIS AMADO SIGNATURE HEART TABLET CHOCOLATE MOULD
Choose your option
CM 3246 HEART TABLET 100gr CHOCOLATE MOULD
Choose your option
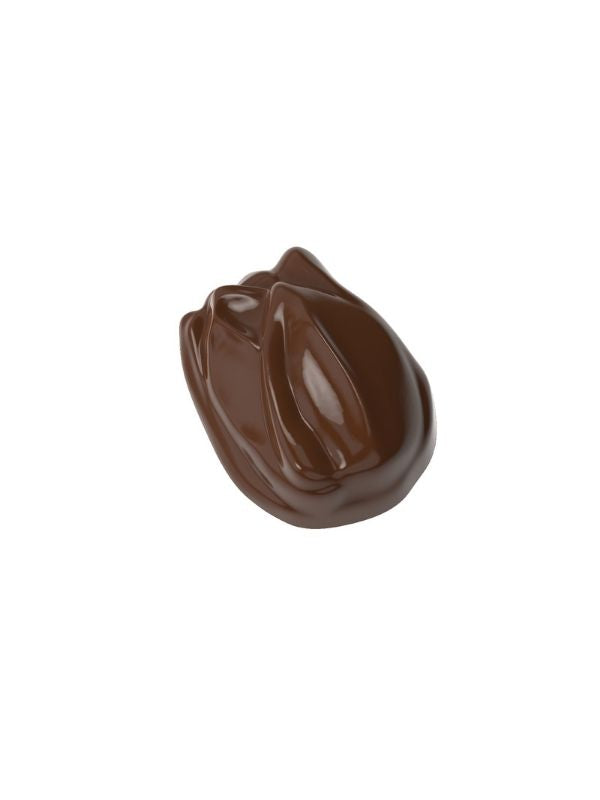
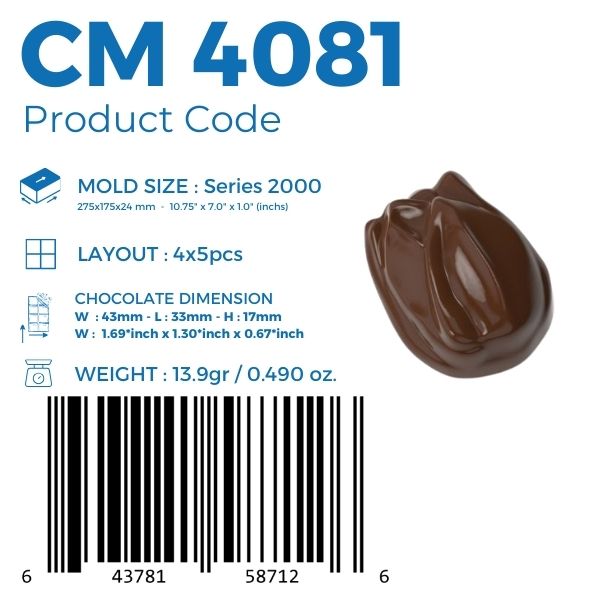
CM 4081 TULIP 13.9gr PRALINE CHOCOLATE MOULD
Choose your option
CM 3837 LOVE TABLET CHOCOLATE MOULD
Choose your option
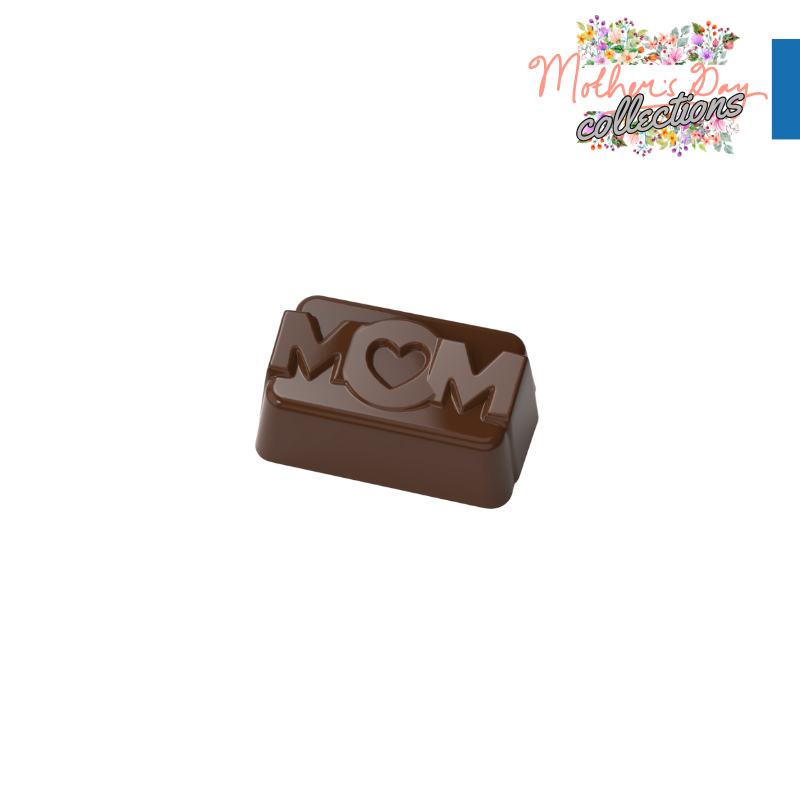
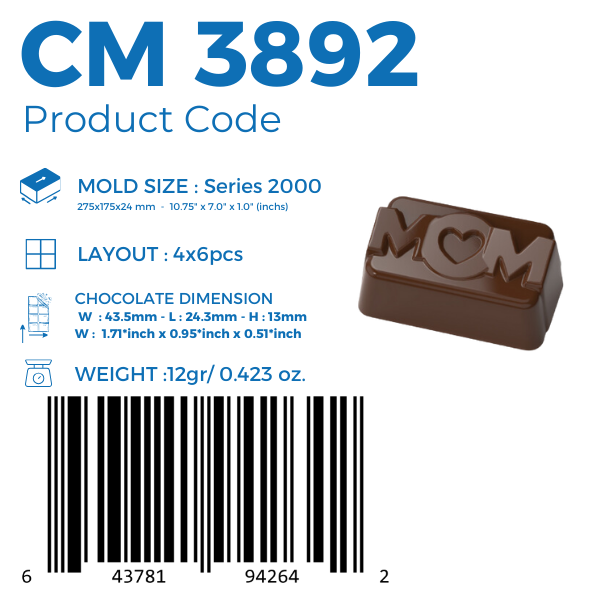
CM 3892 MOM 12gr BATON CHOCOLATE MOULD
Choose your option
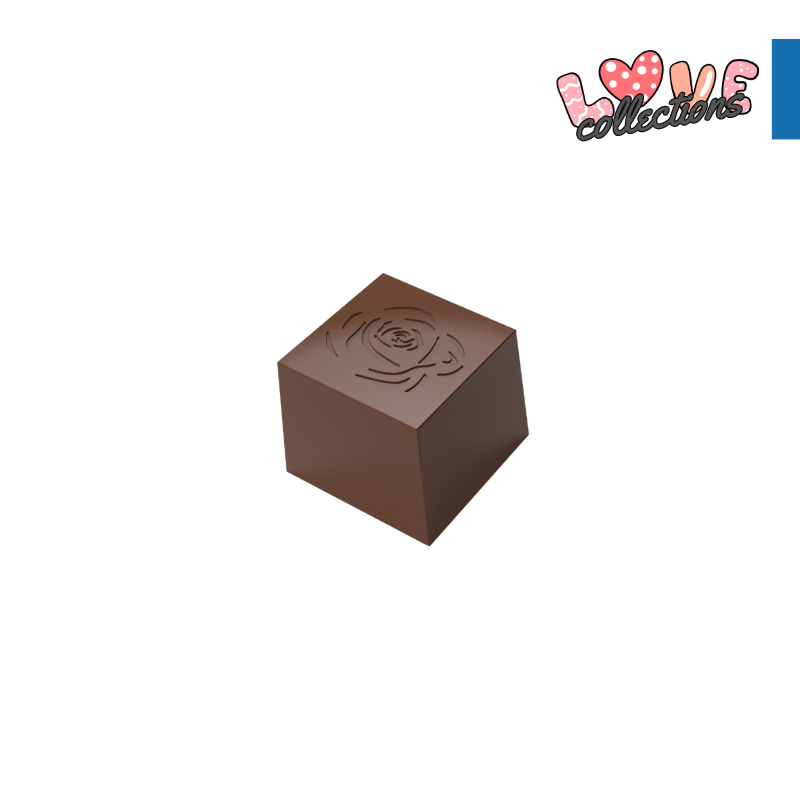
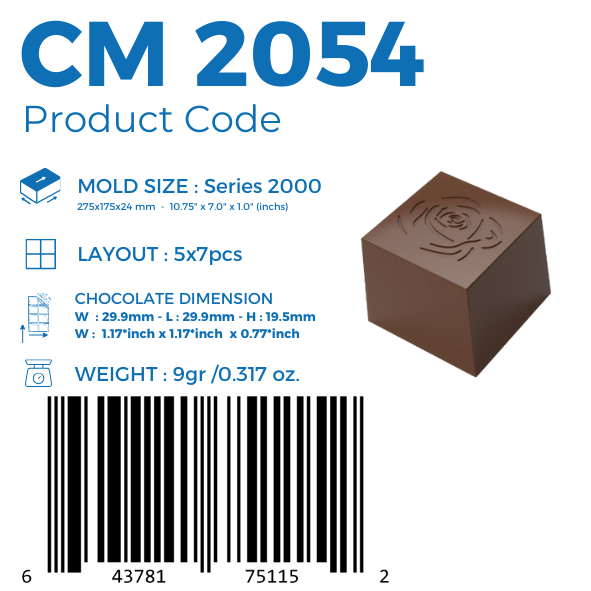
CM 2054 ROSE PRALINE 9gr CHOCOLATE MOULD
Choose your option
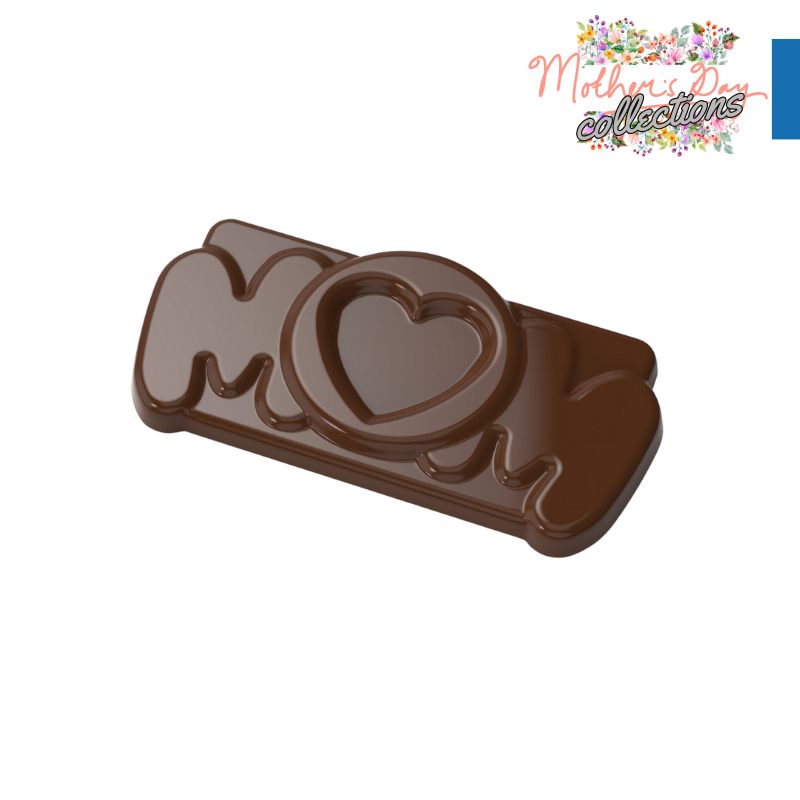
CM 3889 MOM TABLET CHOCOLATE MOULD
Choose your option
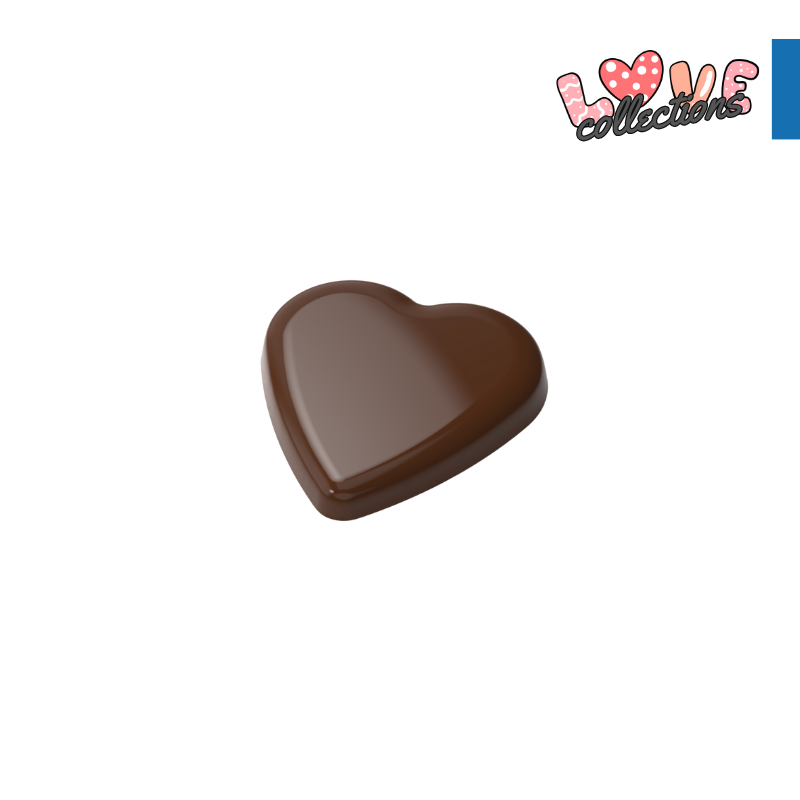
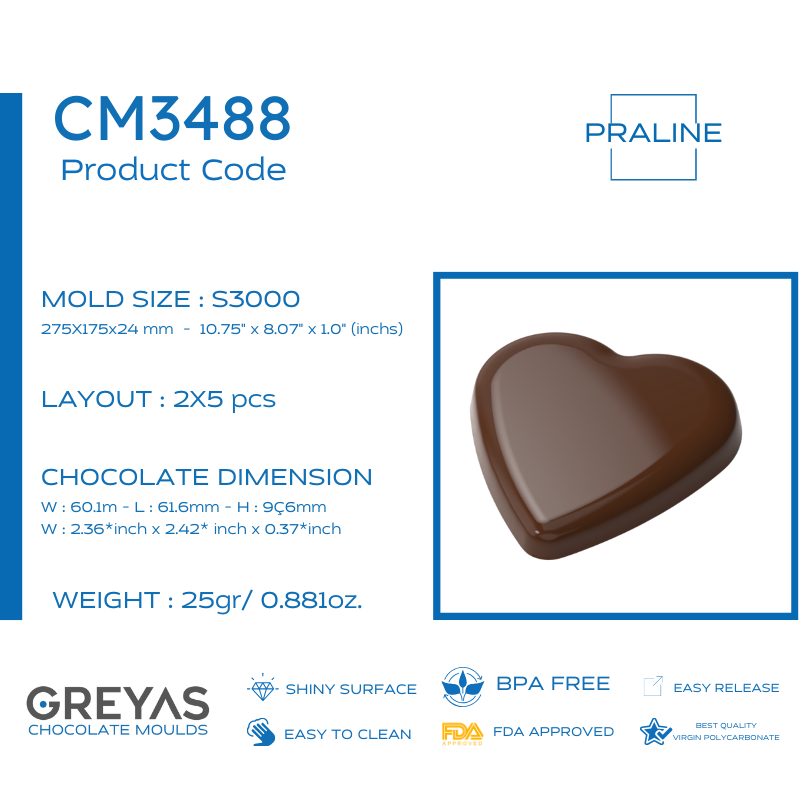
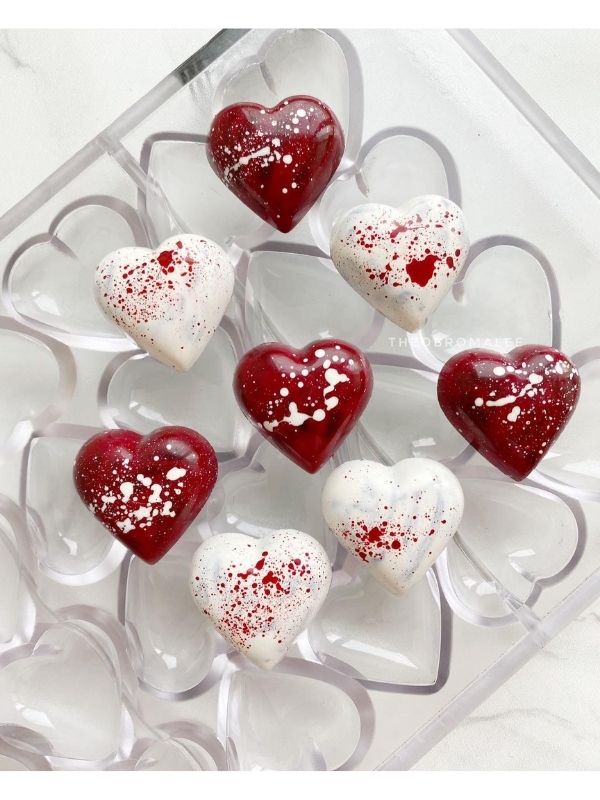
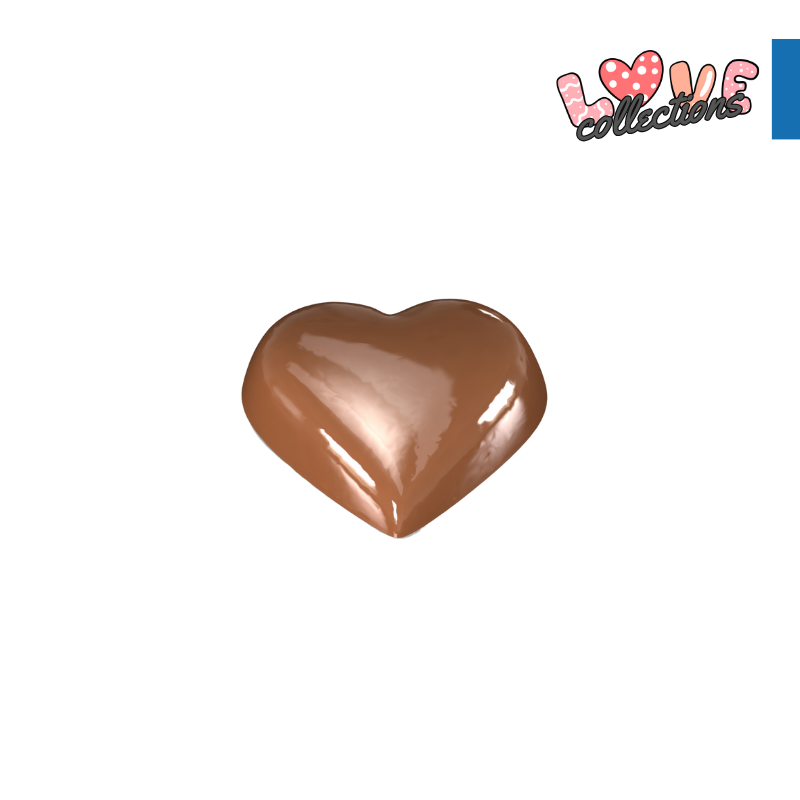
CM 3488 HEART SHAPE 25gr PRALINE CHOCOLATE MOULD
Choose your option
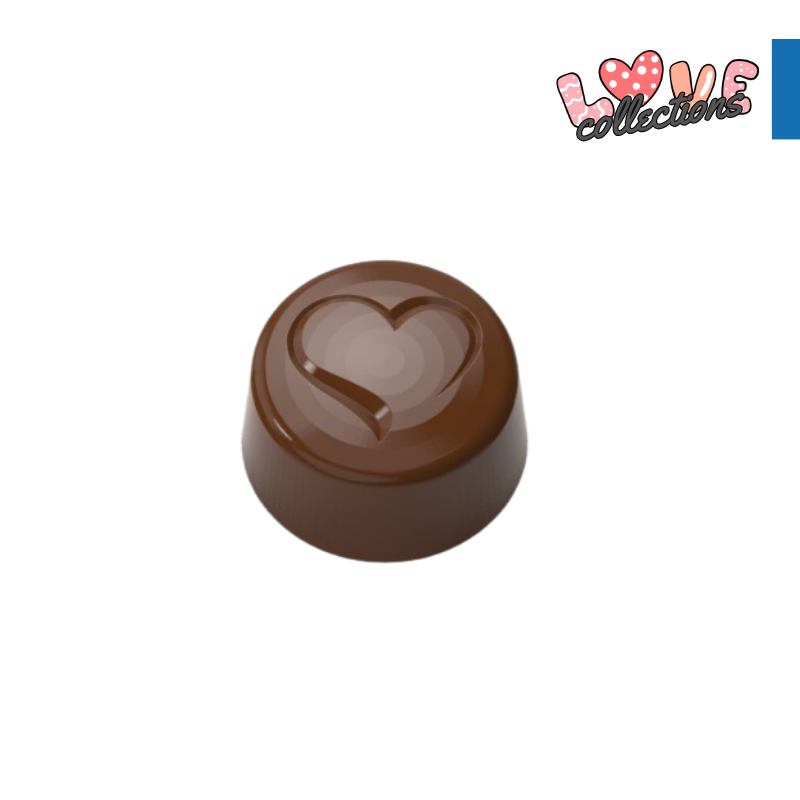
CM 1510 HEART PRALINE CHOCOLATE MOULD
Choose your option
CM 3843 LUIS AMADO SIGNATURE HEART PRALINE CHOOCLATE MOULD
Choose your option
CM 3838 BIG HEART TABLET CHOCOLATE MOULD
Choose your option
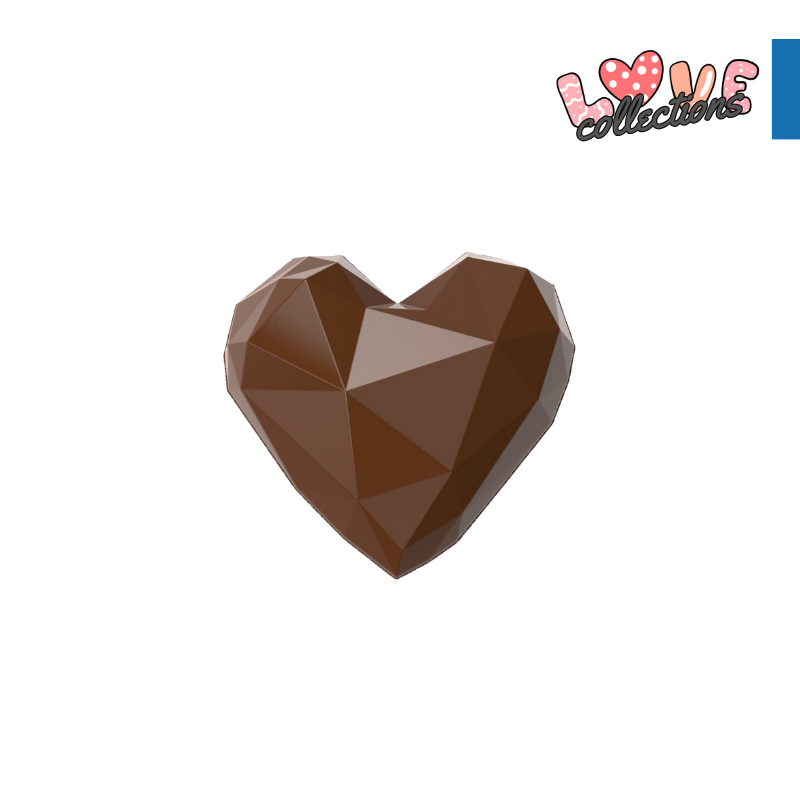
CM 3826 DIAMOND HEART PRALINE CHOCOLATE MOULD
Choose your option
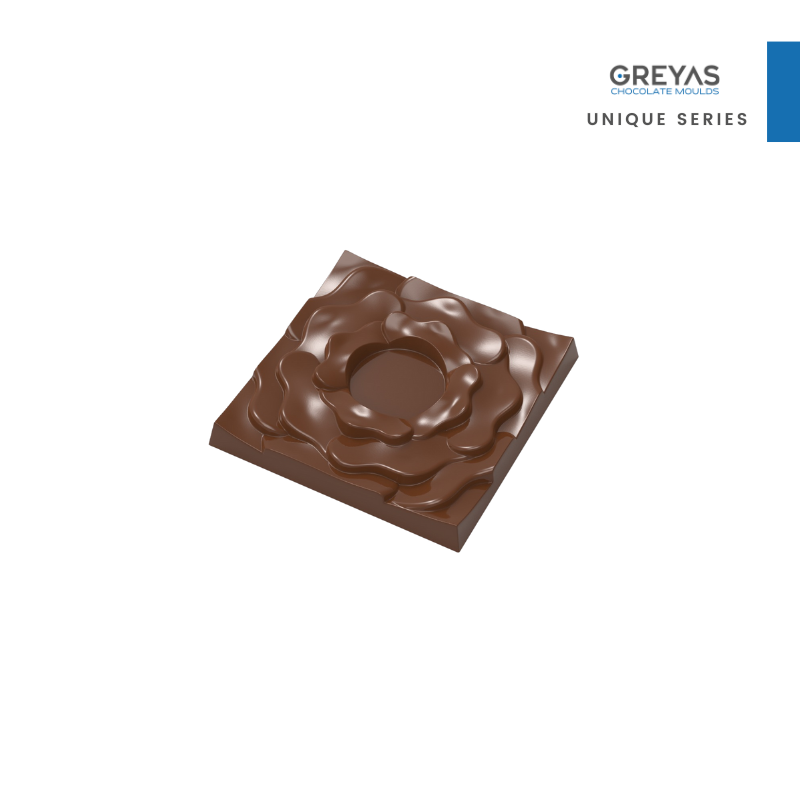
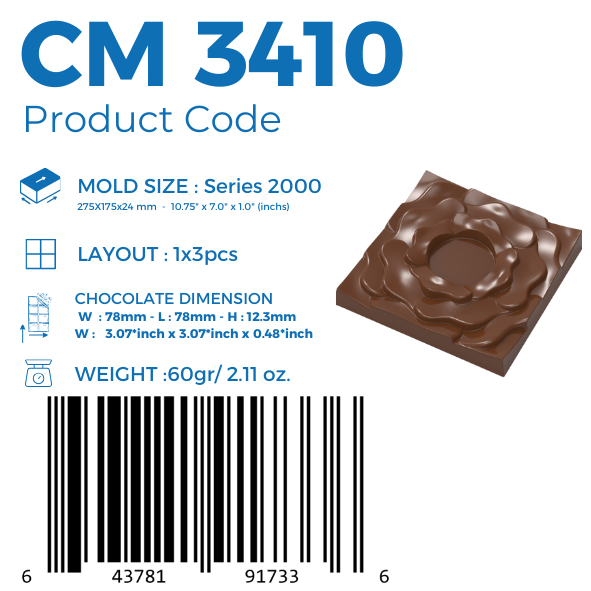
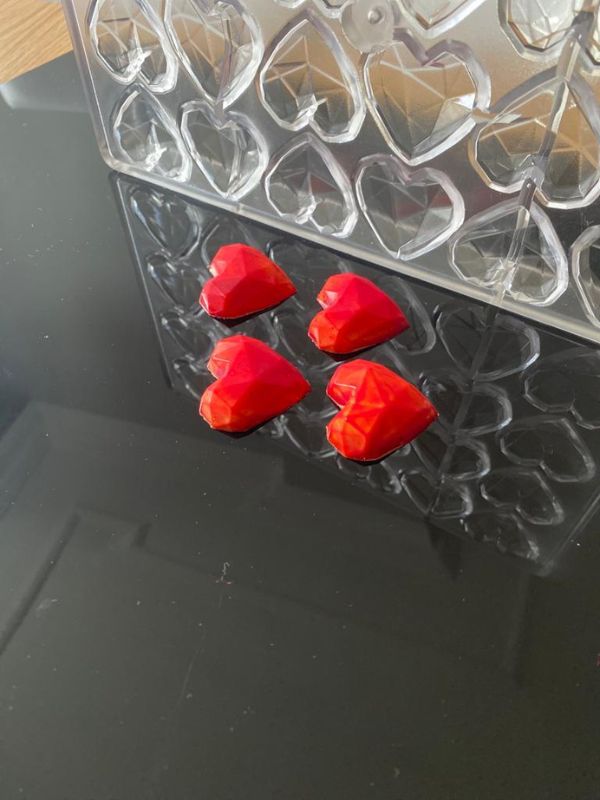
CM 3410 ROSE SQUARE TABLET 60gr CHOCOLATE MOULD
Choose your option
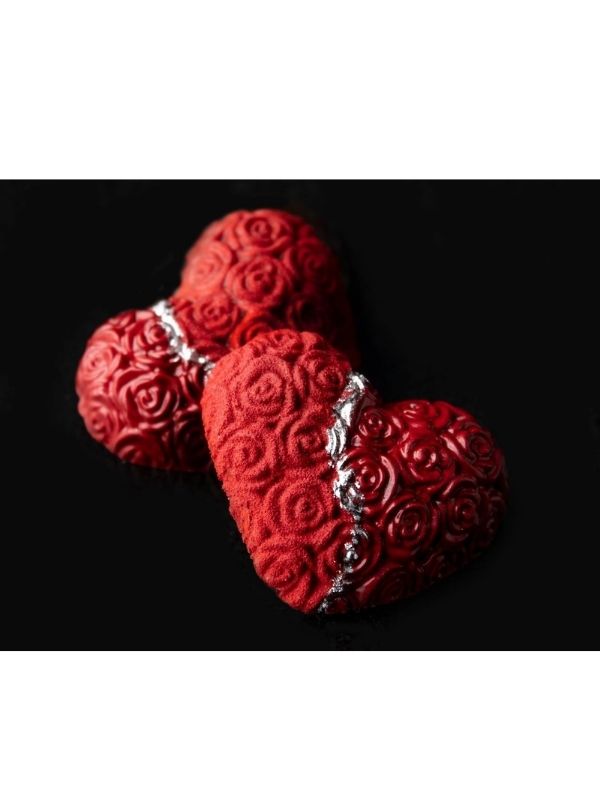

CM 3004 ROSE HEART PRALINE CHOCOLATE MOULD
Choose your option
CM 3839 THIN HEART 10,3gr. CHOCOLATE MOULD
Choose your option
CM 3844 LUIS AMADO SIGNATURE HEART TABLET CHOCOLATE MOULD
Choose your option
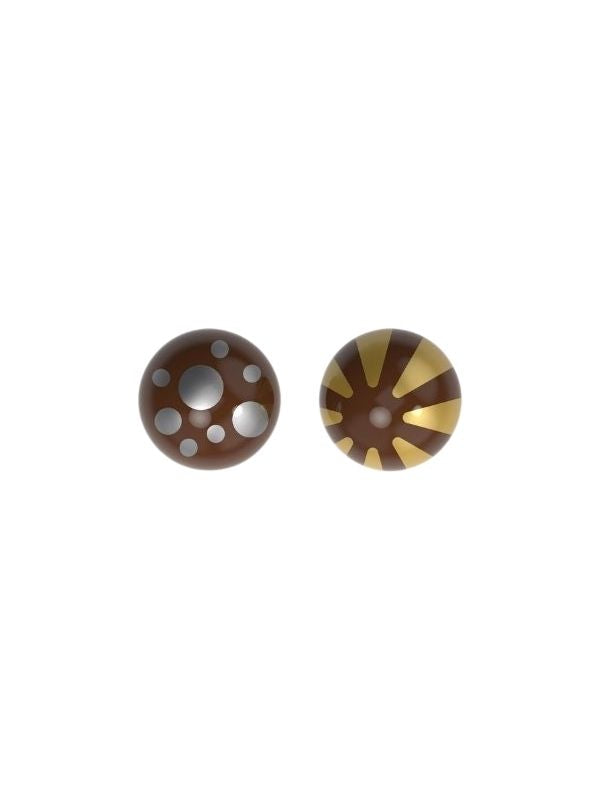
Before

After

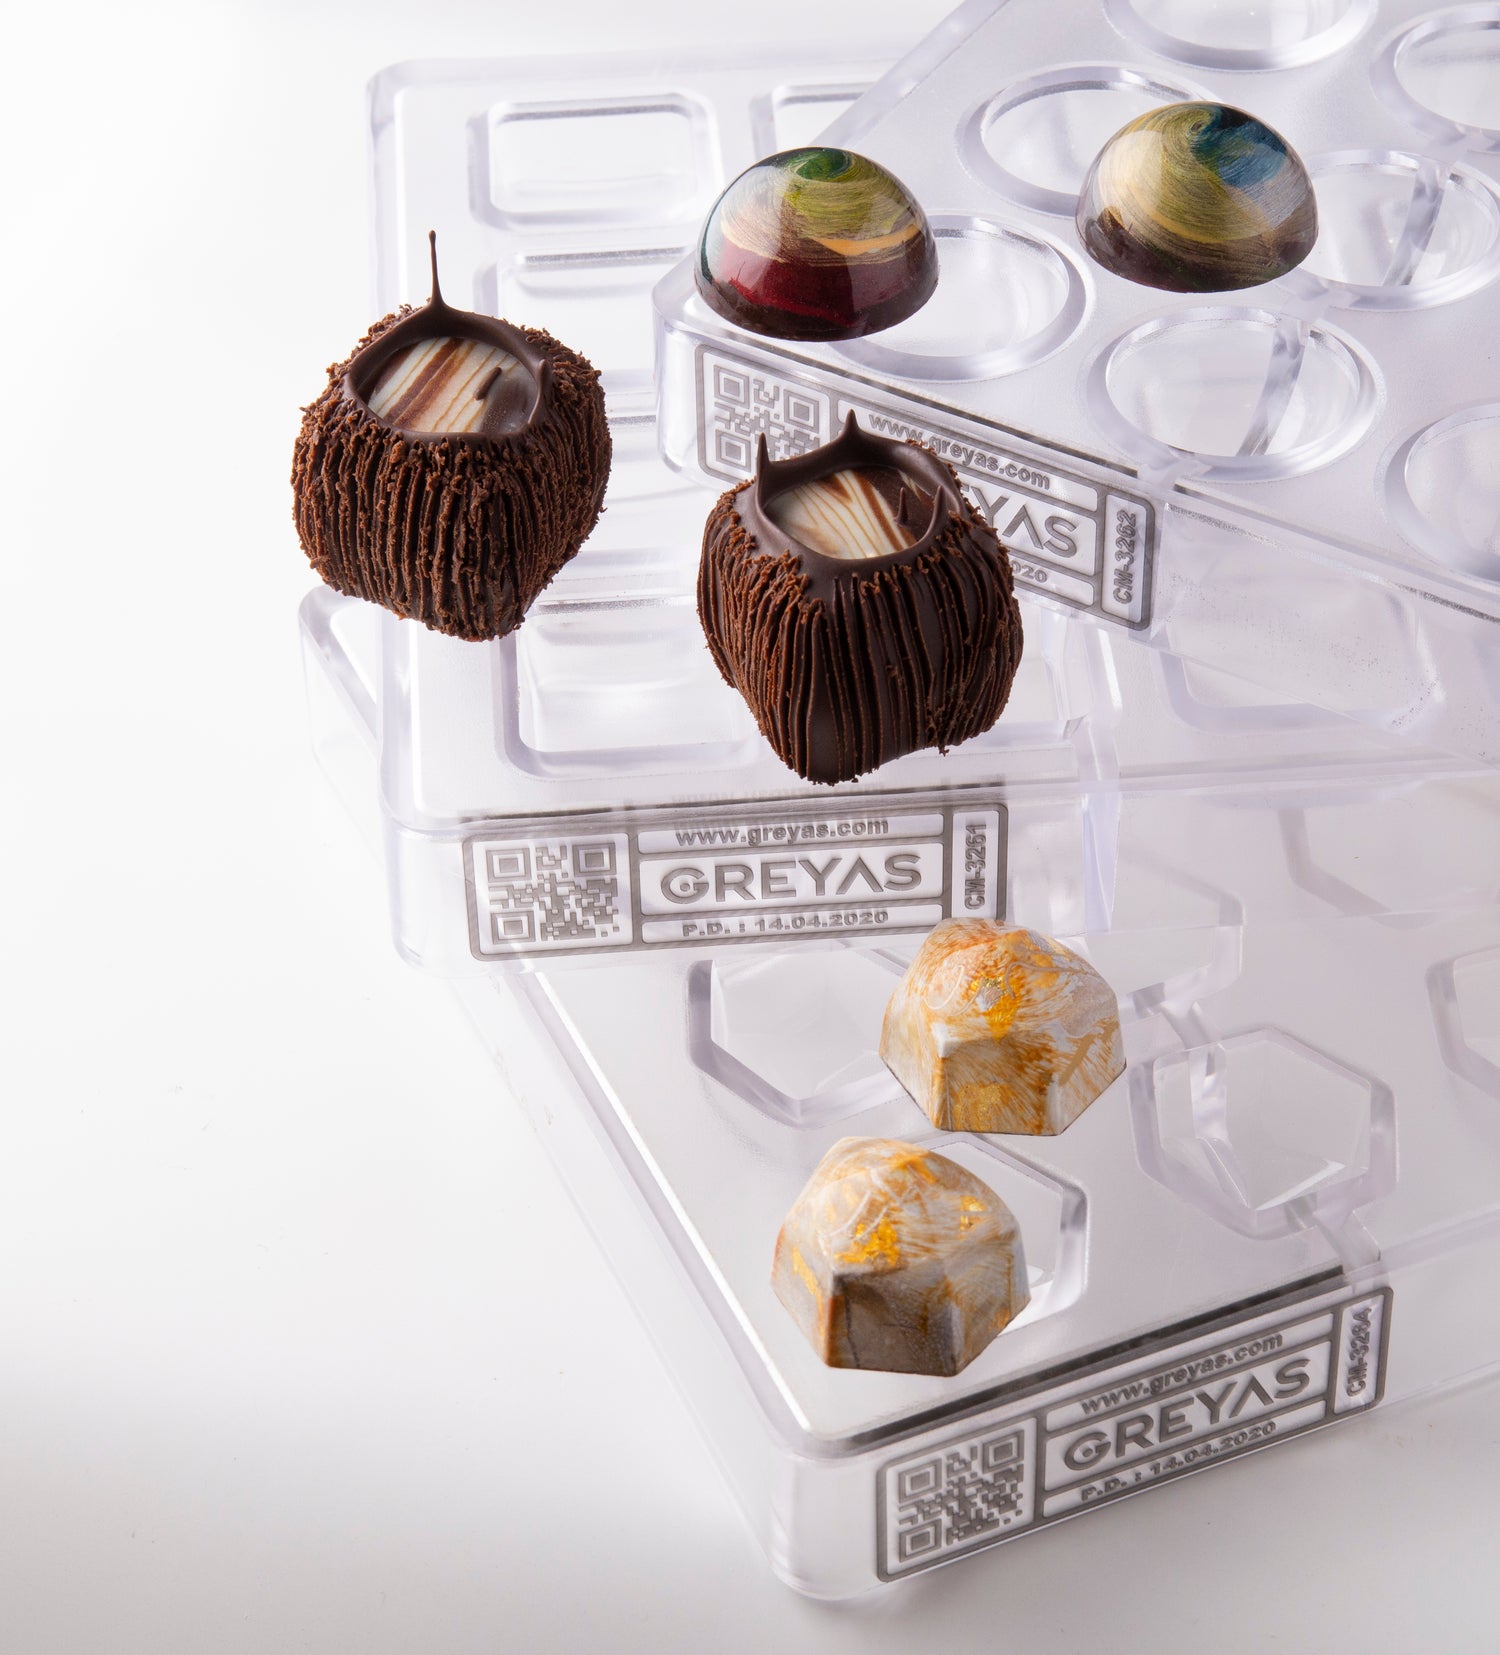
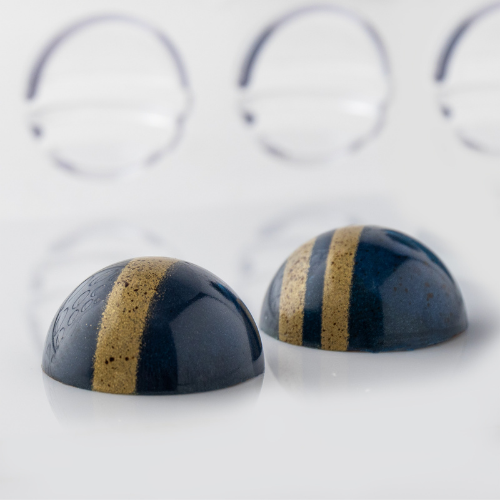
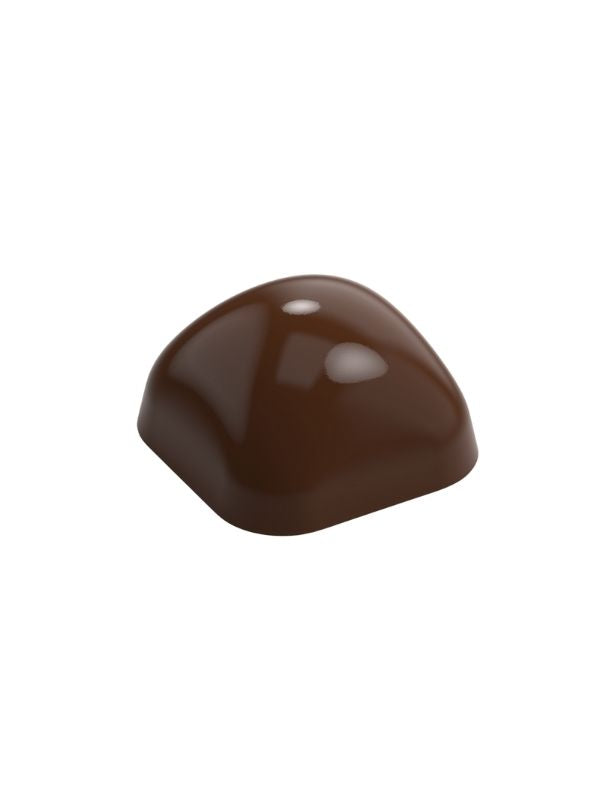
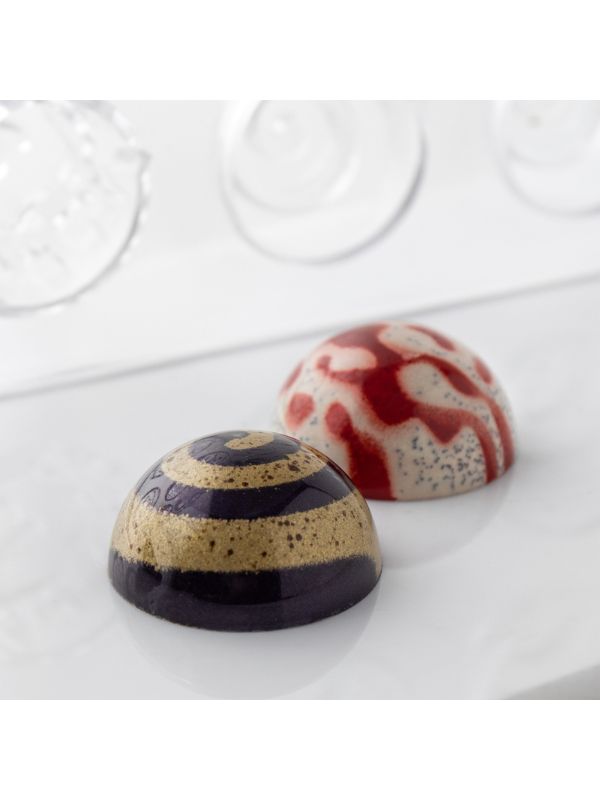
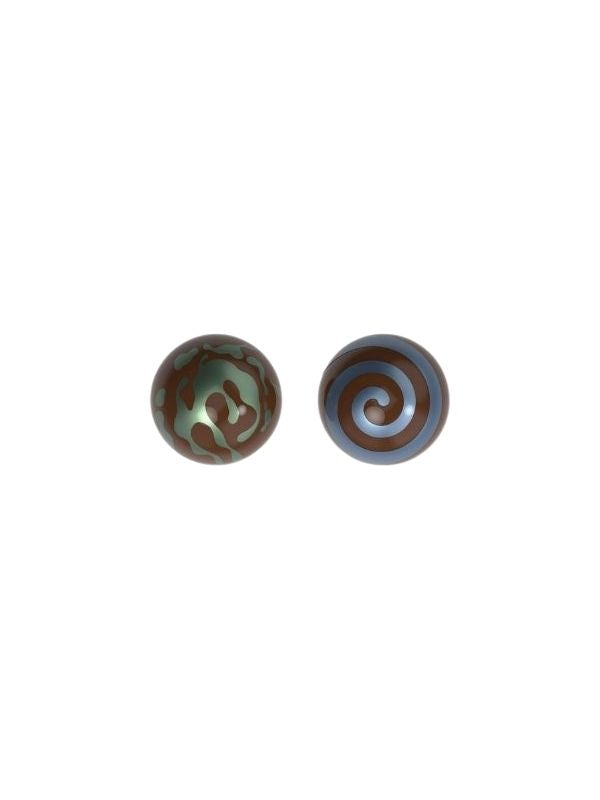
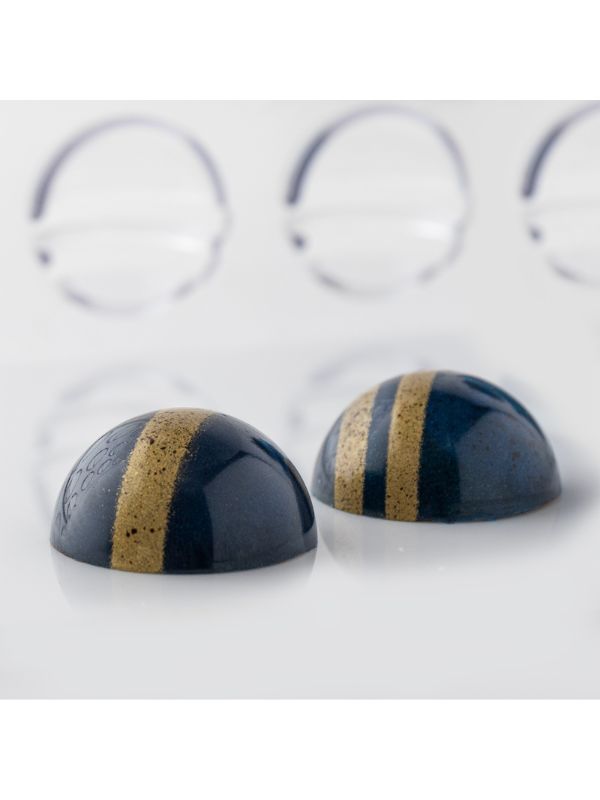
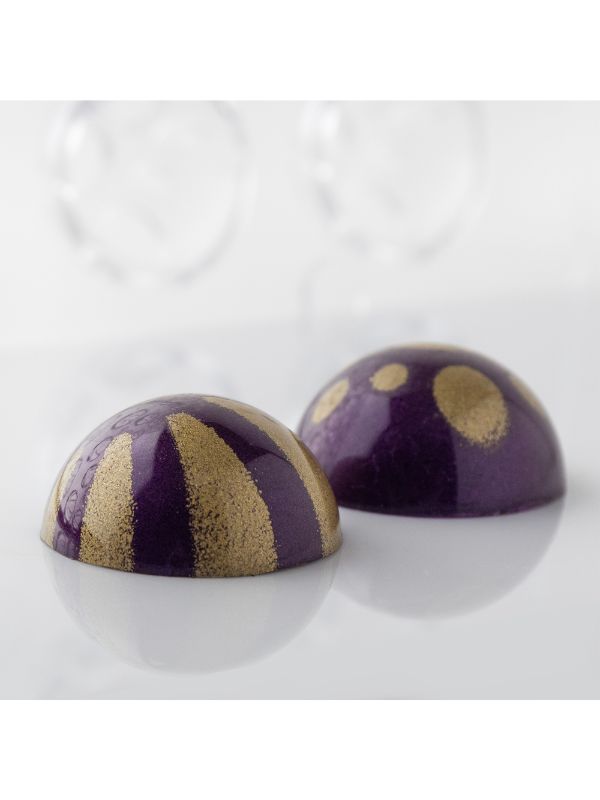
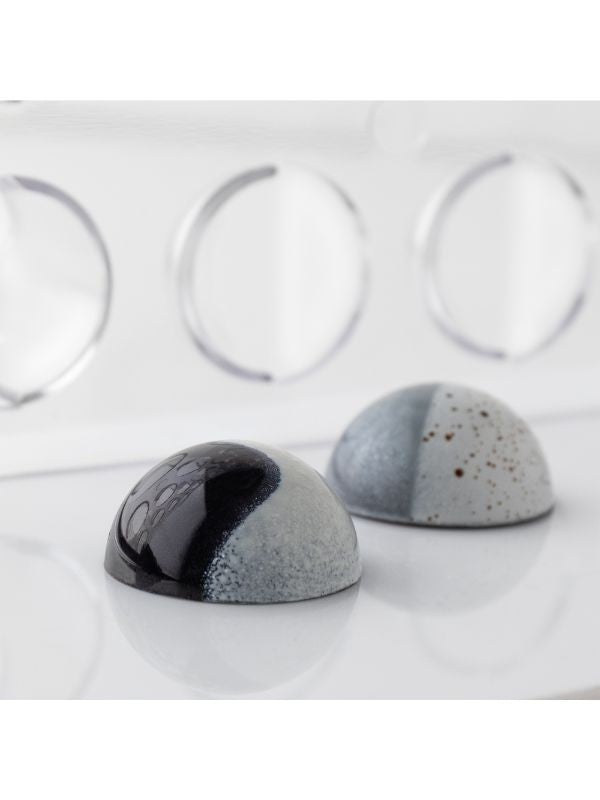
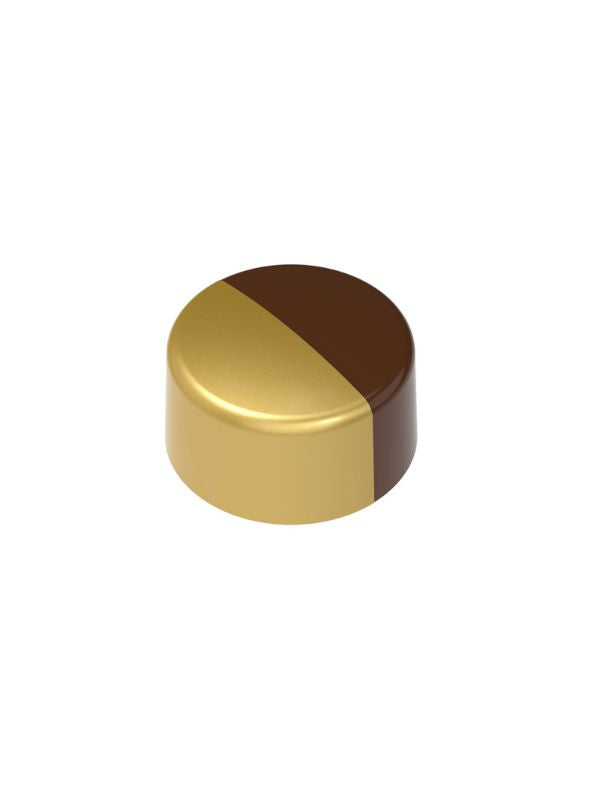
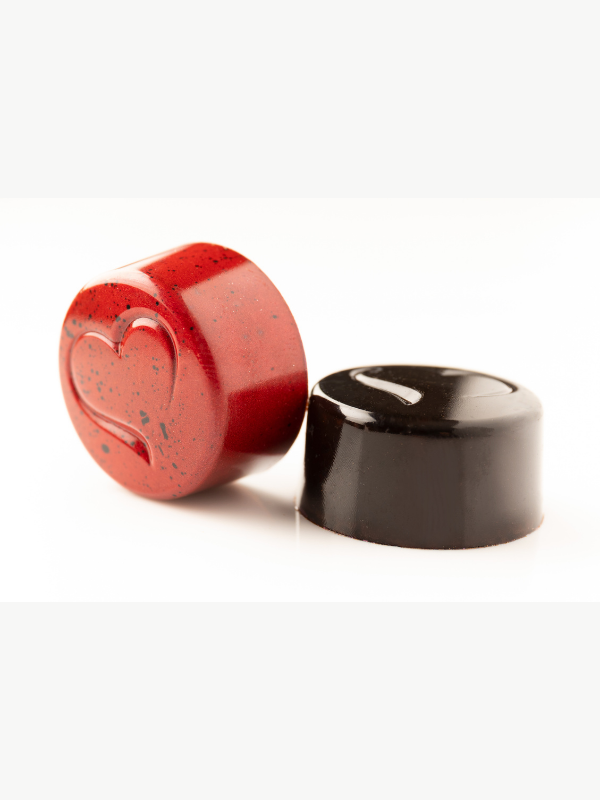
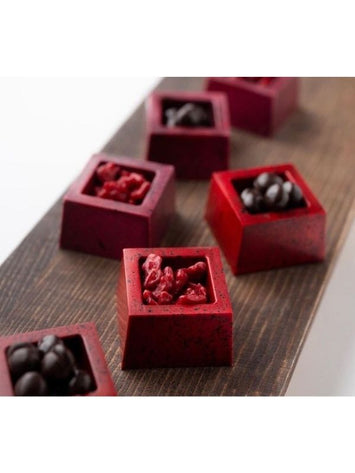
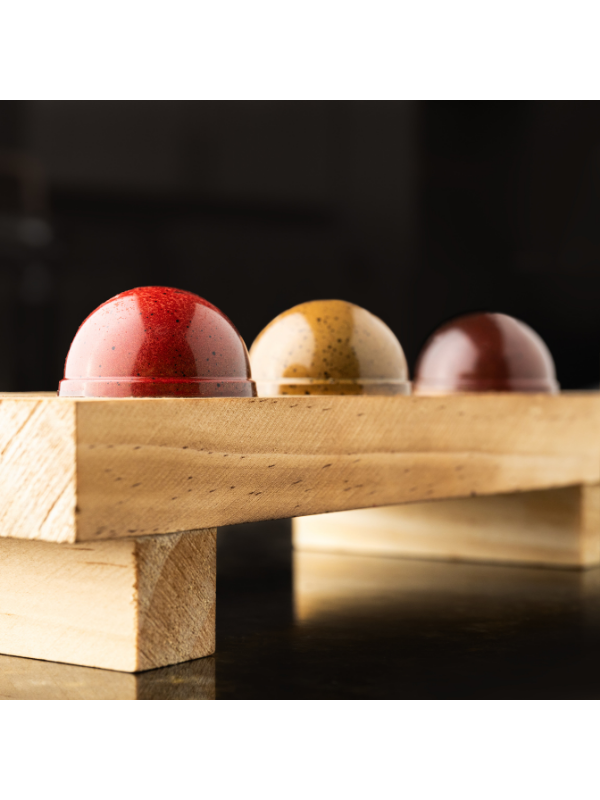
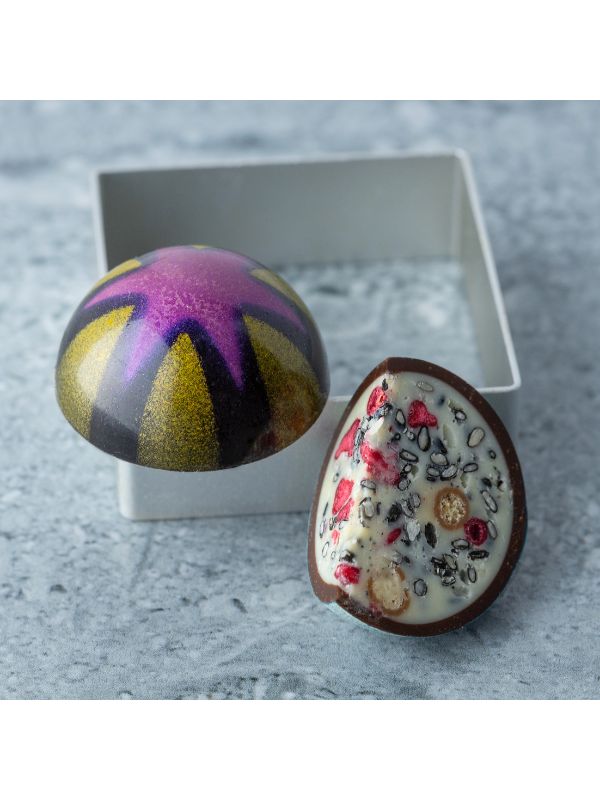
CM 3264 UNIQUE DOME 10gr PRALINE CHOCOLATE MOULD
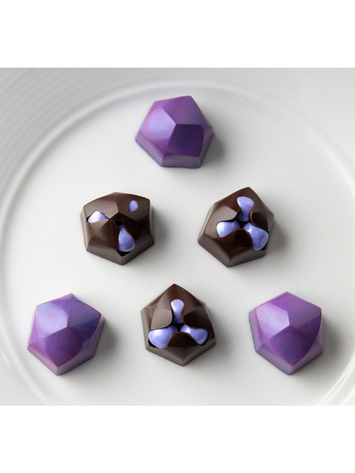
CM 3261 SQUARE 12,5gr PRALINE CHOCOLATE MOULD


New Year Collections
CM 3912 SNOWFLAKE 14gr PRALINE CHOCOLATE MOULD
Choose your option
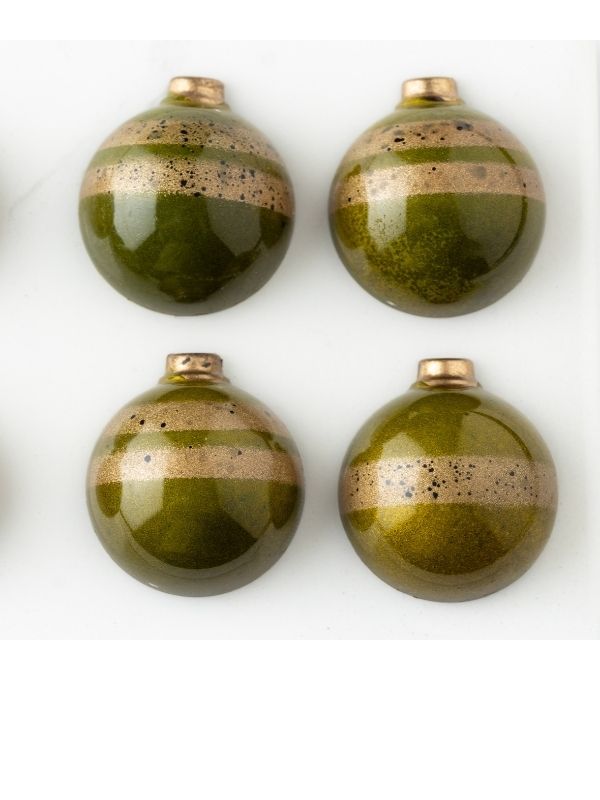
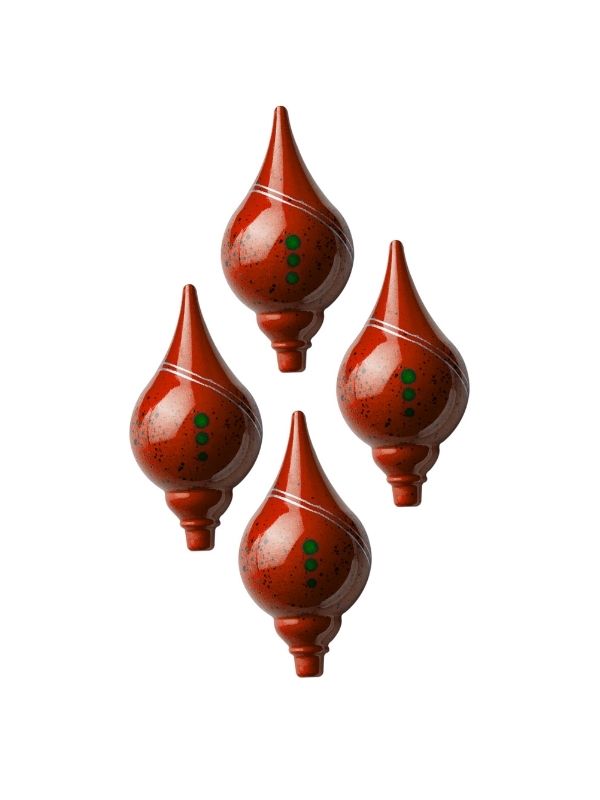
CM 3915 PRALINE 10.5gr ORNAMENT BONBON CHOCOLATE MOULD
Choose your option
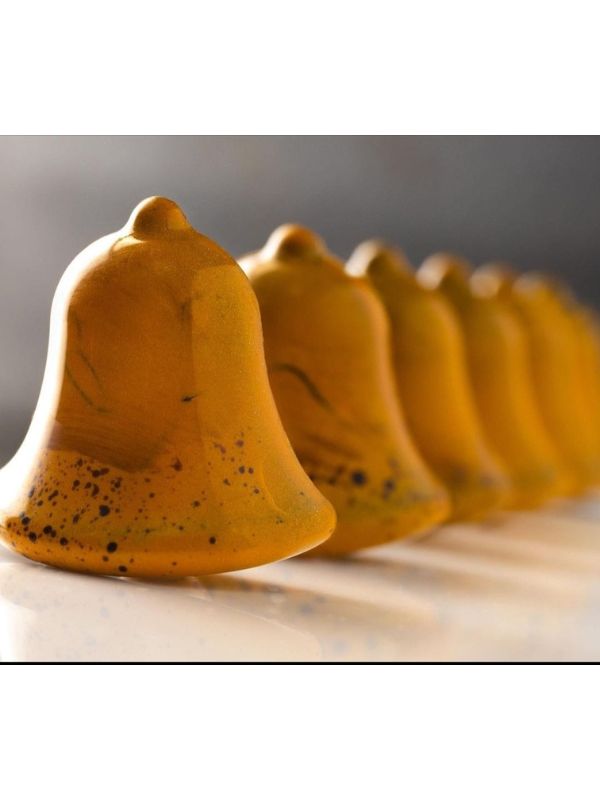
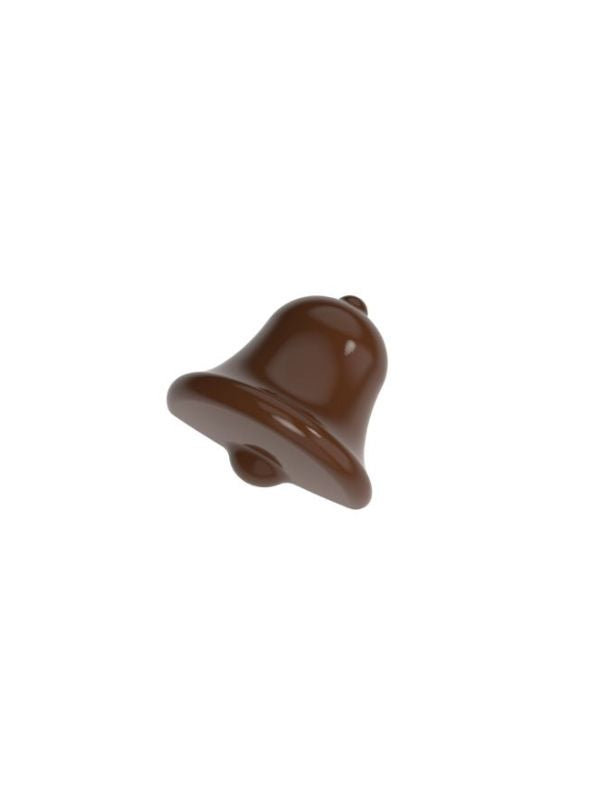
CM 3916 CHRISTMAS BELL PRALINE CHOCOLATE MOULD
Choose your option

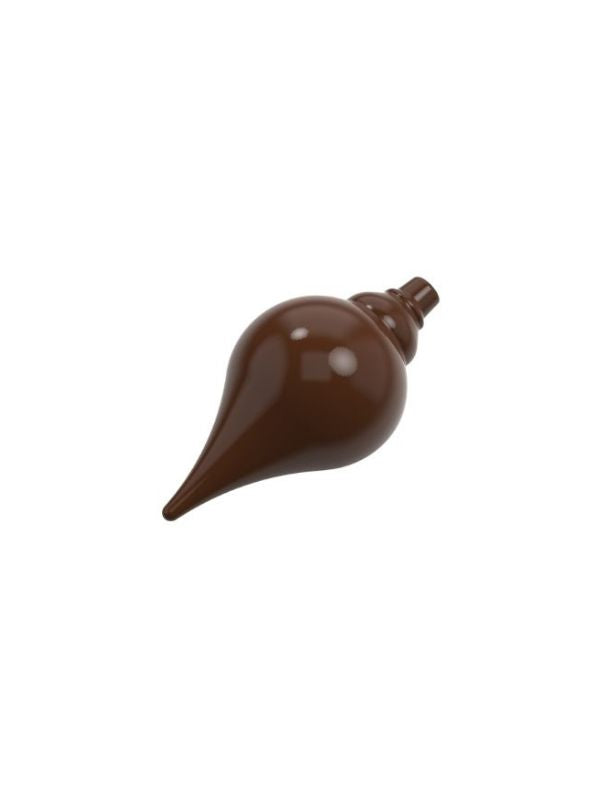
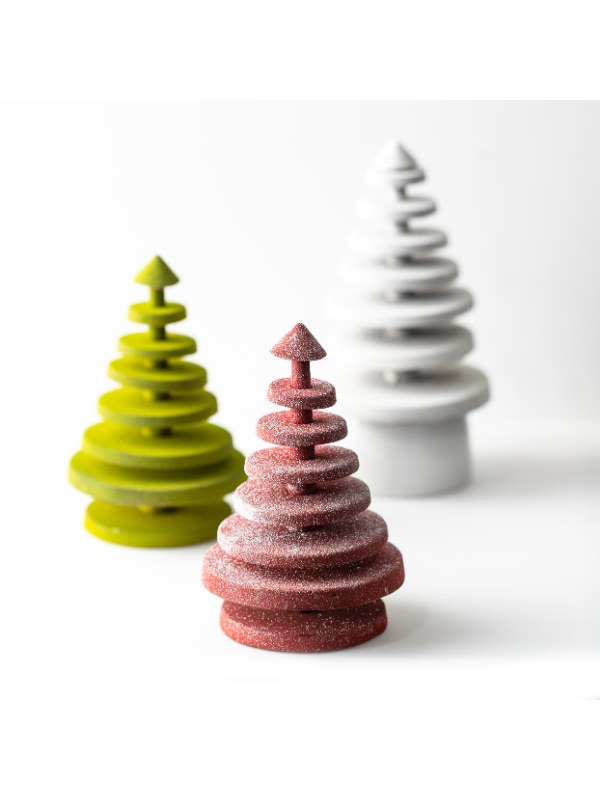
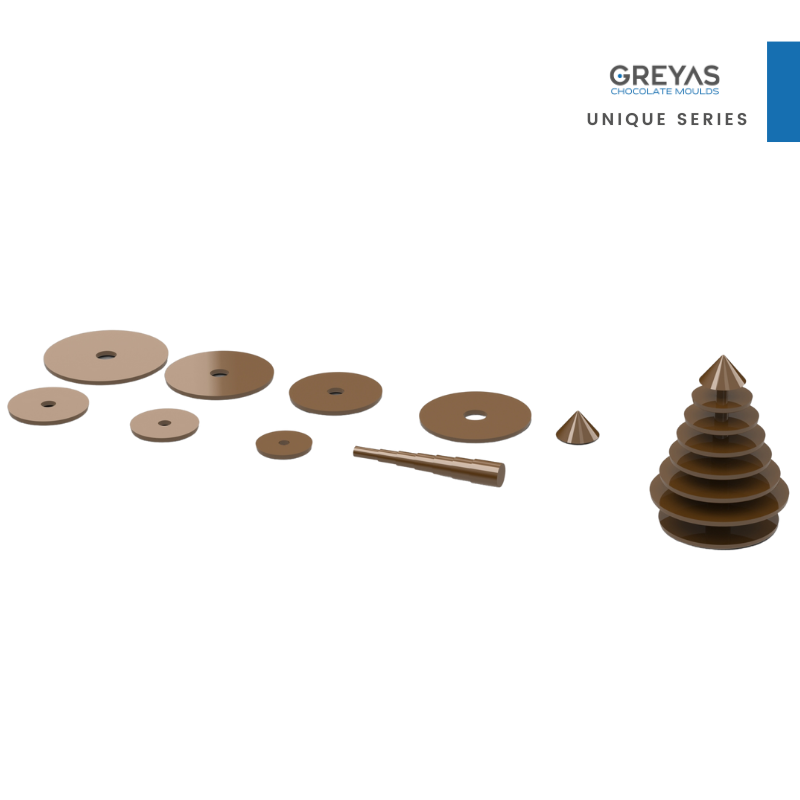
CM 3919 PRALINE PINE TREE FIGURE CHOCOLATE MOULD
Choose your option
CM 3910 CHRISTMAS ORNAMENT 10gr PRALINE CHOCOLATE MOULD
Choose your option
CM 3911 HALF CHRISTMAS TREE PRALINE CHOCOLATE MOULD
Choose your option
CM 3583 HALF CHRISTMAS TREE TABLET CHOCOLATE MOULD
Choose your option
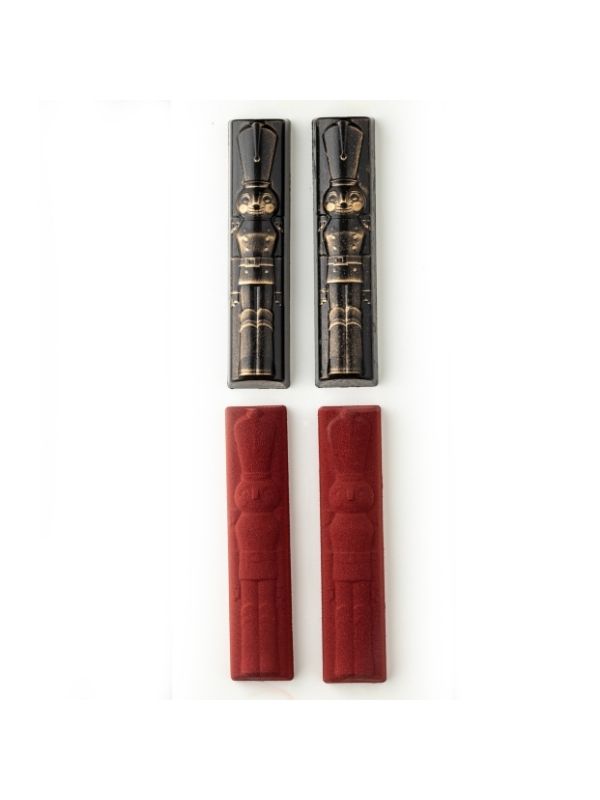
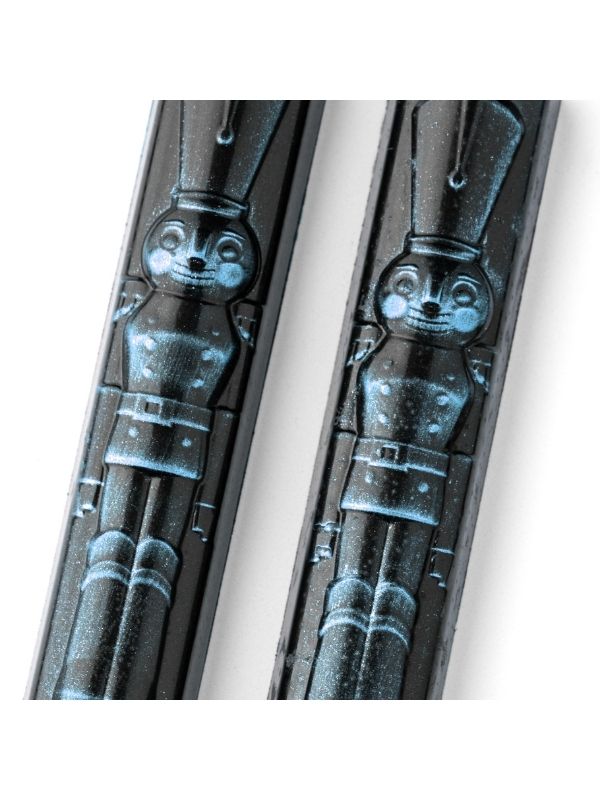
CM 3917 NUTCRACKER BAR CHOCOLATE MOULD
Choose your option
CM 1809 CHRISTMAS TREE PUZZLE 129gr CHOCOLATE MOULD
Choose your option
CM 4075 CHRISTMAS TABLET CHOCOLATE MOULD
Choose your option
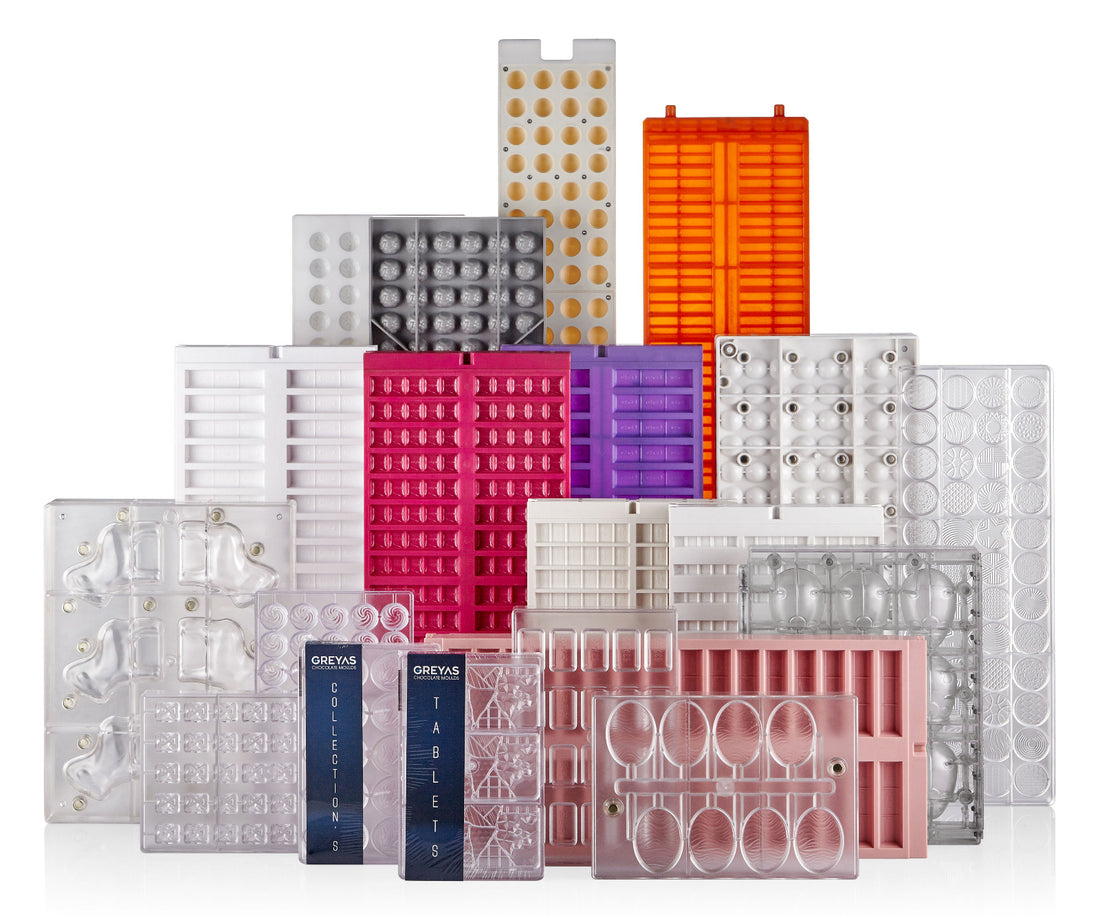
Moulds Collection's


En yeni modelleri hemen keşfedin
2025 Exclusive Mold Collections – Trend-Setting Chocolate Molds
Designed according to 2025 chocolate trends, Greyas Exclusive Mold Collections stand out with modern and innovative designs. Offered for a limited time, this special collection allows you to create the most original and eye-catching chocolate designs of the year. Ideal for both professional and home chocolatiers, these molds are made from high-quality, food-safe materials, ensuring easy handling and perfect release. Discover the 2025 chocolate mold trends with Greyas.


En güncel çeşitler


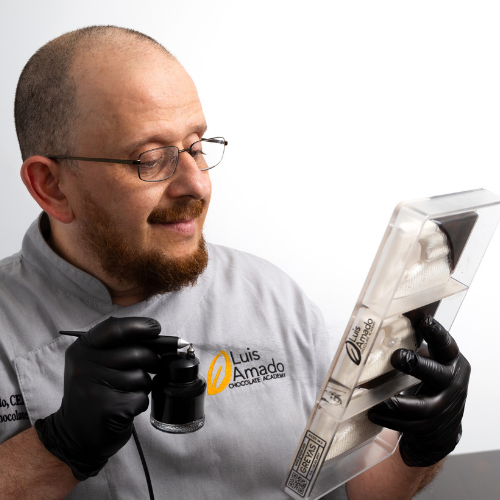
Custom Mould Process

Pick your Chocolate
You choose one of our premade 3D digital designs/templates which include a pre-engineered mold layout drawing and a prototype of the basic blank shape.

Send your logo
You provide us with artwork, 2D logo, or engraving design in vector art form (dxf preferred). Our expert team analyzes your graphics and begins the design process.

Production Approve
We create a digital 3D bar shape with your logo and email it to you. This allows you to view your bar in a virtual 3D space from all angles and also provides you with the physical size and volume.

Production Time
Upon approval of the basic blank prototype and the 3D image rendering with your logo, we manufacture the metal injection mold die/tooling, bringing you one step closer to your custom creation.

Shipment
We produce your custom plastic polycarbonate injection molds and ship them directly to you! You can now enjoy your precision molds for years to come in Satin or Gloss finish.
Shop The Social


@greyaschocolatemoulds
@greyaschocolatemoulds
@greyaschocolatemoulds
@greyaschocolatemoulds
@greyaschocolatemoulds
@greyaschocolatemoulds
Blog posts
Why Polycarbonate Chocolate Molds—and Our Patented Easypaint Tool—Are Game Changers for Every Chocolatier
Why Polycarbonate Chocolate Molds Are Every Chocolatier’s Best Friend When it comes to professional chocolate making, not all molds are created equal. While silicone and plastic molds may suffice for casual use, serious chocolatiers across the globe consistently choose polycarbonate molds—and for good reason. At Greyas, we’ve specialized in the art and science of chocolate mold manufacturing for over a decade. Our polycarbonate collection is trusted by artisans, pastry chefs, and chocolate innovators across the globe because it offers a perfect balance of precision, durability, and performance. But what makes polycarbonate the industry favorite?
Read more
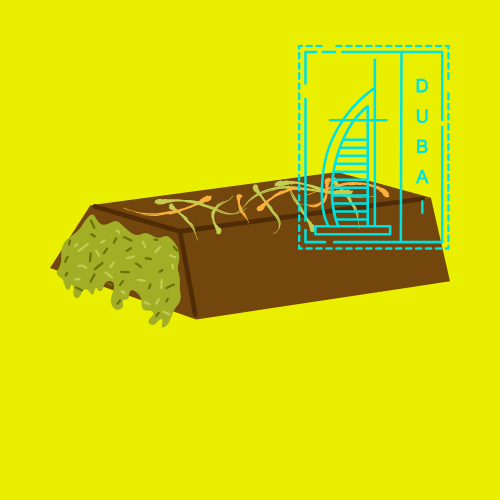
How Dubai's Viral Chocolate Craze is Shaping the Future of Artisan Molds
Dubai’s Viral Chocolate Craze: A Sweet Revolution In recent years, Dubai has emerged as a global epicenter of luxury, creativity, and culinary innovation. But in 2024 and beyond, one particular movement has captured international attention like never before: the rise of viral artisan chocolates.
Read more
How to Tempering Chocolate ?
Tempering chocolate is a classic technique all pastry chefs and chocolatiers will be familiar with. If you want to make homemade chocolates that are as delicious as they are visually appealing, it is important you have a solid grasp of the process. With the right method and utensils, you will be able to successfully temper your chocolate for beautiful miniature creations, desserts and confectionery. How do we define tempering? Tempering chocolate simply means melting the chocolate while controlling how its temperature rises and falls. This technique lets you use the chocolate the way you want to and get the perfect result for all your creations. Why should you temper chocolate? By tempering chocolate, we give it properties and qualities that are extremely helpful for pastries, chocolate and confectionery. Good tempering provides the following benefits: It keeps chocolate shiny and smooth It makes it easier to turn out your chocolates It snaps cleanly when broken As such, tempering is essential for anyone who wants to make beautiful desserts and chocolates with a smooth, glossy, solid texture. It is important to follow every step in the process to get the results you want. Otherwise, chocolate can become brittle, dull, bumpy, flecked with white marks, and harder to turn out. Successful tempering is the key to successful chocolate making. What are the prerequisites? Good tempering is a very important way of enhancing your creations. However, you need to know how to do it right. To temper your chocolate successfully, you will need to meet several prerequisites. First of all, you must have a thermometer that can reach 130°F (55°C). This is essential as you will need to check the chocolate’s temperature throughout the process to make sure its temperature is changing as it is supposed to, depending on the chocolate you use. Moreover, the chocolate you choose is equally important. It’s best to use a quality chocolate such as a couverture. Couverture is richer in cocoa butter and less sweet than the standard chocolate bars you find in shops. It contains at least 31% cocoa butter, making it much more fluid and suited to being handled. First method: tempering in a bain-marie This classic technique is the easiest to do. It involves melting (chopped) chocolate in a bain-marie while stirring and regularly checking the temperature. However, be careful not to drop any water in the chocolate - just a few drops are enough to spoil the lot. To temper your chocolate this way, you will need the following: Thermometer A large bowl or other container for the bain-marie A container for cold water (and possibly ice cubes) A wooden spatula or spoon You need to initially check the temperature so that it does not rise above the maximum for the type of chocolate (see Temperature 1 in the above temperature chart and table). Once the thermometer shows the temperature in the table, take the chocolate out of the bain-marie. Place the container in the bowl of cold water, stirring regularly so that the chocolate cools to about 95°F (35°C) whatever type you are using. Remove the container from the bowl of cold water, stirring the chocolate all the while, until it reaches Temperature 2. Finally, briefly place the chocolate back in the bain-marie to warm it up to its working temperature, Temperature 3 above. Second method: seeding This second technique is also quite simple. It involves chopping the chocolate into small pieces (smaller than the individual squares of a chocolate bar), unless you use drops, in which case this step isn’t needed. The utensils for seeding are as follows: Mixing bowl Bowl Thermometer Once you have made sure you have everything you need, you can start tempering. The following steps must be followed: Melt three-quarters of your chocolate in a bain-marie until it reaches Temperature 1. Remove the bowl from the pan. Put a third of the melted chocolate in a bowl. Add the remaining quarter of solid chocolate to the melted chocolate and stir until it reaches Temperature 2. Add the quantity of chocolate set aside in step 2. The difference in temperature should bring the assembly to Temperature 3. Third method: tabling Frédéric Bau’s third method is called “tabling”. It is the least simple as, in principle, it requires a marble worktop. However, the basic principle is the same. Chop the chocolate into small pieces then heat it in a bain-marie until it reaches Temperature 1. Pour two-thirds of the melted chocolate straight onto the marble to bring it down to Temperature 2, stirring all the while with a spatula. Keep a third in the bowl. Finally, simply pour the chocolate from the marble into a mixing bowl and gradually add in the chocolate you set aside in step 2 until it reaches Temperature 3. This technique is interesting but not suitable for all kitchens. Other methods you might consider There are other methods for tempering chocolate which vary in terms of simplicity and expense. It all depends on your skills, equipment, motivation levels, but also your budget. You can combine two techniques It is totally possible to make these methods your own and adapt them to your preferences, utensils, likes and dislikes. You can combine seeding with bain-marie techniques by first melting three-quarters of the chocolate. The remaining (solid, finely chopped) quarter can then be incorporated off the heat, which will cause the temperature to drop. Warm the chocolate up again in the bain-marie. Using a chocolate temperature machine for perfect results Tempering machines are very convenient for people who have to temper chocolate regularly, as they make it impossible to fail. In a tempering machine, couverture chocolate will automatically go through each temperature in the process, giving you perfect results without you having to do a thing. As such, it saves a lot of time in the kitchen, especially if tempering is something you do regularly. With this device, your chocolate preparations can’t go wrong. Final thoughts: Why and how do we temper? Chocolate, and couverture chocolate in particular, is made up of fat. The aim of tempering is to help chocolate reach a series of different temperatures. When we do this, we separate out the various molecules that make up the chocolate, before reassembling them in perfect order to give the chocolate a glossy shine. Specifically, chocolate goes through three stages: Melting: Usually in a bain-marie so that the chocolate's temperature can be measured precisely. Crystallization: When it cools, the chocolate will crystallize. Work: The chocolate can be worked once its temperature has risen slightly. As you can see, temperature control is the most important aspect of tempering. Chef's tip: The results will be even better if you keep the chocolate melted at Temperature 1 for an extended period of time (up to several hours).
Read more